ENGLISH
(Original instructions)
8
Electrical safety
Before use, check that the mains voltage
corresponds to the voltage on the rating plate.
This product must be earthed. Always
check that the mains voltage
corresponds to the voltage on the rating
plate.
♦ Appliance plugs must match the outlet. Never
modify the plug in any way.
♦ Do not use any adaptor plugs with earthed (Class
1) appliances. Unmodied plugs and matching
outlets will reduce the risk of electric shock.
♦ To avoid the risk of electric shock, do not immerse
the cord, plug or appliance in water or other liquid.
Extension cables & class 1 product
♦ A 3 core cable must be used as your tool is
earthed and of class 1 construction.
♦ Up to 30m (100 ft) can be used without loss of
power.
♦ If the supply cord is damaged, it must be
replaced by the manufacturer or an authorised
BLACK+DECKER Service Centre in order to avoid
a hazard.
Warning! Before assembling, switch the appliance
off and remove the plug from the socket.
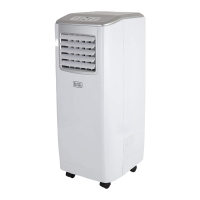
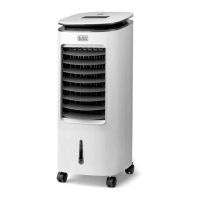
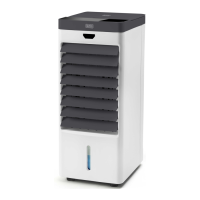
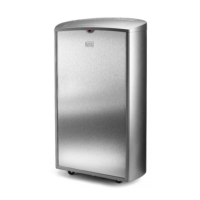
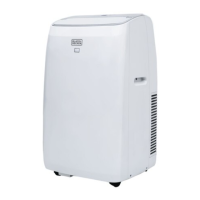
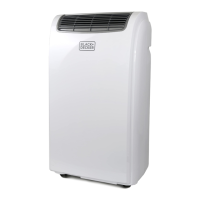
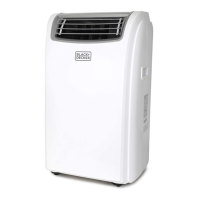
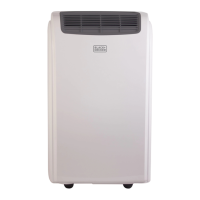
Features (Refer to diagrams on page 2)
1. Carrying Handle
2. Control Panel
3. Air Outlet
4. Air Inlet
5. Cord Storage
6. Air Inlet
7. Air Filter
8. Window Air Outlet
9. Air Filter
10. Water Stopper/Drainage Point
11. Window Hose
12. Adaptor
13. Adaptor Cover
14. Drain Tube
15. Active Carbon Filter
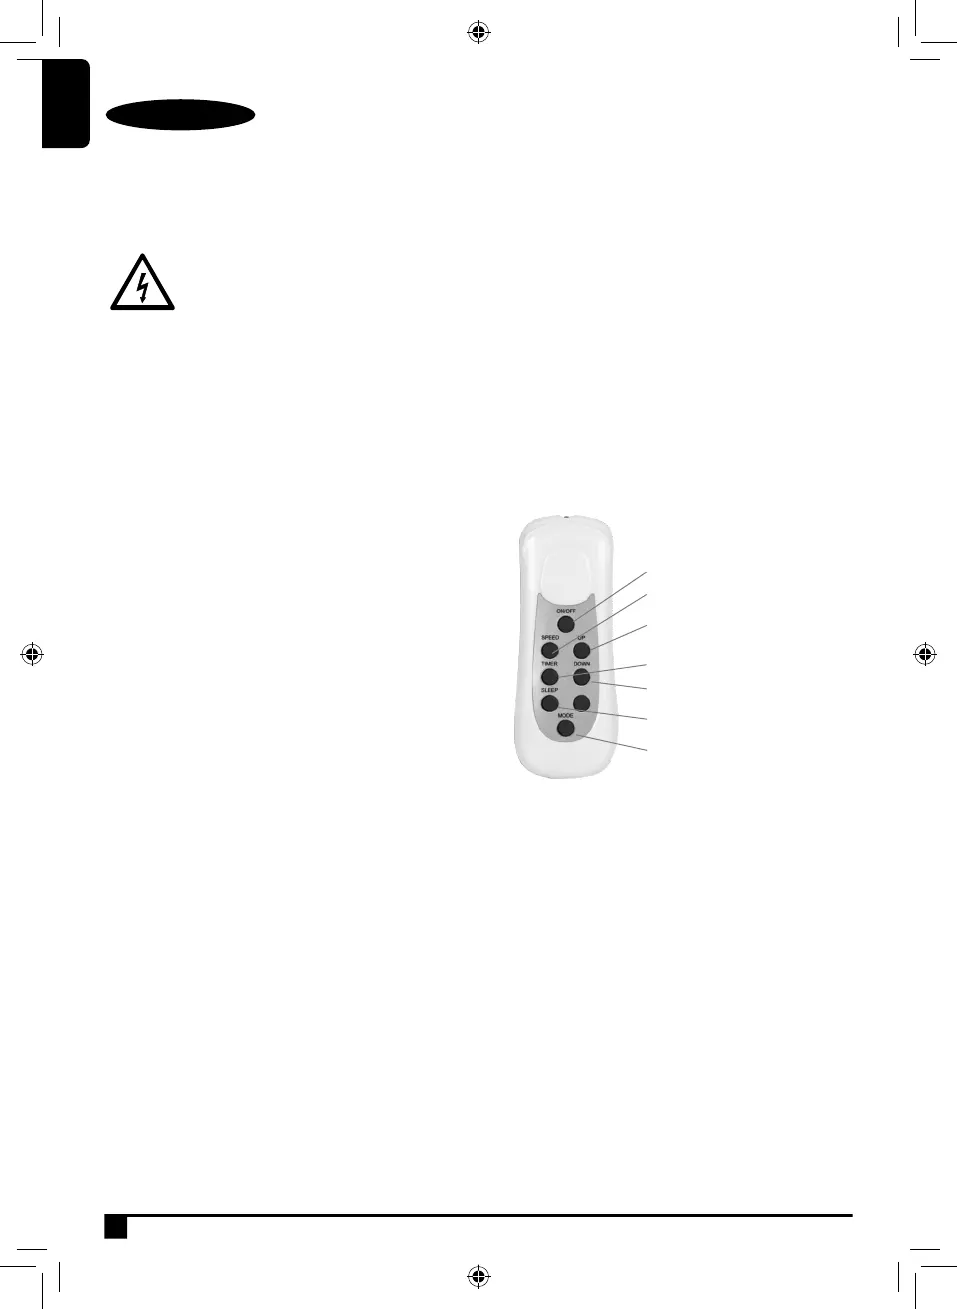
16. Remote Control
Use
About the Controls
♦ 2 speed selection
♦ 24 hour timer
♦ 3 cooling modes and dehumidifying mode
♦ Sleep mode
♦ LED display
Remote Control
Moving the Unit
♦ This unit is equipped with castor wheels and a
carry handle, for easy movement.
♦ To move the unit, grip it rmly by the carry handle
and pull it along the oor as required. Alternatively,
position yourself behind the unit, grip it rmly on
both sides, and push it along the oor as required.
ON/OFF button
Speed button
Up button
Timer button
Down button
Sleep button
Mode selection button