ENGLISH
(Original instructions)
6
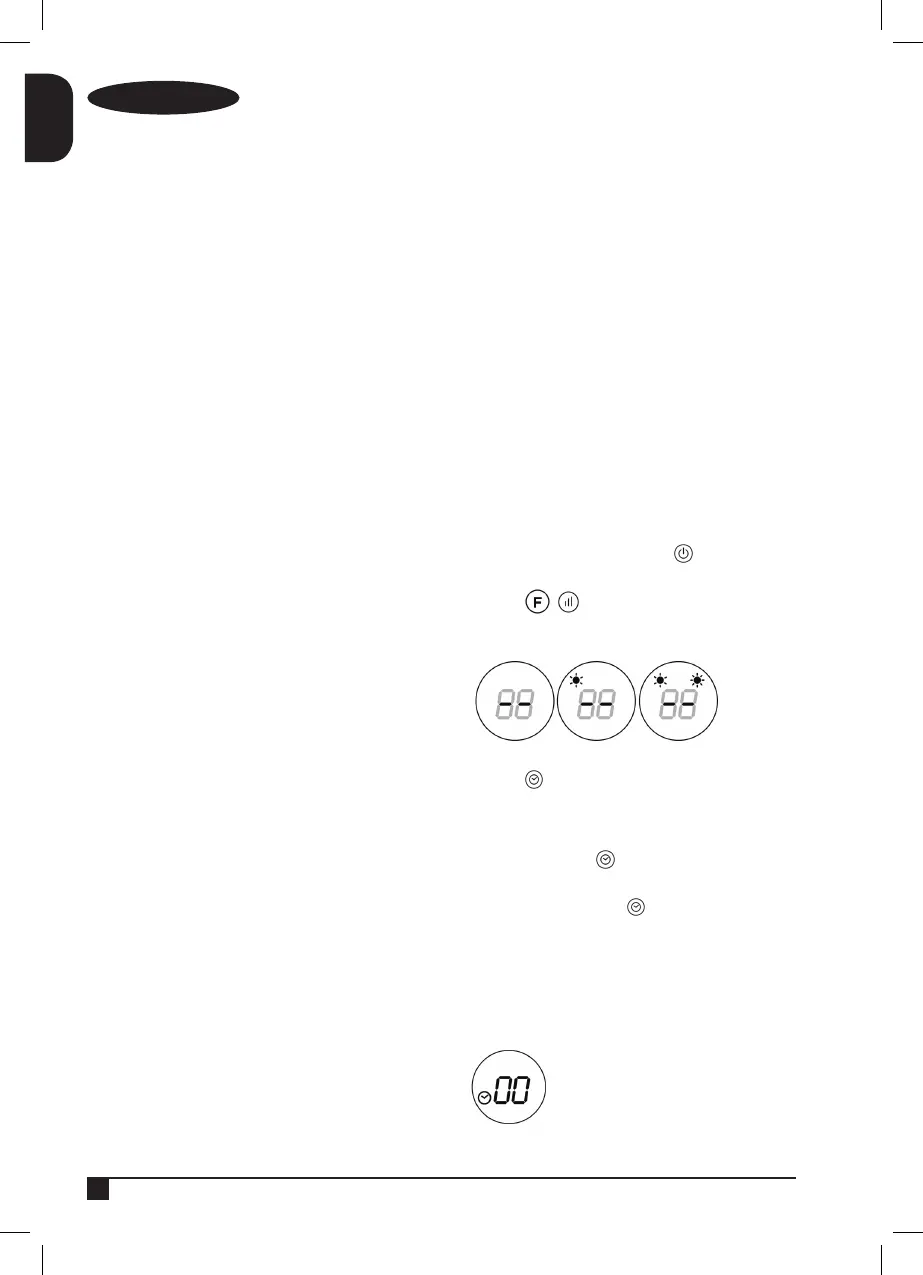
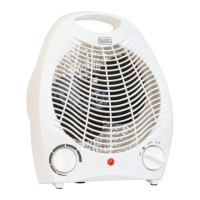
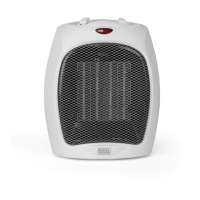
VI. OK
VII. Open-window detection button
VIII. Day setting button
IX. Program button
X. Time ON button
XI. Edit button
XII. Time OFF button
XIII. Oscillation button
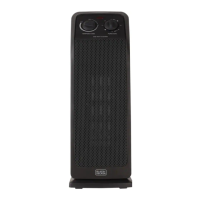
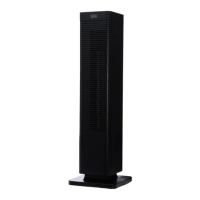
If the model of your appliance does not have the accesso-
ries described above, they can also be bought separately
from the Technical Assistance Service.
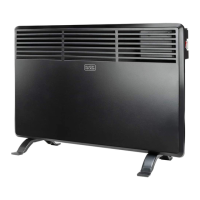
INSTALLATION
♦ Be sure to remove all packaging material from inside the
appliance.
♦ Install the appliance away from ammable material such
as textiles, cardboard or paper, etc.
♦ Install the appliance a minimum distance of 50cm away
from combustible materials, such as curtains, furniture …
♦ Ensure that neither the air access nor exit become either
totally or partially covered by drapery, clothing, etc., as
this increases the risk of re.
♦ Appliance must be installed at least 1,8 m above the
oor.
♦ In the event that the appliance is mounted on a
bathroom wall, position it in such a way that the socket,
power supply cable, switches or other controls are not
within the reach a person in the bath, shower or at the
wash-hand basin.
♦ The plug must be easily accessible so it can be discon-
nected in an emergency.
♦ Ensure that the appliance is properly and safely xed
in his working position with screws. To avoid damaging
the appliance, on recommend to use only the holes
specically made by the manufacturer.
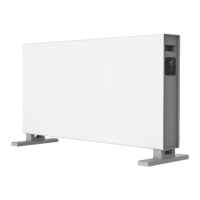
ASSEMBLING THE WALL
BRACKET:
♦ Securing to the wall (Fig.1): Drill two holes in wall keep-
ing a distance of 2,05m from the ground.
♦ Fix the pothook on the expansion pipes with the screws
provided (D).
♦ Make sure the hooks are rm and place the appliance.
INSTRUCTIONS FOR USE
Before use:
♦ Make sure that all products’ packaging has been
removed.
♦ Some parts of the appliance have been lightly greased.
Consequently, the rst time the appliance is used a light
smoke may be detected. After a short time, this smoke
will disappear.
♦ To eliminate the smell given off by the appliance when
used for the rst time, it is recommended to have it on at
full power for 2 hours in a well-ventilated room.
Use:
♦ Unroll the cable completely before plugging it in.
♦ Connect the appliance to the mains.
♦ Turn the appliance on, by using the on/off switch (G).
The appliance enter into standby mode and displays
shows “S”.
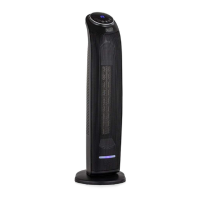
FUNCTIONS (MANUAL AND REMOTE CONTROL):
♦ Turn the appliance on, by using the button. It will
enter into fan mode and display will show “- -“.
♦ Press the / button for one time, the appliance
will work with low heating (1000W).
♦ Press again, it will change to high heating (2000W).
Timer:
♦ Press the button to set the timer (1-12 hours).
Pressing the button one time increases one hour. After
setting the time, the display will show the current setting
for 5 seconds, then it will resume to the previous display.
Meanwhile the light of will be on.
TURN ON AT A SPECIFIC TIME:
♦ In standby mode “S”, press button for setting the
appointment turn-on time (1-12 hours). After the setting
is completed, the display will show the appointment
turn-on.
♦ When the appointment power-on time arrives, the
product will automatically turn on.
♦ The default temperature will be 23ºC.