8
Power Inverter Output Waveform
The AC output waveform of this inverter is known as a modified sine wave.
It is a stepped waveform that has characteristics similar to the sine wave
shape of utility power. This type of waveform is suitable for most AC loads,
including linear and switching power supplies used in electronic equipment,
transformers, and small motors.
Using the Dual 120 Volt AC Outlets
The two 120 volt AC outlets each are located under a protective cover on the
left hand side of the front panel (refer to the Features section to locate). The
two outlets support a combined maximum power draw of 500 watts.
1. Press the inverter power switch to turn the inverter on (I). The inverter
power indicator will light red to indicate the two 120 volt AC outlets are
ready to use.
2. Lift up the cover of the 120 volt AC outlet.
3. Insert the 120 volt AC plug from the appliance into the 120 volt AC outlet.
4. Switch on the appliance and operate as usual.
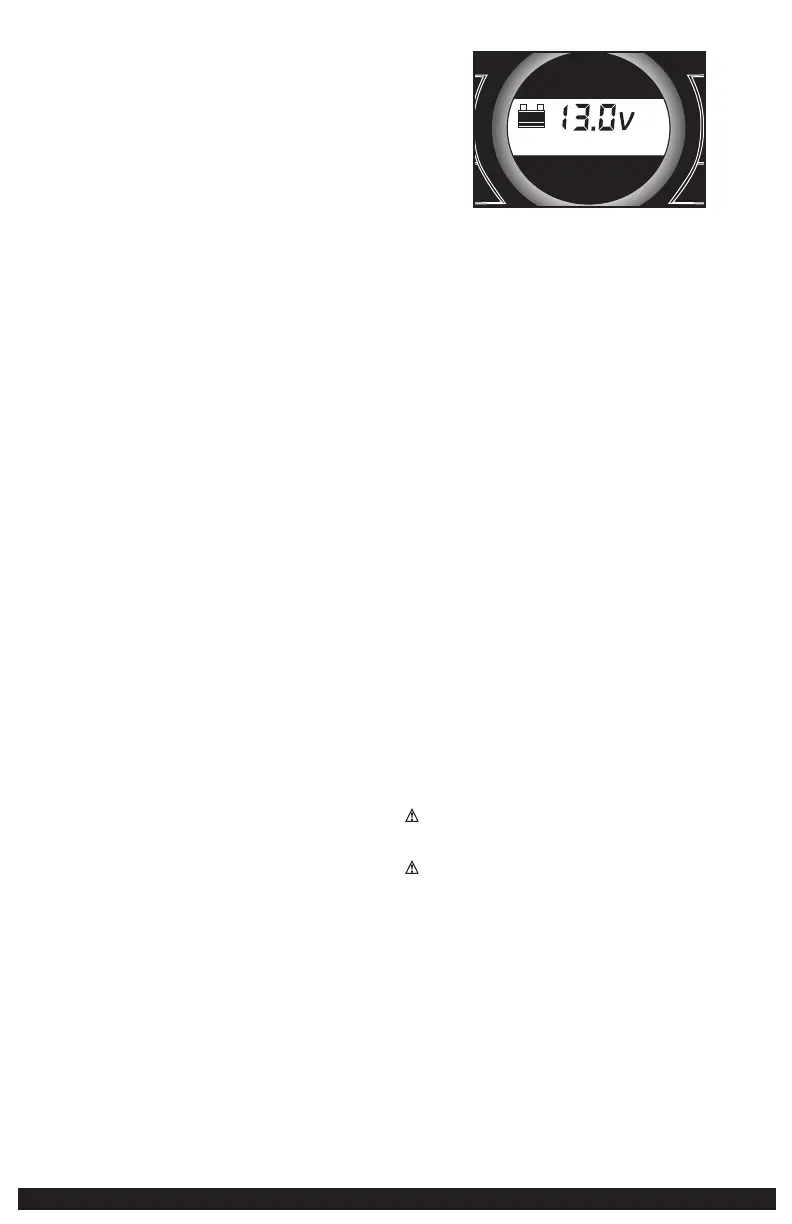
Periodically check the unit’s battery status on the LCD screen by pressing
the Battery Status Button. Four solid bars in the battery icon indicates a full
battery. When the battery level is nearly empty with only one solid bar, the unit
MUST be recharged at this time.
Make sure the inverter is turned off when the unit is being recharged or
stored.
Protective Features
The inverter monitors the following conditions:
Low internal battery voltage: The inverter will automatically shut down when
the battery voltage drops too low, as this can harm the battery.
High internal battery voltage: The inverter will automatically shut down when
the battery voltage is too high, as this can harm the unit.
Thermal shutdown protection: The inverter will automatically shut down when
the unit becomes overheated.
Overload/short circuit protection: The inverter will automatically shut down
when an overload or short circuit occurs.
Important Notes: The inverter power/status indicator will flash red to indicate
that one of the above fault conditions is present before automatic shutdown
occurs. Should this occur, take the following steps:
1. Disconnect all appliances from the unit.
2. Press the inverter power switch to turn the inverter off (O).
3. Allow the unit to cool down for several minutes.
4. Make sure the combined rating for all appliances plugged into the unit
is 500 watts or lower and that appliance cord(s) and plug(s) are not
damaged.
5. Assure there is adequate ventilation around the unit before proceeding.
12 volt DC portable power supply
The 12 volt DC power supply is located under a protective cover on the front of
the unit. Refer to the Features section to locate.
This portable power source is also for use with all 12 volt DC accessories
equipped with a male accessory outlet plug and are rated up to 5 amps.
1. Lift up the cover of the unit‘s 12 volt DC outlet.
2. Insert the 12 volt DC plug from the appliance into the 12 volt accessory
outlet on the unit. DO NOT EXCEED A 5 AMP LOAD.
3. Switch on the appliance and operate as usual.
4. Periodically check the unit’s battery status on the LCD screen by pressing
the Battery Status Button. (Four solid bars in the battery icon indicates a
full battery. One bar indicates that the unit needs to be recharged.)
USB CHARGING PORT
The USB charging port is under the same protective cover as the 12 volt DC
outlet. Refer to the Features section to locate.
1. Press the USB power power button to turn the USB port on. A beep will
sound and the backlit LCD screen will continuously display the following:
+
Area Light
Compressor
Battery
Status
USB
–
+
–
5V
USB
The “5V USB” icon indicates that the USB port is ready to use.
2. Plug the USB-powered device into the USB power port and operate
normally.
The USB power port remains on until the USB Power button is pressed again
to turn it off. Make sure the USB Power Button is in the off position when the
unit is being recharged or stored.
Periodically check the unit’s battery status on the LCD screen. Four solid bars
in the battery icon indicates a full battery. When the battery level is nearly
empty with only one solid bar, the unit MUST be recharged at this time or the
unit’s built-in low voltage protection will activate. The unit will sound a beep
5 times, then the USB Charging Port will automatically turn off. The unit will
then display the battery status and voltage indicator for 10 seconds before
automatic shut down.
Note: This unit’s USB power port does not support data communication. It only
provides 5V DC/1000mA power to an external USB-powered device.
PORTABLE COMPRESSOR
The built-in 12 volt DC compressor is the ultimate compressor for all vehicle
tires, trailer tires and recreational inflatables. A nozzle adaptor is supplied that
screws onto the end of the Sure Fit® nozzle at the free end of the compressor
hose. The compressor hose with tire fitting is stored in the compressor
hose storage compartment. Refer to the “Features” illustration for locations
of compressor hose. The Compressor Power Button and Increase (+) and
Decrease (–) Compressor Pressure Control Buttons are located on the control
panel on the front of the unit.
Before proceeding, check the unit’s battery status on the LCD screen. Four
solid bars in the battery icon indicates a full battery. When the battery level is
nearly empty with only one solid bar, the unit MUST be recharged before use
or the unit’s built-in low voltage protection will activate. The empty Battery
Status Icon will flash for a short period of time before automatic shut down.
The compressor is capable of inflating up to 120 pounds per square inch (psi)
pressure. The compressor can operate long enough to fill up to 3 average
sized tires before the battery must be recharged. Return hose to the storage
compartment after use.
IMPORTANT: Make sure the Jump Starter Power Button has been turned off
before attempting to use the unit as a Compressor.
WARNING – TO REDUCE THE RISK OF SERIOUS INJURY OR PROPERTY
DAMAGE: Follow all safety instructions found in the “Specific Safety
Instructions for Compressors” section of this instruction manual.
CAUTION – TO REDUCE THE RISK OF SERIOUS INJURY OR PROPERTY
DAMAGE: When the compressor is operated at a low PSI, the unit may start
slowly and gradually rev up. When the compressor is operated at higher
PSIs, the unit may operate normally for several minutes, then rev down for
a few minutes before returning to normal operation. This feature protects
the unit from overheating during normal use. In any event, do not operate
compressor continuously for longer than 10 minutes, as it may overheat. This
could damage the compressor. If the compressor must be operated for longer
periods: every 10 minutes press the Compressor Power Button to turn the
compressor off, then restart after a cooling down period of approximately 30
minutes.
Inflating Tires or Products With Valve Stems
1. Screw the Sure Fit
®
nozzle onto the valve stem. Do not overtighten.
 Loading...