11
ENGLISH
Connecting/removing a USB data
carrier
Connecting a USB data carrier
쏅 Switch o the car sound system so that the
data carrier will be correctly registered.
쏅 Pull the protective cap of the USB socket
9
to the front until it moves out of the socket
and fold it down.
쏅 Connect the USB data carrier.
쏅 Turn on the car sound system.
If the USB data carrier is initially selected as
audio source, the data are read rst.
Notes:
• If the connected USB data carrier cannot
be seen, "USB ERROR" is brie y displayed.
• The time required for reading in the data
depends on the design and size of the USB
data carrier.
Removing a USB data carrier
쏅 Switch o the car sound system so that the
data carrier will be correctly unregistered.
쏅 Disconnect the USB data carrier.
쏅 Close the protective cap of the USB socket
9
.
Inserting/removing a memory card
Inserting a memory card
쏅 Switch o the car sound system so that the
memory card will be correctly registered.
쏅 Open the cover of the card slot
?
.
쏅 Insert the memory card with its labelled side
up and its contacts rst into the card slot
?
until it clicks into place.
쏅 Close the cover of the slot again.
쏅 Turn on the car sound system.
Notes:
• If the inserted memory card cannot be
played, "SD ERROR" is brie y displayed.
• The time required for reading in the data
depends on the design and size of the
memory card.
Removing the memory card
쏅 Switch o the car sound system so that the
memory card will be correctly unregistered.
쏅 Open the cover of the card slot
?
.
쏅 Push on the memory card until it disengages.
쏅 Pull the memory card out of the card slot.
쏅 Close the cover of the slot again.
Selecting tracks
쏅 Press the / button
7
brie y to change
to the previous/next track.
Note:
If the current track plays longer than 3 sec-
onds, pressing
7
once restarts the track.
Selecting a folder
(only in MP3/WMA mode)
쏅 Press the / button
7
brie y to change
to the previous/next folder.
Fast searching
쏅 Press and hold down the button /
7
until the desired position has been reached.
Interrupting playback
(Basic only)
쏅 Press the 3
;
button to interrupt the
playback ("PAUSE") or to continue it.
Scanning all tracks
The scan function scans all available tracks.
쏅 Press the MENU button
<
for approx. 2 sec-
onds to start the scan, or brie y to continue
playing the currently scanned track.
During the scan, the display alternately dis-
plays "PLAY SCAN" and the playing time of
the current track.
Note:
The scan time can be adjusted (see the chap-
ter "User settings", section "Making settings
in the "VARIOUS" menu", menu item "SCAN
TIME").
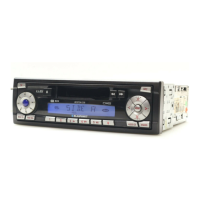
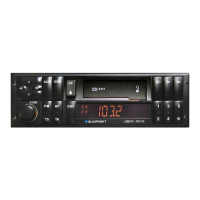
CD/MP3/WMA mode
 Loading...