E-20A-H-O / E-20AJ-H-O User Manual V1.3
18 / 34
13. Navigating the Patient Menu
13.1 Steps to Navigating the Patient Menu
13.1.1 Accessing the Main Interface
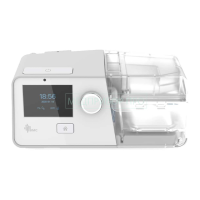
Connect the power cord and power adapter properly. The screen displays the Main Interface
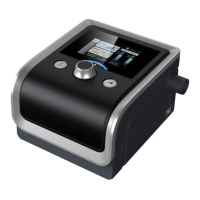
shown in Fig. 13-1 (only applies to E-20A-H-O), or the Main Interface shown in Fig. 13-2
(only applies to E-20AJ-H-O).
Fig. 13-1
Fig. 13-2
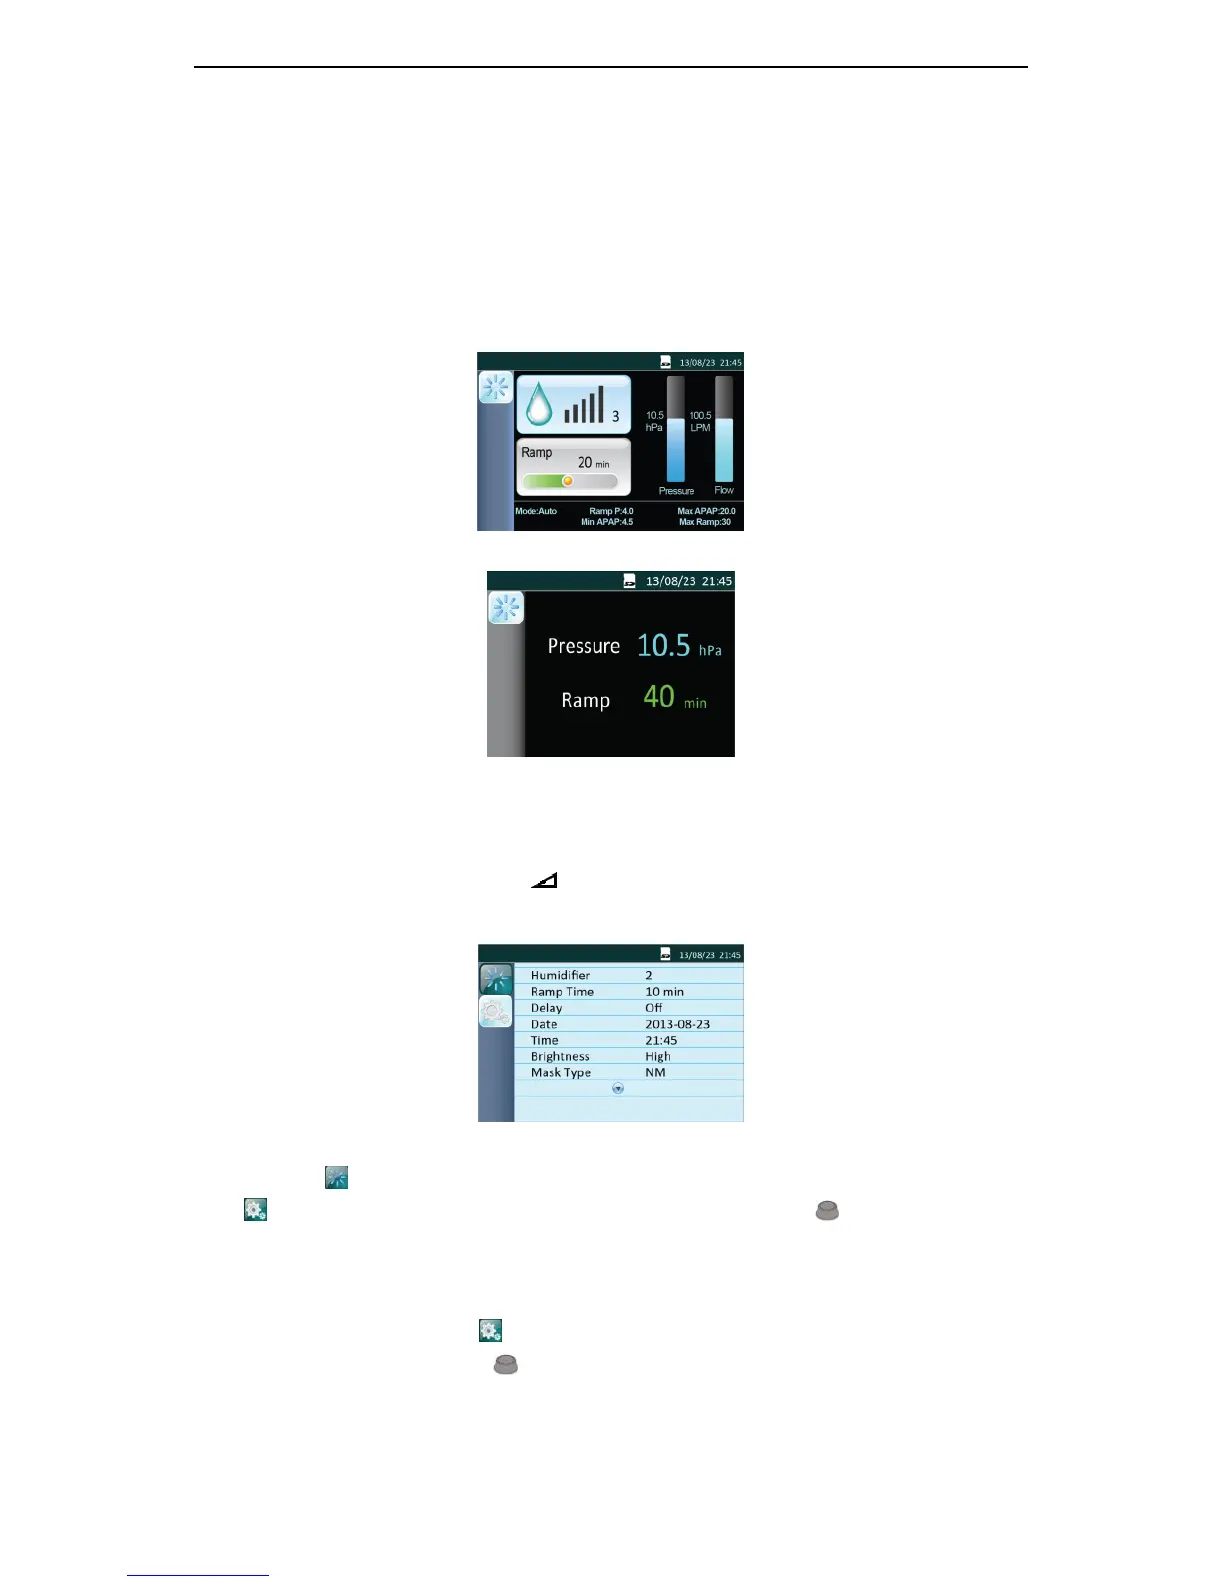
13.1.2 Bringing up the Initial Setup Interface
From the Main Interface shown in Fig. 13-1 or Fig. 13-2, or when the device delivers air,
press and hold the Ramp Button for three seconds. The screen displays the Initial
Setup Interface of the Patient Menu, as shown in Fig. 13-3.
Fig. 13-3
The first icon on the left side of the screen indicates the Main Interface, and the second
icon indicates the Initial Setup Interface. As you turn the Knob , the cursor switches
between the two icons, and the interface displayed on the screen changes accordingly.
13.1.3 Accessing the Setup Interface
When the cursor is on the icon , the screen displays the Setup Interface. Access the Setup
Interface by pressing the Knob . The first option on the Setup Interface is then displayed
in blue, as shown in Fig. 13-4.
 Loading...