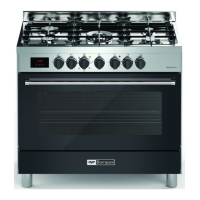
MULTI-FUNCTION ELECTRIC OVEN
ith different heating elements controlled
using a selector switch and regulated by a
thermostat, this oven offers various cooking
There are three principle sources of heat:
Forced heat diffusion (fan oven).
Spontaneous heat diffusion (static
Starting from the 0 (off) position and turning
the selector knob clockwise, the following
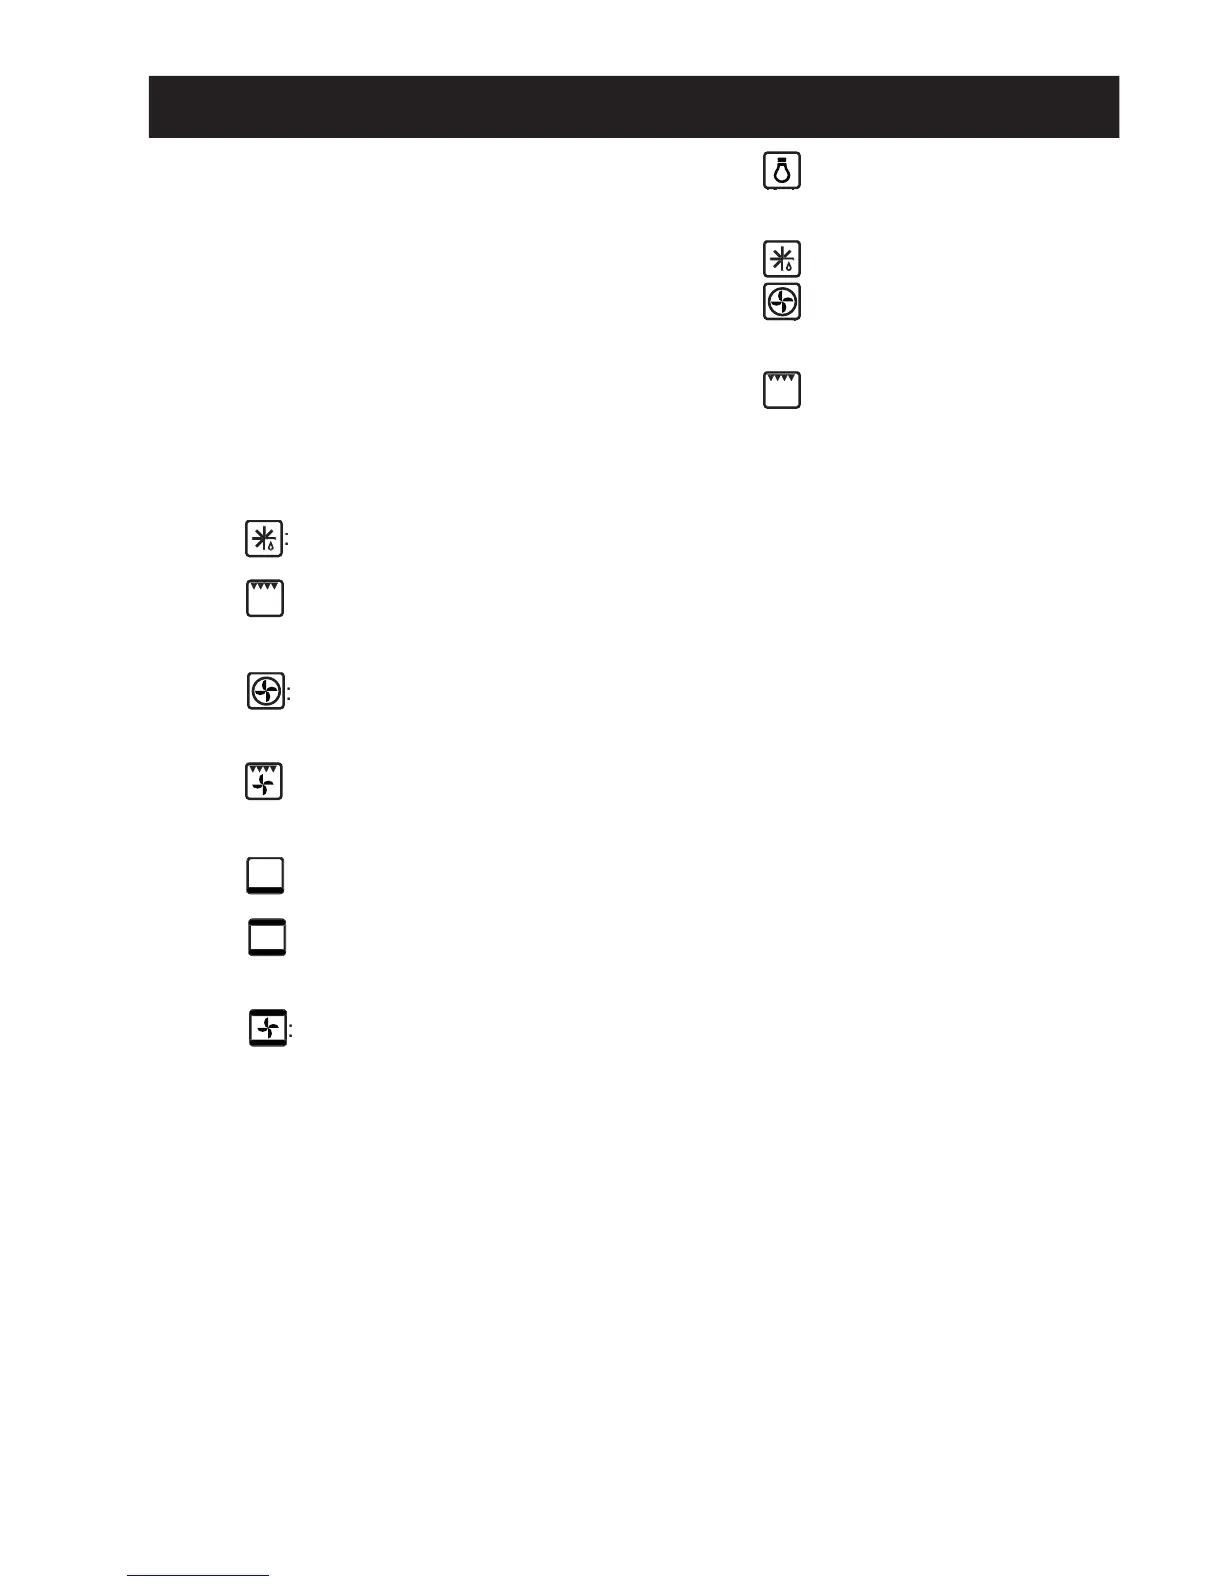
oven light and red light on, fan
grill function is on,the ther-
mostat knob must be on the maximum
fan oven cooking on one or two
levels, the oven temperature is regulated
by means of the thermostat knob.
by means of the thermostat knob.
: the fan grill function is on; the
grill, the top heating element and the fan
inside the oven are all in operation.
inside the oven are all in operation.
: the bottom heating element is
one. The oven is heated below only.
one. The oven is heated below only.
,the oven temperature is re-
gulated by means of the thermostat knob.
gulated by means of the thermostat knob.
full fan cooking is one; the top
and bottom heating elements and the fan
inside the oven are in operation.
In all positions except zero (0) the red warn-
ing light and the oven light are on.
The yellow warning light comes on
according to thermostat variations. Before
putting food in to be cooked, the oven should
be pre-heated for at least 10 minutes.
With different heating elements controlled
using a selector switch and regulated by a
tarting from the 0 (off) position,
n be turned clockwise to the fol-
:oven lamp on (it will remain
on even if the knob pointer is turned to the
on even if the knob pointer is turned to the
:cooking with fan oven, on
one or two levels, the oven temperature is
one or two levels, the oven temperature is
controlled using the thermostat knob.
controlled using the thermostat knob.
: The yellow warning light comes on
according to thermostat variations. Before
putting food in to be cooked, the oven should
be pre-heated for at least 10 minutes.
Allows programming of the duration of coo-
If the cooking procedure does not require
monitoring, it can also take place in the
On installation or after a power blackout,
the display fl ashes. This indicates that the
correct time has to be set.
time. Adjustment continues to be possible
for 7 seconds after the last time either of the
After the time has been set, the display no
longer fl ashes and the pan symbol is lit up.
or decreases the time at a speed varying
depending on the time for which the key is
SETTING SUMMER TIME/STANDARD
Simply keep the “MODE” key depressed for
4 seconds: the numbers showing the hours
start to fl ash. Press the
the correct time. The minute figures will
After the correct time has been set, the oven
can be used in manual mode with the aid of
the oven thermostat knobs and the selector