English–3
1 609 929 C79 • (01.10) T
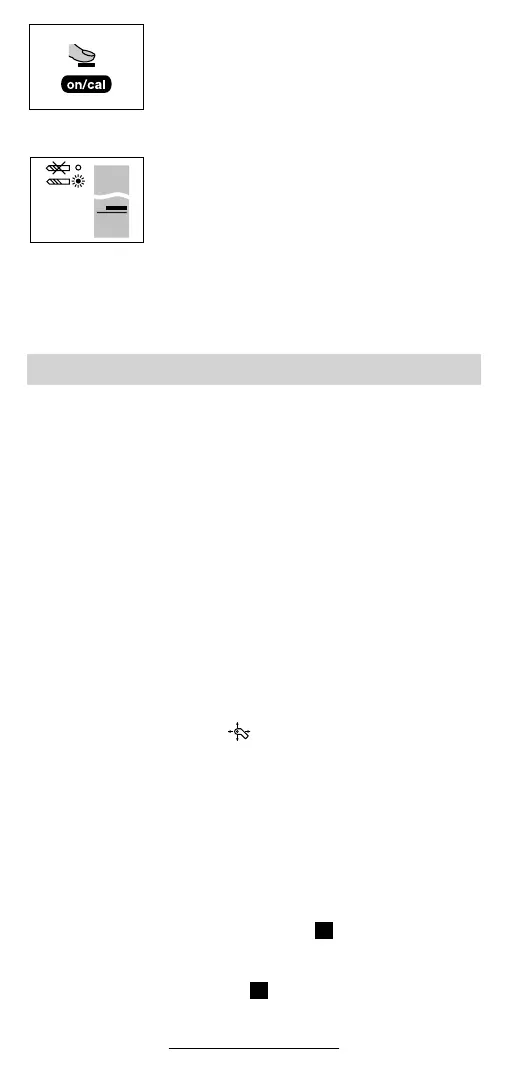
Press the On/Cal button 10 on the back of the
unit.
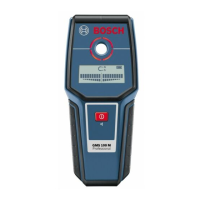
The unit switches on and calibrates itself auto-
matically. During this period, the red LED indica-
tor 3 and the green LED indicator 2 blink alter-
nately. In the display, the blinking CAL symbol
indicates that the calibration is in progress.
After approx. 3 s, the CAL symbol disappears
from the display. The display shown here ap-
pears. The green LED indicator 2 lights.
The unit is now ready for operation.
Switching off:
After approx. 75 s without renewed calibration, the device switches
off automatically.
■ Warning: Under certain conditions, this detector may
give erroneous readings. Do not rely completely on this
detector to assure safe operation when drilling or cutting
into walls with live electrical wiring, pressurized water
pipes, etc.
■ Always follow precautions outlined in the operating man-
ual for your drill, saw, etc.
Measurement behind surfaces containing metal (e.g. tiles with me-
tallic content) are not or only conditionally possible since the unit
detects and indicates the metal of the surface.
Calibration
Renewed calibration is always required when the CAL symbol
blinks (every 60 s) in the display 4 during operation. In addition, cal-
ibration is to be performed when the device is given to another per-
son.
Observe the instructions for calibration in the Switching On section.
Set the rotary switch 8 to the function. Press the On/Cal but-
ton 10 on the back of the unit.
Marking
Important positions can be marked as necessary. For this pur-
pose, place the unit on the position to be marked (e.g. drilling po-
sition) and press the marking stamp 9 lightly against the surface.
If the marking intensity of the stamp ring becomes weak, replace
the marking stamp 9.
Insert a coin or similar object into the slot of the marking stamp 9
and turn until a click is audible (see Figure ). Tilt the coin slightly
to lift the marking stamp 9 upward. Pull the marking stamp 9 com-
pletely out.
Insert a new stamp (see Figure ) and turn with the coin until it
clicks.
Working Instructions
A
B