English | 33
Bosch Power Tools F 016 L81 082 | (17.12.13)
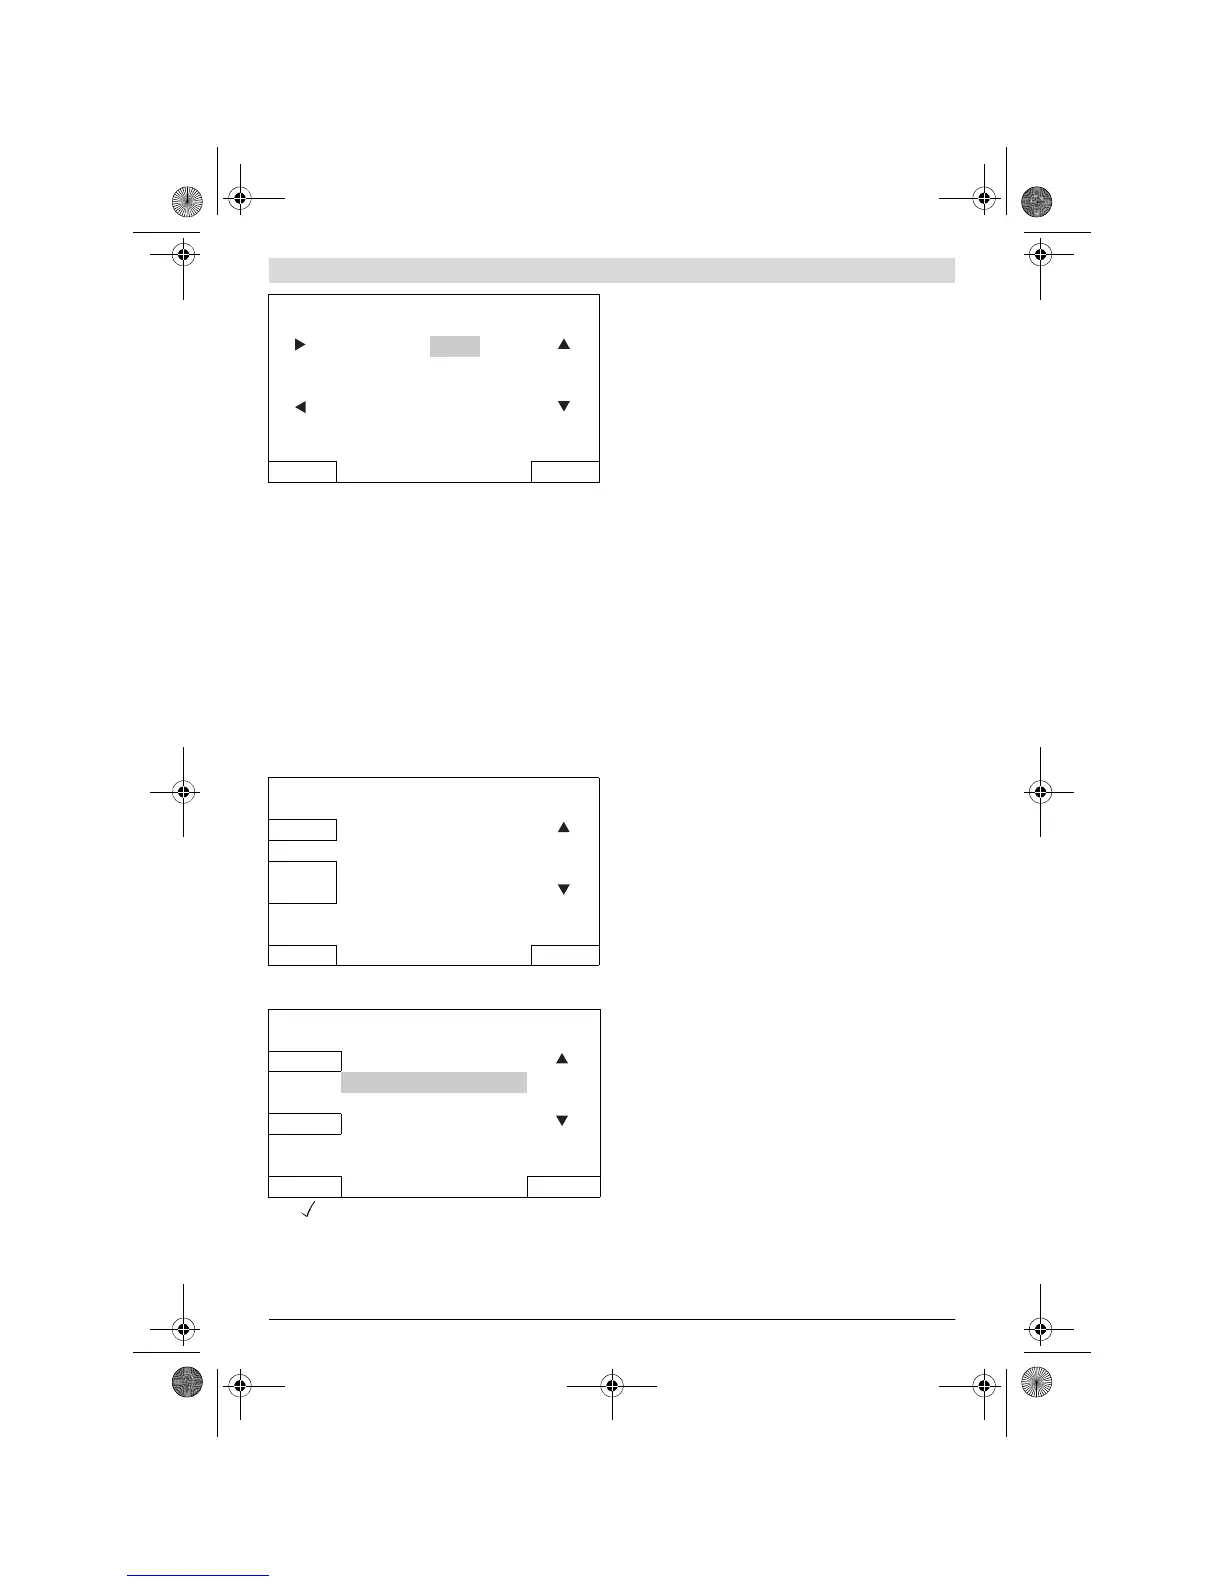
Set up a time slot for “Start” and “End” of automatic mowing.
If a dormant period is required, e. g. at noon, two slots must
be established. For each day a single slot or both slots can be
turned ON or OFF.
The machine will work within a slot unless the battery needs
charging. If the lawn area has been completed before the end
of a time slot the machine will return to the docking station.
Select slot 1 with the right/left cursors and select “On” or
“Off” with the up/down cursors. Select “Start” with the
right/left cursors and adjust a start time with the up/down
cursors. Select “End” and adjust an end time in the same way.
If required set also a start and end time for slot 2. Press
“Save” to confirm your entry.
If the machine should not operate, e. g. on Monday, select
“Off” with the up/down cursors for both slots.
The programmed slot is shown on a schedule.
Set up all additionally required mowing days and confirm your
personal “CUSTOM 1” mowing schedule with “OK”.
A tick will appear next to the saved mode.
The machine will start mowing as soon as day and start time of
slot 1 is reached.
Note: Set up different schedules for seasonal growing condi-
tions in spring, summer and autumn. Observe the growth of
the grass and adjust your schedule if required.
Note: The Indego’s cutting system is designed to cut small
lengths of grass (3–5 mm) so that the clippings can mulch
down and fertilise the lawn.
Mowing
Do not let children ride the machine.
Press manual stop button before lifting. Always lift the
machine at its handle.
For best mowing results, set up a frequent mowing schedule
for longer lasting battery and for preventing debris on the
lawn.
Once mowing has started:
–in the “Manual” mode, the machine operates until the lawn
area has been cut or until the manual stop button is
pressed or until the battery needs charging.
– in the programmable “Custom” mode, the machine oper-
ates continuously within a slot. It only pauses mowing for
charging. To stop mowing before the machine has finished
a slot, press the manual stop button. If the lawn area has
been completed before the end of a time slot the machine
will return to the docking station.
Indego 1300
The Indego 1300 will recognise when placed in an additional
docking station and if already mapped will load up the correct
map. If a “Custom” mode is selected the Indego 1300 will cut
the grass within the time slots.
Logicut Intelligent Cutting
How the Indego cuts efficiently (see figure 17)
To mow efficiently the Indego learns the shape of the cutting
area it is working in. This learning occurs during the first two
cutting cycles.
Below is an explanation of how the Indego learns the lawn
shape.
How it works
To mow efficiently the Indego maps the outline of the lawn ar-
ea and the location of the objects within it (trees, flowerbeds,
ponds, etc) that are marked out with perimeter wire during in-
stallation. This allows the Indego to plan where it needs to cut
the grass, where it has cut the grass and also its route to and
from the docking station. This allows the Indego to complete
the task of mowing more efficiently.
Mapping the cutting area (see figure 17)
After setup the Indego will first map out the shape of the gar-
den. This is done by following the perimeter wire placed
around the edge of the garden. Whilst following the perimeter
wire the Indego is measuring the distances. The Indego then
builds up a map of the garden that is saved into its memory.
Note: The Indego does not follow the wire to the inner bound-
aries.
CUSTOM 1 – Monday
Slot 1:
On
Start End
12 : 00 14 : 00
Slot 2: Off
Start End
::
Cancel Save
CUSTOM 1
View Monday
Tuesday
Wednesday
Thursday
Friday
Saturday
Sunday
Edit
Back OK
Select Daily Timer
View MANUAL
CUSTOM 1
CUSTOM 2
Edit CUSTOM 3
CUSTOM 4
CUSTOM 5
Back Select
OBJ_BUCH-1573-005.book Page 33 Tuesday, December 17, 2013 12:59 PM