For models without display:
To enter options mode:
1 With the door closed, press the On/Off button to turn the unit on.
2 One of the wash cycle LEDs will be flashing.
3 Press and hold down the > button, then simultaneously press and release the Start button. Now release the >
button.
4 The "Clean" and one other LED (varies by model) will be flashing. You are now in options mode.
5 Press the > button to select the option you would like to adjust.
To set amount of Rinse Aid:
Note: If your glasses have spots on them, you need more rinse aid. If your glasses have streaks on them, you need less
rinse aid.
1 Follow the above instructions to enter options mode.
2 With the "Clean" and "Rinse Aid" LEDs flashing, press the < button to change the amount of rinse aid dispensed.
The "Clean" and "Rinse Aid" LEDs keep flashing and:
0 wash cycle LEDs on = rinse aid is OFF
I wash cycle LED on = lowest amount of rinse aid dispensed
2 wash cycle LEDs on = medium amount of rinse aid dispensed
3 wash cycle LEDs on = highest amount of rinse aid dispensed
3 Press Start to save your setting.
To turn Extra Dry
1
2
Heat ON or OFF:
Follow the above instructions to enter options mode.
With the "Clean" and "Sanitized" LEDs flashing, press the < button to turn Extra Dry Heat ON or OFF. The
"Clean" and "Rinse Aid" LEDs keep flashing and:
0 wash cycle LEDs on = Extra Dry Heat is OFF
I wash cycle LED on = Extra Dry Heat is ON
Press Start to save your setting.
Care and Maintenance
Maintenance Tasks
Certain areas of the dishwasher require occasional maintenance. The maintenance tasks are easy to do and will
ensure continued superior performance from your dishwasher.
Wiping up spills and splash-outs
Water may occasionally splash out of you[ dishwasher, particularly if you interrupt a
cycle or open the dishwasher door during a cycle. To avoid floor damage and possibly
mold growth, do not allow wet areas to remain around or under the dishwasher.
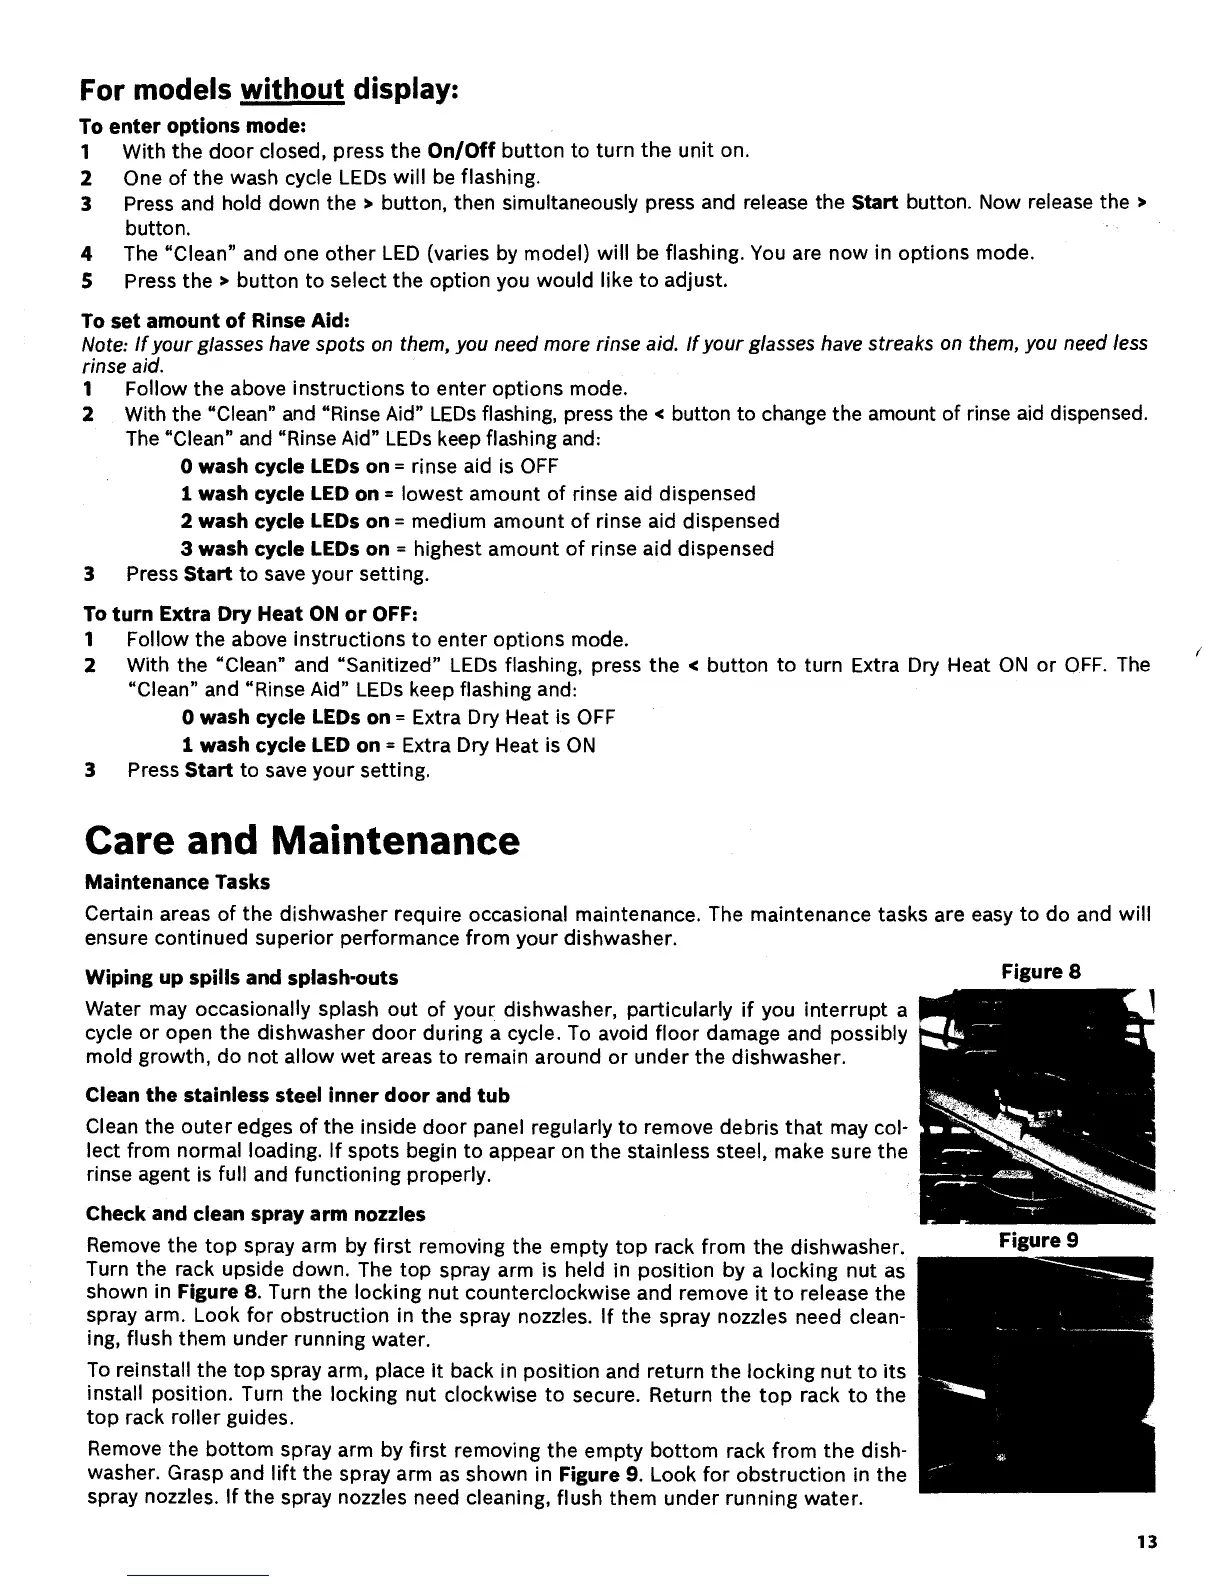
Figure 8
Clean the stainless steel inner door and tub
Clean the outer edges of the inside door panel regularly to remove debris that may col-
lect from normal loading. If spots begin to appear on the stainless steel, make sure the
rinse agent is full and functioning properly.
Check and clean spray arm nozzles
Remove the top spray arm by first removing the empty top rack from the dishwasher.
Turn the rack upside down. The top spray arm is held in position by a locking nut as
shown in Figure 8. Turn the locking nut counterclockwise and remove it to release the
spray arm. Look for obstruction in the spray nozzles. If the spray nozzles need clean-
ing, flush them under running water.
To reinstall the top spray arm, place it back in position and return the locking nut to its
install position. Turn the locking nut clockwise to secure. Return the top rack to the
top rack roller guides.
Remove the bottom spray arm by first removing the empty bottom rack from the dish-
washer. Grasp and lift the spray arm as shown in Figure 9. Look for obstruction in the
spray nozzles. If the spray nozzles need cleaning, flush them under running water.
Figure 9
13
 Loading...