Setting
up
the
System
Placing
the
system
1.
Move your TV so you can see the
Audio
Out
panel.
2.
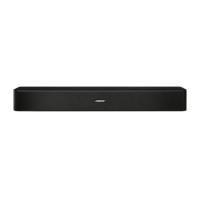
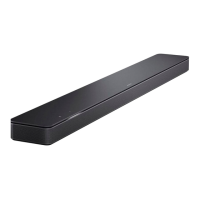
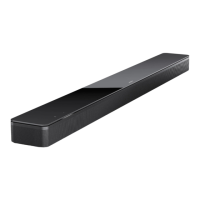
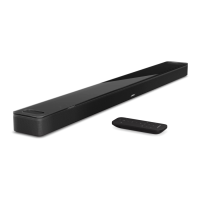
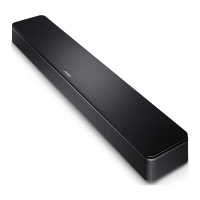
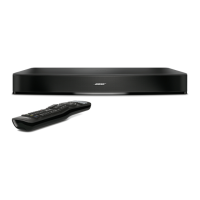
Place
the
Solo
15/1
0
series
II
system where you had your
TV.
Placement guidelines:
If placing
the sound system
in
a cabinet
or
on a shelf,
position the
front
of
the system as close
as
possible
to
the front edge
of
the
shelf
for
optimum audio performance.
CAUTIONS:
• If placing
the
sound system backed up
to
a
wall,
make sure there
is a space of at
least 1"
(2.5
em)
between the
wall
and the rear of
the system.
•
With any
placement
of
this product, make sure the ventilation
openings
on
the rear
panel
are not
blocked.
6-
English
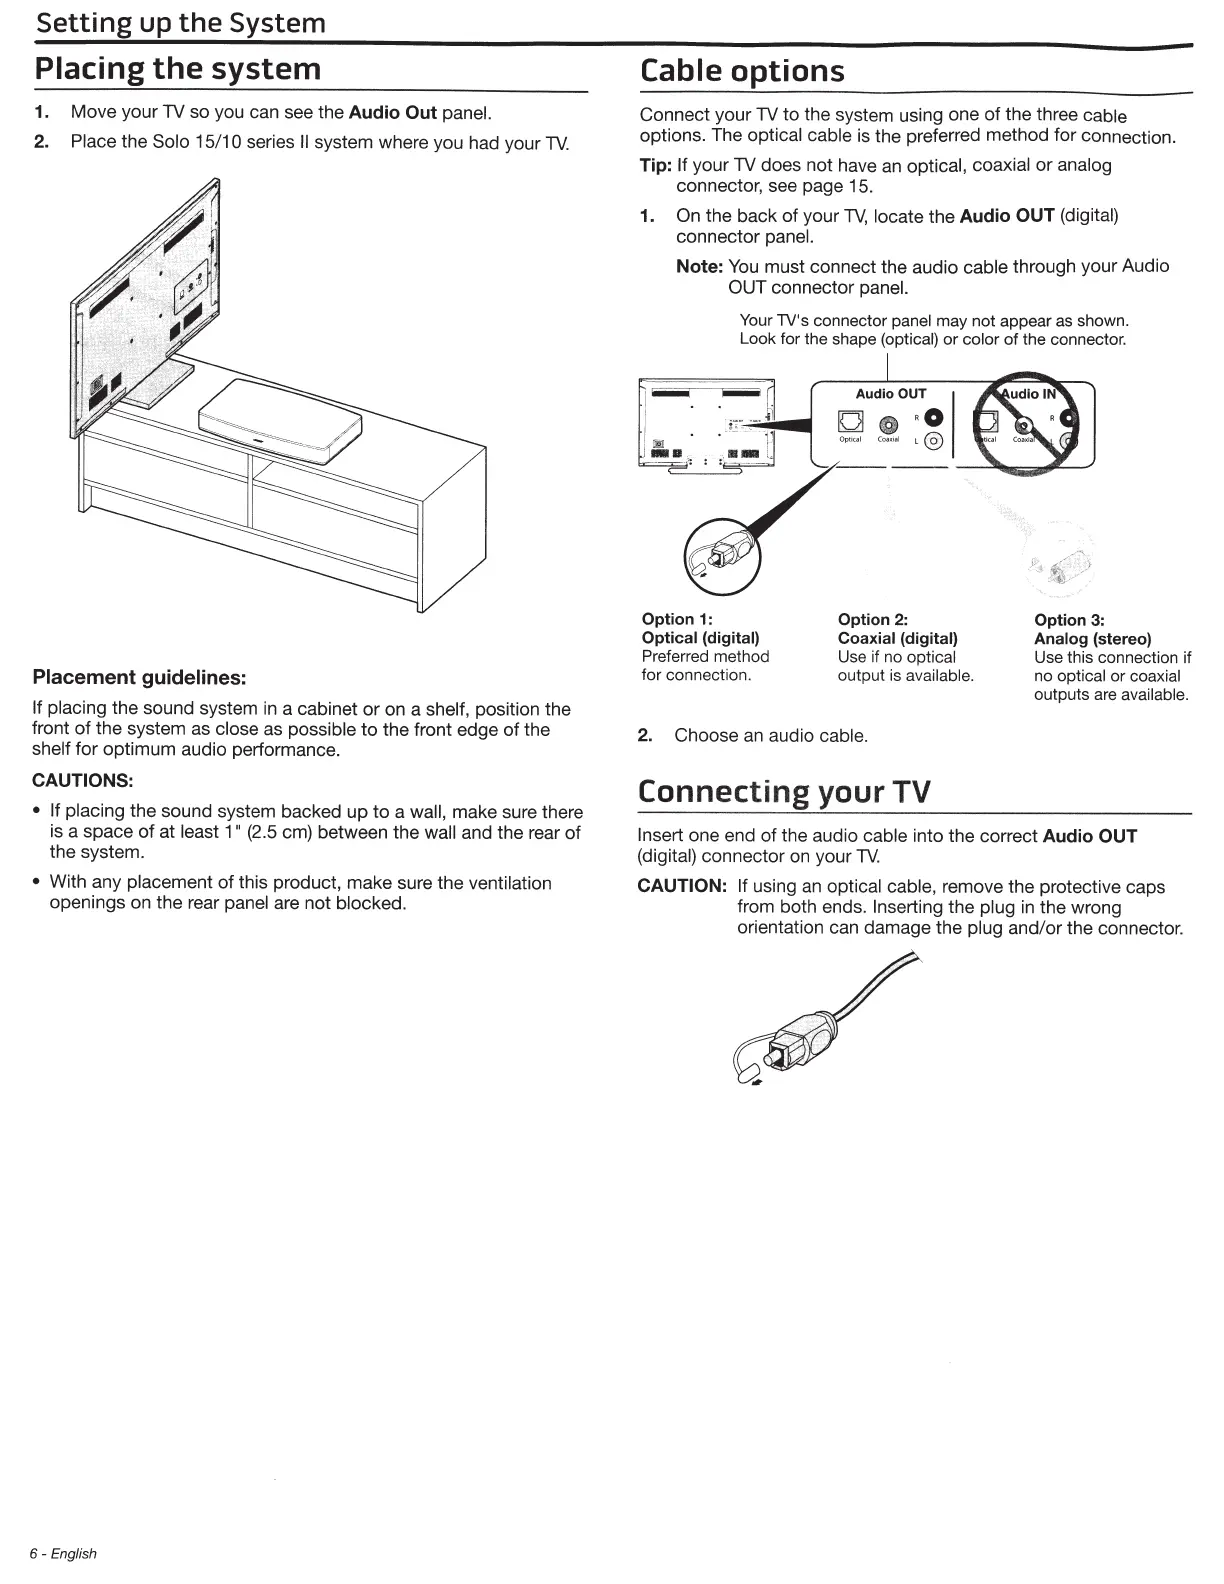
Cable
options
Connect your
TV
to the system using one
of
the three
cable
options. The
optical cable
is
the preferred method for connection.
Tip:
If
your TV does not have
an
optical, coaxial
or
analog
connector, see page 15.
1.
On
the back
of
your
TV,
locate
the
Audio
OUT
(digital)
connector
panel.
Note:
You
must connect the audio
cable
through your Audio
OUT
connector
panel.
Your TV's connector
panel
may not appear as shown.
Look for the shape
(optical)
or
color
of the connector.
Option
1:
Optical
(digital)
Preferred method
for connection.
Option
2:
Coaxial (digital)
Use if no
optical
output
is
available.
2. Choose
an
audio
cable.
Connecting
your TV
Option
3:
Analog
(stereo)
Use this connection if
no
optical or
coaxial
outputs are
available.
Insert
one end
of
the audio
cable
into the correct
Audio
OUT
(digital)
connector on your
TV.
CAUTION:
If
using an
optical cable,
remove the protective caps
from both ends.
Inserting
the
plug
in
the wrong
orientation can damage the
plug and/
or
the connector.
 Loading...