Boulderlink
4-3
Setting Boulderlink ID Numbers
Every component is required to have a unique Boulderlink ID number.
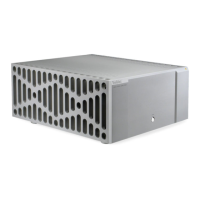
Each Boulder 3050 Mono Power Amplier has an amplier ID switch
on the rear panel. Starting by setting the rst switch to “0” or “1” by
pressing on the either button above or below the ID window. Once the
rst amplier is set at either “0” or “1”, assign other ampliers numbers,
moving up in sequence without duplication. Use of the lowest numbers will
hasten the turn on processor, as each amplier is allowed three seconds
to initialize before the next. This spreads out the power line inrush currents
preventing the house circuit breakers from unnecessarily tripping. Up to
16 power ampliers may be connected together in one Boulderlink daisy
chain.
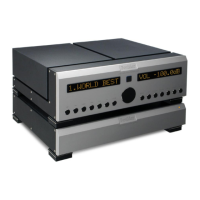
Power Up By Boulderlink
With each component connected together with a Boulderlink cable,
and individually connected to a mains outlet, pressing the power amplier
or preamplier’s “STANDBY” push button will initiate the turn on sequence
of all components.
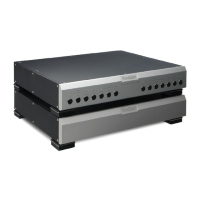
The rst time a master is powered up, it will search for any “SLAVE”
units connected to it. As the MASTER nds each SLAVE, the SLAVE’s ID
number will be shown on the display.
If any of the connected SLAVEs are ampliers, then each time the
MASTER is turned on it will display “WAITING FOR AMPS.” Each amplier
will be turned on in the order of their Boulderlink ID. To minimize turn on
time, the amplier’s ID should be set to the lowest possible number in the
sequence. For example, use “0”, “1”, and “2”, instead of “13”, “14”, and
“15”. An Amplier set to ID “15” will take 47 seconds to turn on.
Boulderlink