operation
10 - Gemini R and Pro | Operation
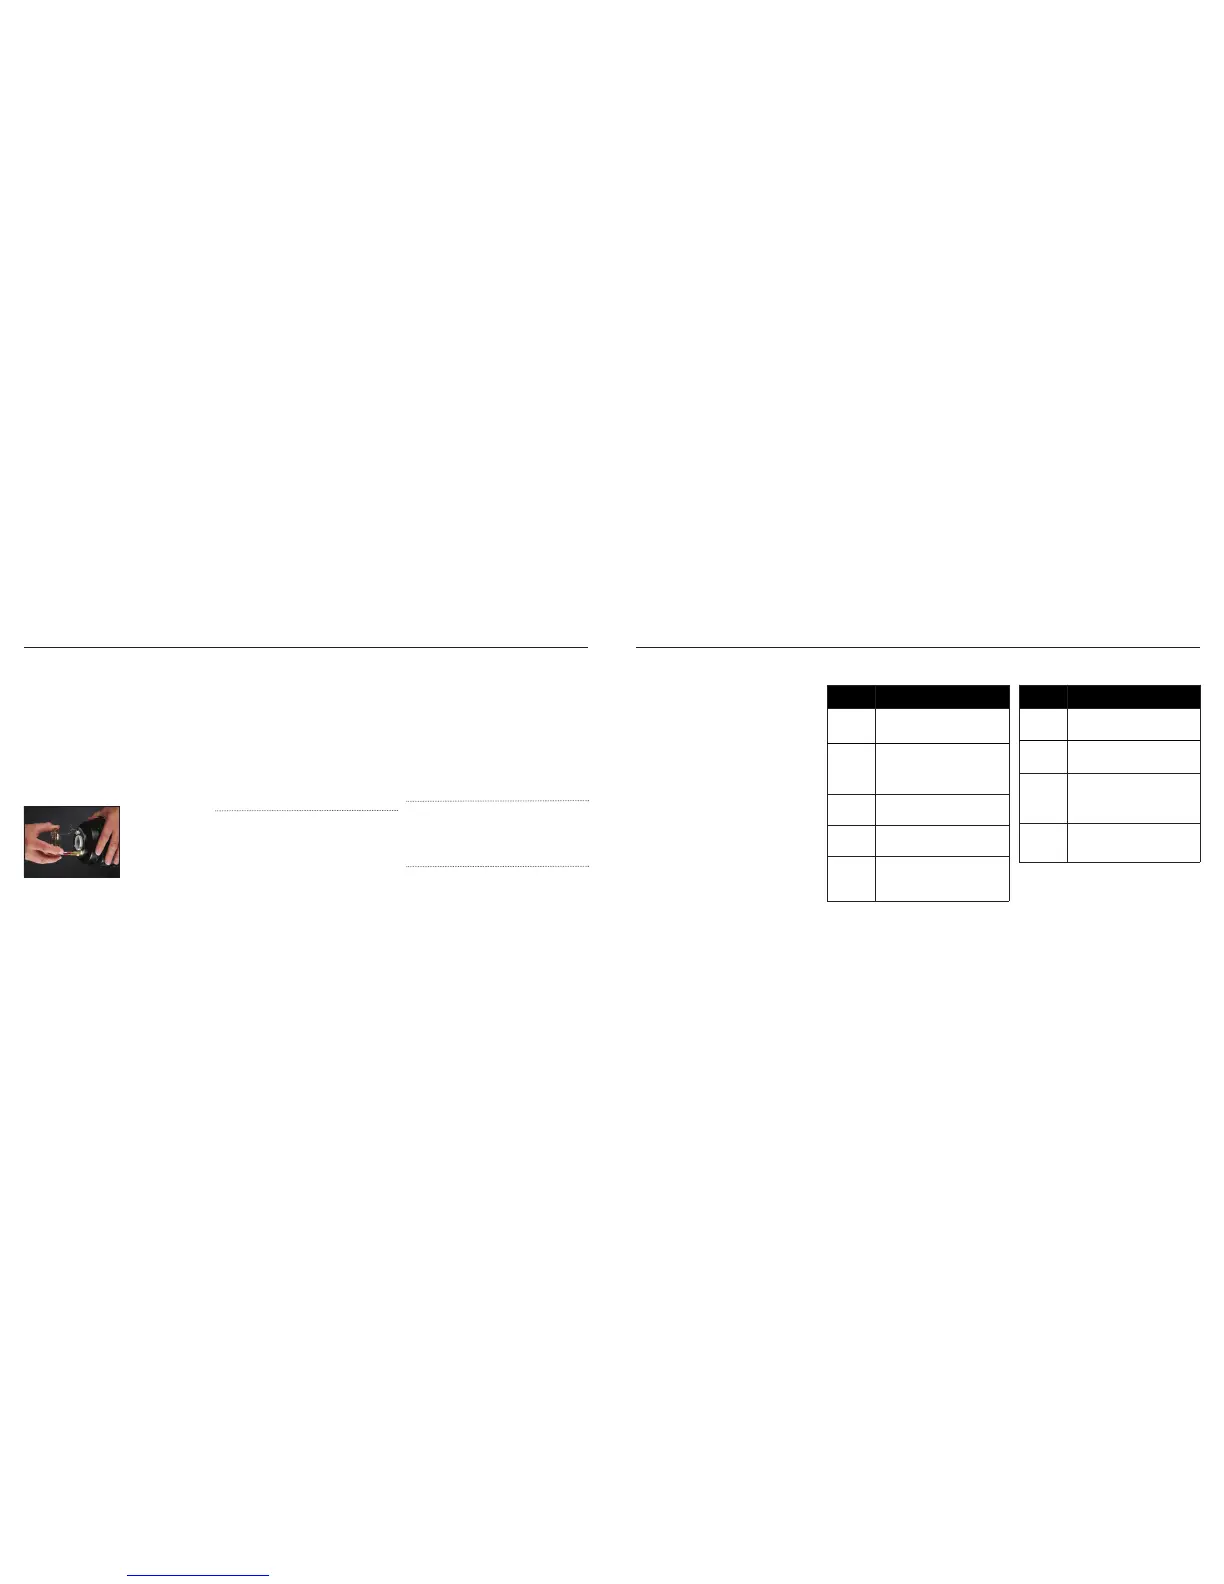
Changing the Flash Tube
Ensure that the unit is switched off and disconnected from the
AC supply and then wait thirty minutes before touching or
removing the flash tube.
Remove the protective cap and unwind the twisted trigger
wire from the flash tube support.
Gently pull the flash tube assembly out of the unit.
To replace the assembly, hold the flash tube as shown and
taking care to support both legs of the tube, gently but firmly,
push the flash tube into position, and wind the trigger wire
around the flash tube support.
Always replace with the correct flash tube assembly.
Gemini R range: BW2030 (clear) / BW2032 (UV coated)
Gemini Pro range: BW2980 (clear) / BW1079 (UV coated)
Changing the Modelling Lamp
Switch off the Gemini and disconnect from the power supply.
If the unit has been in use, allow a sufficient amount of time
for the lamp to cool.
Unscrew the modelling lamp from the lamp housing and
replace wit hthe correct lamp type.
When changing the modelling lamp on a Gemini 1000Pro or
1500Pro, first remove the protective glass cover over the flash
tube (ensure the glass has cooled sufficiently before touching
if the unit has been in use), then replace the modelling lamp.
When changing the smaller E11 Halogen lamps, ensure not to
touch the glass with your fingers as the oils from your hands
can reduce the life of the lamp.
Changing the Fuse
The modelling and flash circuitry are protected by a single
20mm fuse mounted in the rear panel of the unit.
A fuse may blow when the modelling lamp fails; always check
the fuse when replacing a bulb. A spare fuse is located in the
draw underneath the mains connection at the rear of the unit.
The fuse draw contains two fuses, the furthest fuse inside the
draw is the live fuse and the nearest one is a spare. Never
replace the fuse with one of a different rating.
Always switch off the unit and disconnect the power supply
before changing a fuse.
Transporting Units
When transporting any Bowens units, ensure that all
equipment is carefully packed into appropriate bags and/or
hard shell cases. Make sure all items are securely placed
inside the appropriate baggage to protect from any knocks.
Flash units can become very hot after use. Always wait a
minimum of 30 minutes before packing to allow units to cool
sufficiently.
If a unit is dropped and / or knocked during transport, always
have the unit checked by an authorised Bowens service /
repair centre before using.
Power Cables
Only use Bowens approved mains or battery cables to power
Bowens products. All mains cables must be used as
appropriate to the flash units rated power voltage, and the
correct mains pin-configuration.
Disposal and Recycling
This product must be recycled in the correct manner. In order
to recycle this product in an environmentally friendly way,
please dispose of at your local electronic waste facility.
If you have any questions regarding the disposal of any
Bowens products, contact your local Bowens retailer and/or
Bowens distributor (a list of which can be found on the
bowens website).
trouble shooting
Error Indications
All of the Gemini R and PRO range models will indicate errors
via the 7-segment LED display, and the red modelling lamp
option LED’s, on the side and rear of the unit. The 7-segment
display will show errors as an ‘E’ (error) number along with the
red modelling lamp option LED’s flashing in a particular order.
The error indications are as follows (V = flashing red modelling
option LED):
Error Display REL USR MAX
No warnings or errors. F-stops
Mains voltage out of range - E1 VV -
(no charge).
Battery low - (no charge). E2 V - V
Overheat - (no charge, E3 V --
modelling off).
Charge Fail - (retry after E4 - VV
warning).
Tube Misfire - (retry after E5 - V -
warning).
Tube glow-on - (retry after E6 --V
warning).
* Note: if any of the above problems persist, please return the unit to an authorised Bowens service
/ repair centre.
11 - Gemini R and Pro | Operation
Problem? Check.
No Power.
• Check the unit is switched ‘on’.
• Check the power cable is inserted correctly.
• If using a mains cable, check the fuse on the
plug, remember to also check the fuse in the unit.
No Flash.
• Check flash tube is inserted into the flash head
correctly.
• Check the trigger wire is in contact with the flash
tube support.
• Change the flash tube. If changing the flash tube
does not correct the fault, the unit may have a
component failure.
Modelling
Lamp not
working.
• Change the modelling lamp.
• Change fuse at rear of unit.
Unit will not
flash from
Photocell.
• Check the Photocell is switched ‘on’.
• Check Photocell is not covered and can ‘see’
the trigger flash.
Unit will not
recharge.
• Check power cable is inserted correctly.
• If using a battery, check battery has sufficient
charge remaining to power the unit.
• Change the fuse at the rear of the unit.
• Check the units voltage supply is correct.
Problem? Check.
Ready ‘beep’
is not working.
• Check the BEEP switch at the rear of the unit is
turned ‘on’.
• Make sure unit is reaching full recharge.
Unit won’t
fire from Sync
connection.
• Check the sync cord / trigger system is inserted
into the sync connection properly.
• Try another sync cord.
Unit appears
ready but will
not fire using
the ‘flash test’
button.
• The unit may be in ‘overheat’ mode. When the
unit is in ovrheat mode, the green ready LED on
the side of the unit will be off.
• If the green LED is displayed and the unit will
not fire from the ‘flash test’ button then there
may be a fault with the unit.
Flash tube only
emits a faint
glow and will
not fire.
• Check flash tube is inserted into the unit
correctly and all connections are made.
• Change flash tube.
 Loading...