General warnings
• Read the instructions carefully before starting installation and proceed as specified by the manufacturer.
• Installation, programming, commissioning and maintenance of the product must only be performed by qualified technicians who
have been properly trained in compliance with current standards, including health and safety and packaging disposal regulations.
• Before performing any cleaning or maintenance operation, disconnect the power supply to the device.
• The unit must only be used for the purpose for which it was explicitly designed.
• The manufacturer declines all liability for any damage as a result of improper, incorrect or unreasonable use.
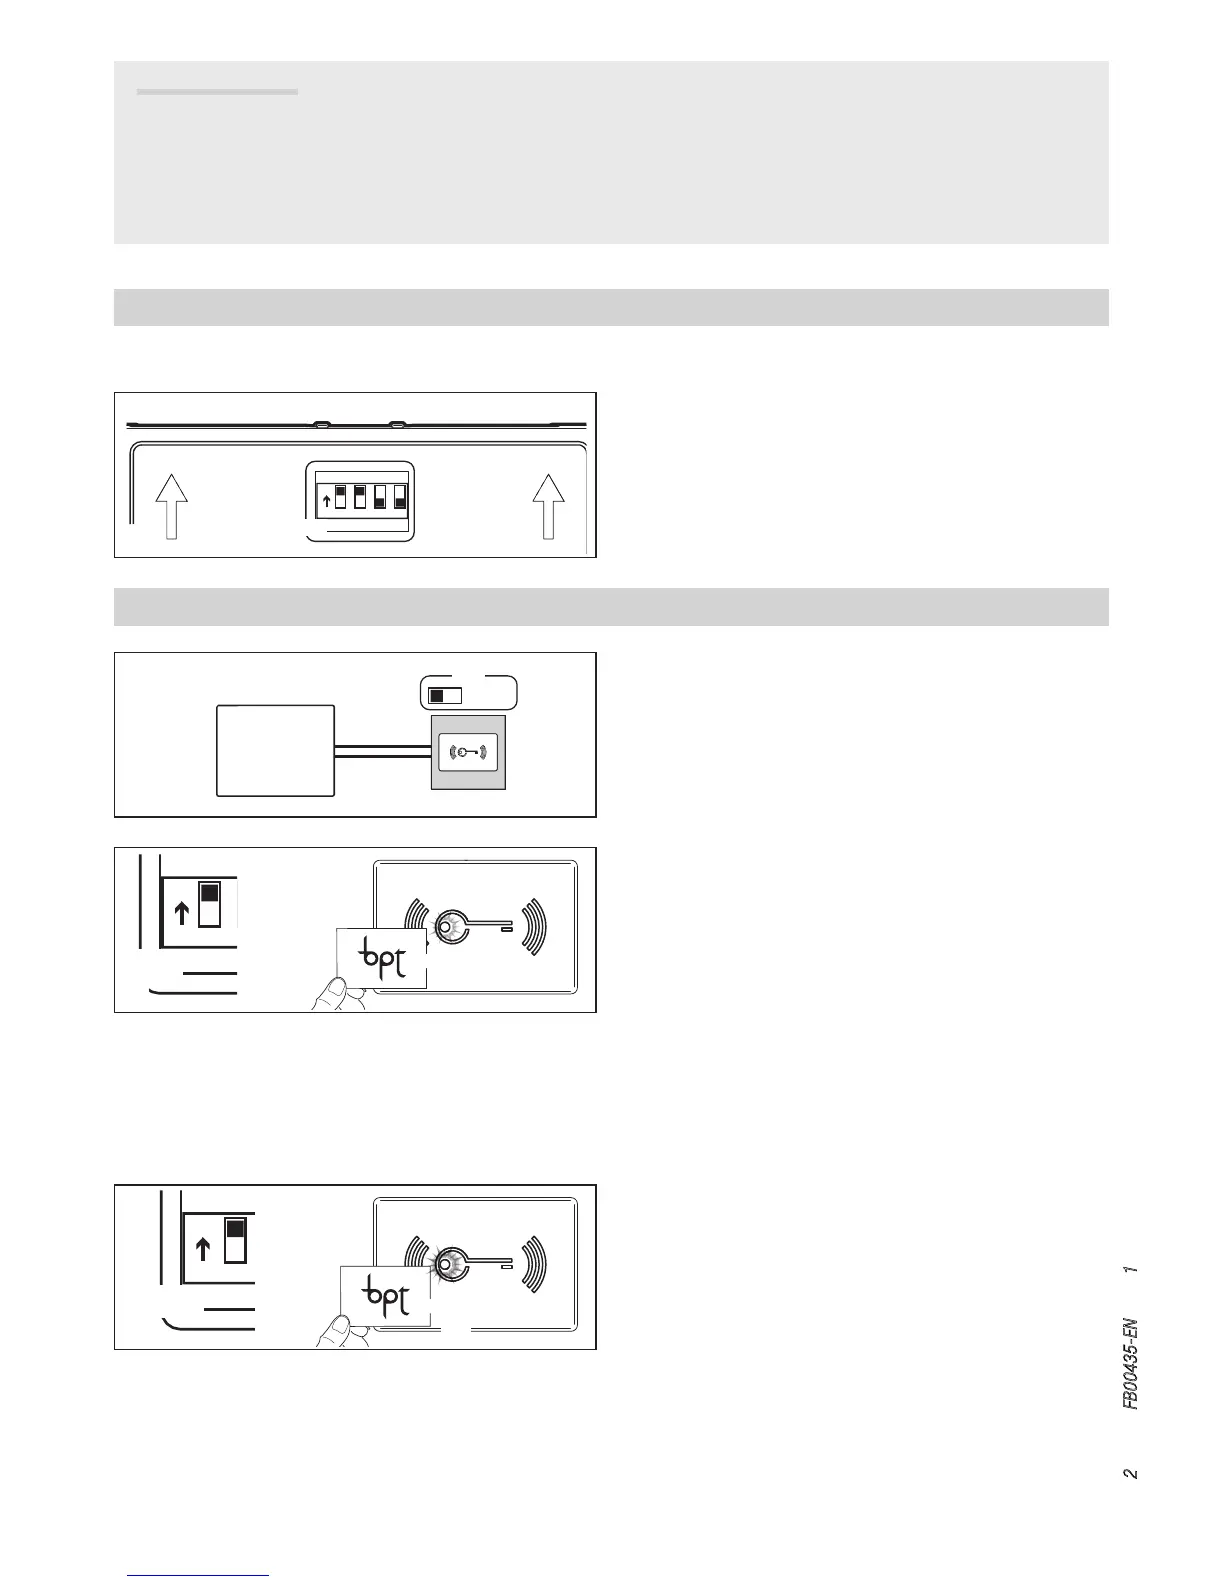
Default factory reset
Stand-alone programming in MASTER mode
Adding a badge
This procedure allows you to associate a badge to one of the two
relays present in the following way:
- DIP3 set to ON badges associated with relay 1 (terminal NC,
NO, C1);
- DIP3 set to OFF badges associated with relay 2 (terminal NO,
C2).
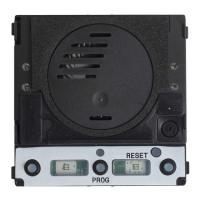
Set DIP1 on SWITCH SW4 to ON A❶. The red LED will flash
slowly A❷. Swipe the badges to be associated with the se-
lected relay according to the procedure described above A❸.
A tone will confirm that the association has taken place; 3 quick
tones will indicate an error condition.
At the end, set DIP1 back to OFF: the red LED will go o.
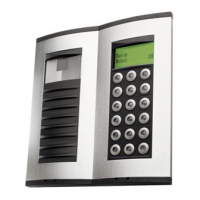
Removing badges
Set DIP2 to ON B❶. The red LED will flash quickly B❷. Pass
all the badges to be removed close to the reader B❸.
A tone will confirm that the removal has taken place; 3 quick
tones will indicate an error condition.
At the end, set DIP2 back to OFF: the red LED will go o.
In order to return the MTMRFID module to its factory settings,
disconnect the power supply, set DIP1 and DIP2 on SWITCH SW4
to ON A and power the module again.
After 5 seconds, the module restarts and a tone will confirm that
the reset has taken place.