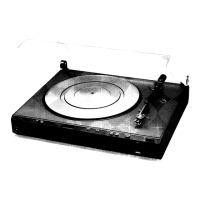
Placement
The Braun HiFi Turntable
P1 should
be
placed
adjacent
to a
power
amplifier.
lt can
be used in
conjunction
with the other
models
in the
same
series
(lntegrated
Amplifier
A1,
Tuner T1,
Cassette
Deck C1),
and can be
placed
on top
of these.
Assembly
Please note
that the Turntable Pl does
not
have
any
inbuilt transit
protection,
and
therefore do
not loosen any screws
or
change
any
settings.
Platter
The two holes
in the
platter
facilitate
easy
handling. Place
the
platter
carefully
over the
centre shaft.
The rubber
mat
should
be
placed
with the two
grooves
on top.
Dust
Cover
This should
be mounted
onto the hinges
(19)
of the turntable
chassis.
The dust cover
.-.
.... .t.........
........-.--.."..-".'.-.." ..'.'-*-*-:
.f
'r
\r
t
t
can be opened
to
a maximum
angle of
65
degrees
and
it remains open
at any
angle
above 30 degrees.
Cartridge System
This is
already
correctly adjusted and
needs
only to
be
fitted onto the
tone arm and
locked
by means
of fixing screw.
i.lr\\*l
.ii.:.$i
*t|
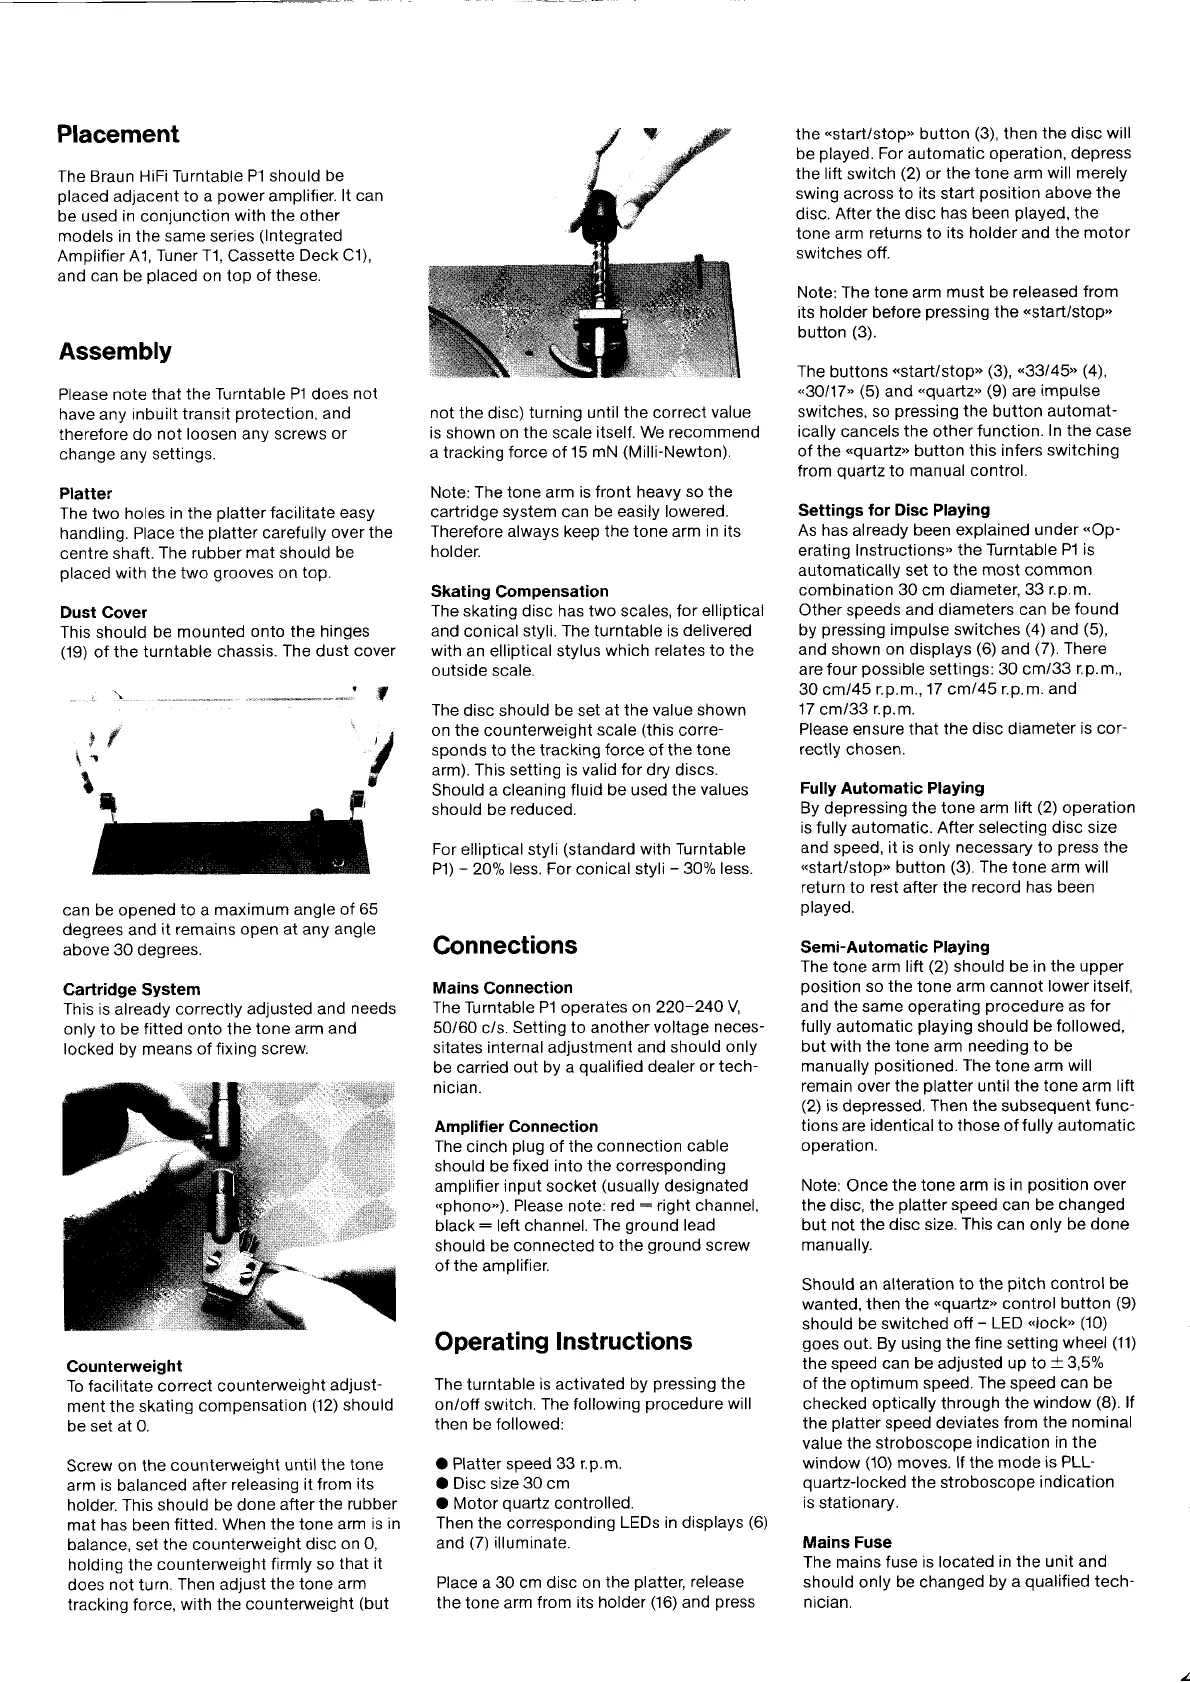
Counterweight
To facilitate correct counterweight
adjust-
ment the skating
compensation
(12)
should
be set at 0.
Screw on the
counterweight
until the
tone
arm
is
balanced
after
releasing it from
its
holder.
This
should be done
after the
rubber
mat has been
fitted. When
the tone arm
is in
balance, set
the counterweight
disc
on 0,
holding the
counterweight
firmly so
that it
does
not
turn.
Then adjust
the tone
arm
tracking force,
with the counterweight
(but
not
the disc)
turning until the correct
value
is shown on
the
scale
itself. We recommend
a tracking
force
of
15 mN
(Milli-Newton).
Note: The
tone
arm
is front heavy
so the
cartridge
system
can
be easily lowered.
Therefore always keep the tone arm
in its
holder.
Skating
Compensation
The skating disc has two scales, for
elliptical
and
conical
styli. The turntable is
delivered
with
an elliptical stylus
which relates to the
outside scale.
The
disc should be set
at the value shown
on the
counterweight
scale
(this
corre-
sponds
to
the tracking
force
of the
tone
arm). This setting is valid
for
dry discs.
Should a cleaning
fluid be used the
values
should be
reduced.
For elliptical styli
(standard
with Turntable
P1)
-
2O"/o
less.
For conical styli
-
30% less.
Gonnections
Mains
Connection
The Turntable Pl operates
on 22O-24OY,
50/60
c/s.
Setting to another
voltage
neces-
sitates
internal adjustment
and should
only
be carried
out by a
qualified
dealer or tech-
nrctan.
Amplifier Connection
The
cinch
plug
of the
connection cable
should
be
fixed
into the corresponding
amplifier input socket
(usually
designated
"phono").
Please
note:
red
:
right channel,
black: left
channel. The
ground
lead
should be connected
to the
qround
screw
of
the
amplifier.
Operating
Instructions
The turntable
is
activated
by
pressing
the
on/off
switch.
The following
procedure
will
then
be followed:
O Platter soeed
33 r.o.m.
O Disc size
30
cm
O Motor
quartz
controlled.
Then the corresponding
LEDs in displays
(6)
and
(7)
illuminate.
Place
a 30
cm disc on
the
platter,
release
the tone arm
from its holder
(16)
and
press
the
"start/stopo
button
(3),
then
the disc will
be
played.
For automatic operation,
depress
the lift
switch
(2)
or
the tone
arm
will merely
swing across to
its
start
position
above the
disc. After
the disc has been
played,
the
tone arm
returns to its
holder
and
the motor
switches
off.
Note: The
tone
arm
must be released
from
its holder before
pressing
the
"start/stop"
button
(3).
The
buttons
"start/stopo
(3),
"33/45"
(4),
"30/17"
(5)
and
"quartz"
(9)
are
impulse
switches,
so
pressing
the
button
automat-
ically cancels
the
other
function.
In the
case
of the
"quartz"
button
this infers
switching
from
quartz
to manual
control.
Settings
for Disc Playing
As has already been
explained under
"Op-
erating Instructions"
the Turntable
P1 is
automatically set to
the most common
combination 30 cm
diameter, 33
r.p.m.
Other speeds
and diameters can
be found
by
pressing
impulse switches
(4)
and
(5),
and shown
on displays
(6)
and
(7).
There
are four
possible
settings:
30
cm/33
r.p.m.,
30 cm/45
r.p.m., 17 cm/45 r.p.m.
and
17
cm/33
r.o.m.
Please ensure
that the disc diameter
is cor-
rectly
chosen.
Fully
Automatic
Playing
By depressing the tone
arm lift
(2)
operation
is
fully automatic. After
selecting disc size
and
speed,
it is only
necessary
to
press
the
"start/stopo
button
(3).
The tone arm will
return to
rest
after the
record has been
played.
Semi-Automatic
Playing
The tone arm lift
(2)
should be in
the upper
position
so the tone arm cannot
lower itself,
and the same operating
procedure
as for
fully
automatic
playing
should be
followed,
but with
the tone
arm
needing to be
manually
positioned.
The
tone arm
will
remain
over
the
olatter
until the tone arm litt
(2)
is depressed. Then
the
subsequent
func-
tions
are
identical
to
those
of fullv
automatic
ooeration.
Note:
Once
the tone
arm is in
position
over
the
disc,
the
platter
speed can be
changed
but not the
disc size.
This
can only
be done
manually.
Should an
alteration
to the
oitch
control be
wanted, then the
*quartz'
control
button
(9)
should be
switched
off
-
LED
"|osk"
(10)
goes
out.
By using the
fine
setting
wheel
(11)
the speed can be adjusted
up to
+
3,5%
of the optimum
speed.
The
speed
can be
checked
optically through
the window
(8).
lf
the
platter
speed deviates
from
the nominal
value the
stroboscope
indication
in
the
window
(1O)
moves. lf the mode
is PLL-
quartz-locked
the
stroboscope
indication
is
stationary.
Mains Fuse
The mains
fuse is located
in the unit and
should
only
be changed
by a
qualified
tech-
ntctan.
 Loading...