Assembly Instructions
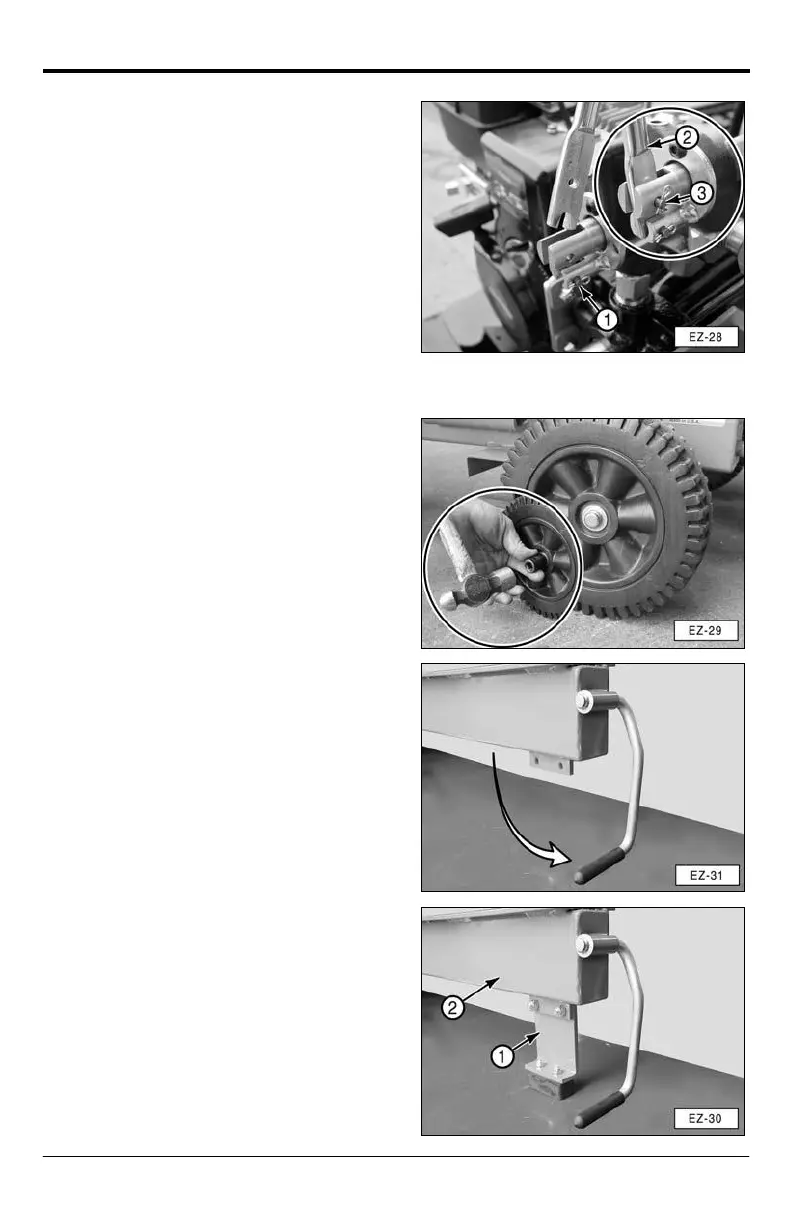
8. Attach the valve control handle to the
valve. First, install clevis pin and hairpin
clip (1) through the bottom hole on the
valve.
Next, insert the forked end of handle (2)
over pin (1).
Finally, align the hole in the handle with the
top hole in the valve and insert clevis pin
and hairpin clip (3).
9. Use a 7/16” wrench to remove the nuts
from the carriage bolts that hold the log
splitter to the board.
10. Install the two tires.
Raise one side of the log splitter and
install a tire onto the axle. Install a push
nut and tap it in place with a hammer.
Repeat the process for the other wheel.
Note: Placing a socket over the push nut and
tapping on the socket will make it easier to
install the push nut.
11. Unfold the handle from under the rail.
12. Attach front leg (1) to rail (2) using two
5/16 x 1 inch hex bolts and locknuts. One
bolt and nut is in the parts box; the other
is attached to the rail and the shipping
bracket.
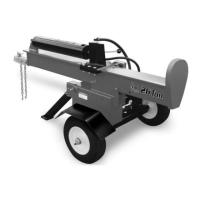
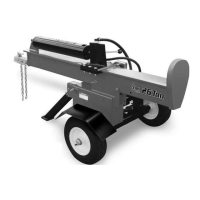
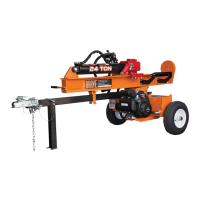
13. Your EZ Split log splitter is now fully
assembled.