8
3. Removing Radio
Insert the levers supplied with the unit into the grooves at both sides of the unit until they lock. Pull the levers toward you makes it
possible to remove the unit from the dashboard.
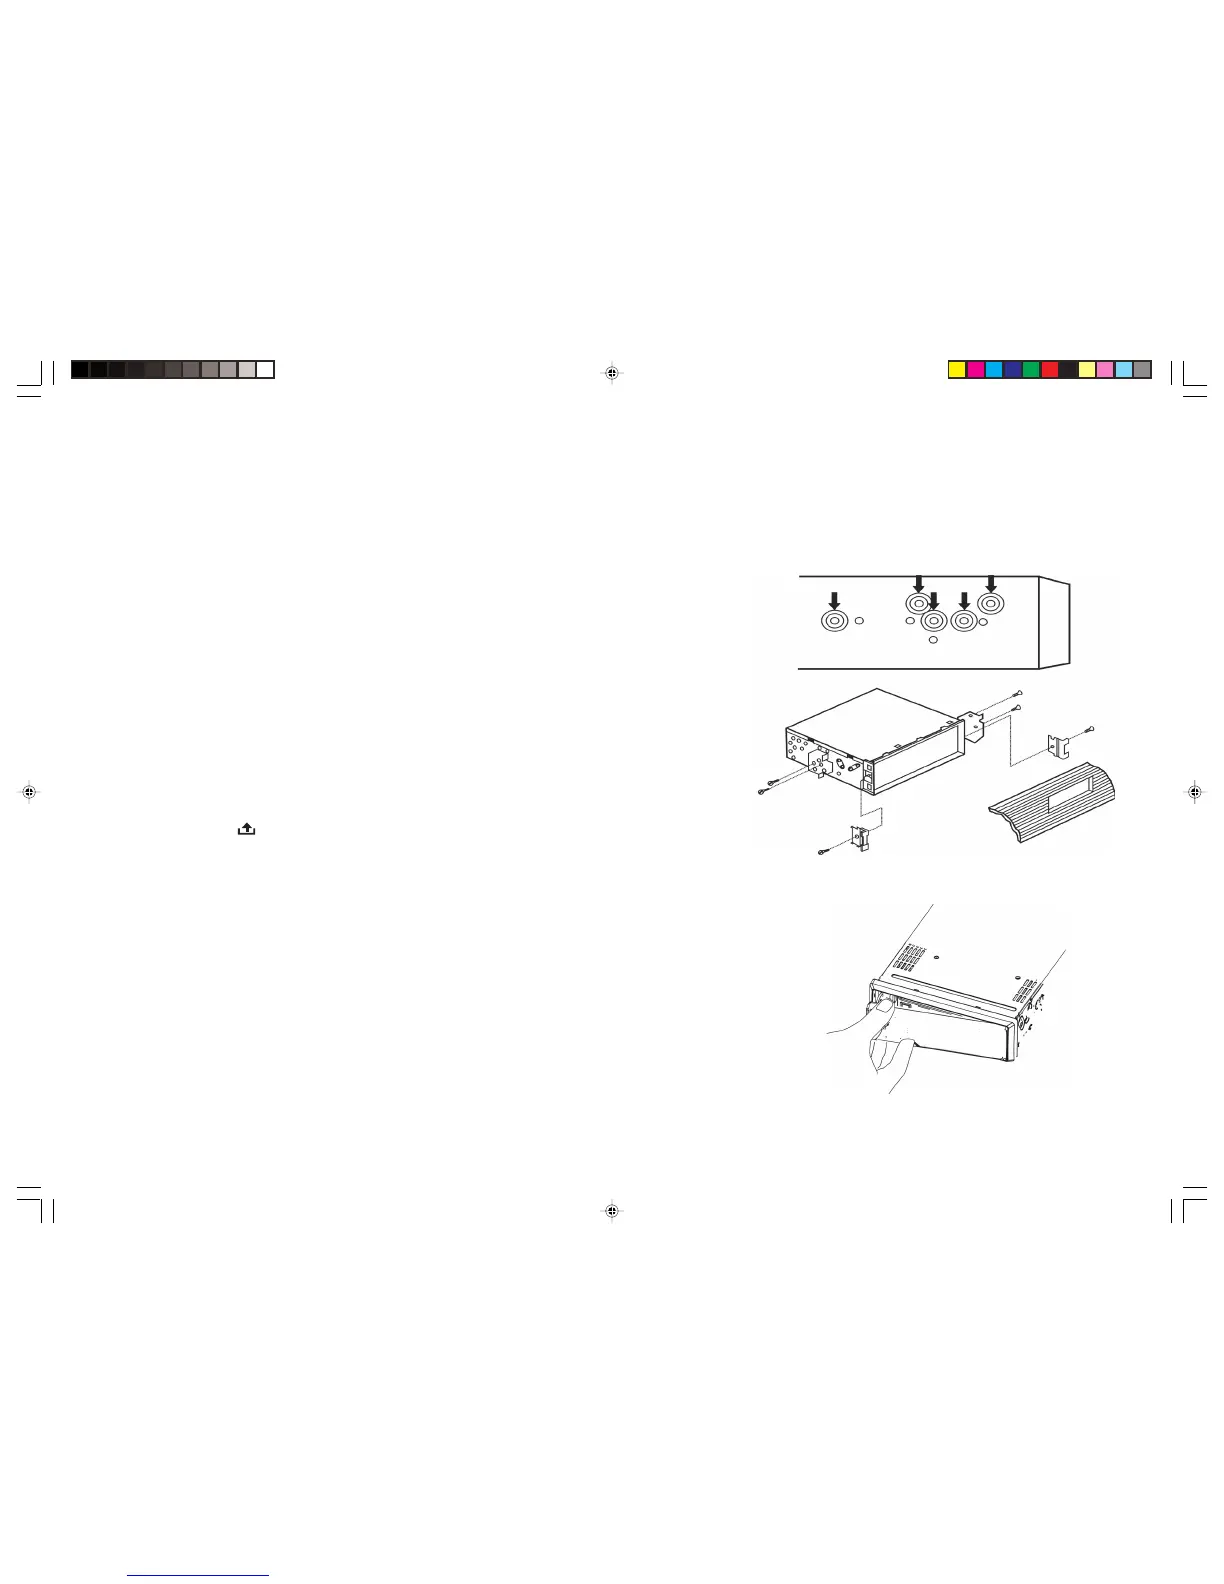
JIN REAR-MOUNT (B) (Option)
Installation using the screw holes on the sides of the unit.
Remove the outer rim around the front panel and the side springs. Select a position
where the screw holes of the mounting bracket and the screw holes of the radio
become aligned and tighten the screws at 2 places on each side.
ATTACHING & REMOVING THE FRONT PANEL
Removing the Front Panel
• Press the [ ] RELEASE button to open the front panel.
• Push the front panel to right and pull the left side of the front panel away from
the unit, as shown in the figure below.
(It is highly recommended to keep the front panel in the protective case provided)
Attaching the Front Panel
• First Insert the right side of the front panel as shown in the figure below and
gently push the left side of the front panel onto the unit until you hear a click
sound, which confirms that the front panel is firmly attached.
BVX-C910_V3_Final_090808A.pmd 8/9/2008, 9:19 PM8