SERIES 6A ELECTROPNEUMATIC POSITIONER
QUICK START GUIDE
9 of 12© 2021 BRAY INTERNATIONAL, INC. ALL RIGHTS RESERVED. BRAY.COM The Information
contained herein shall not be copied, transferred, conveyed, or displayed in any manner that would
violate its proprietary nature without the express written permission of Bray International, Inc.
CALIBRATION (continued)
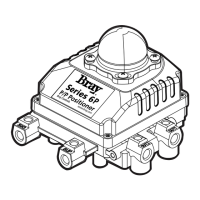
Step Upon completion of calibration insert
a mm wide screwdriver into the slot
located under the adjustment wheel and
turn the wheel left until you can feel that
it clicks in This helps prevent the clutch
wheel from slipping during actuation
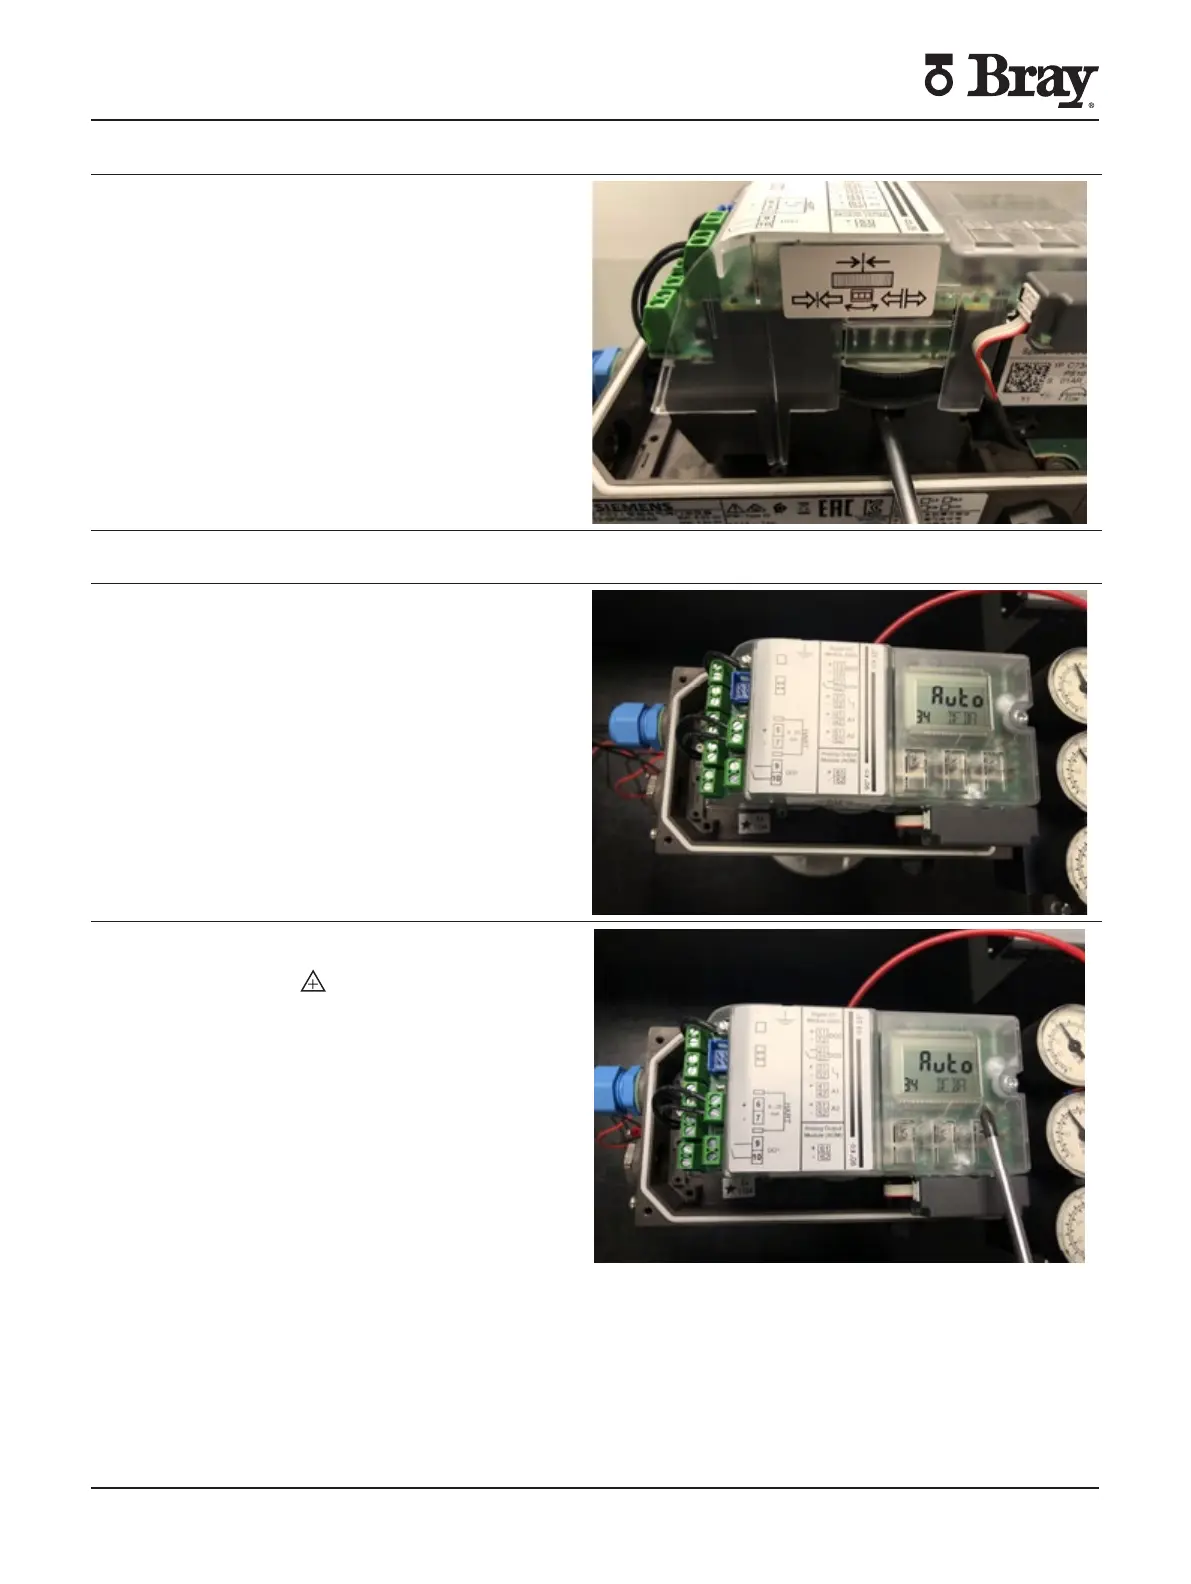
To optimize performance the following measures can be applied if the positioner is too
responsive and does not reach end of travel smoothly
Step While in configuration mode scroll to
parameter (DEBA)
Step Increase the deadband to yield the
desired responsiveness by pressing the
Up Button
(Default is Bray recommended
value is to )
 Loading...