BRAY Series 70 Electric Actuator
Operation and Maintenance Manual
6
clOSe traVel SWitch adjuStMent
1. Loosen the mechanical stop for the closed position and
back it off so that it does not interfere with actuator travel
(closed stop located on right when viewed from travel
stop side of actuator).
2. Remove the indicator rotor by pulling up it straight up
away from the indicator shaft. This will expose the
machined groove on the end of the cam shaft, which
is the reference to the valve disc position.
3. NOTE: For Housing Size 180, ignore steps 2 and 6.
The valve position indicator plate on the lower gearbox
is the reference to the valve position.
4. Manually operate the actuator handwheel clockwise
until the valve reaches the desired fully closed position.
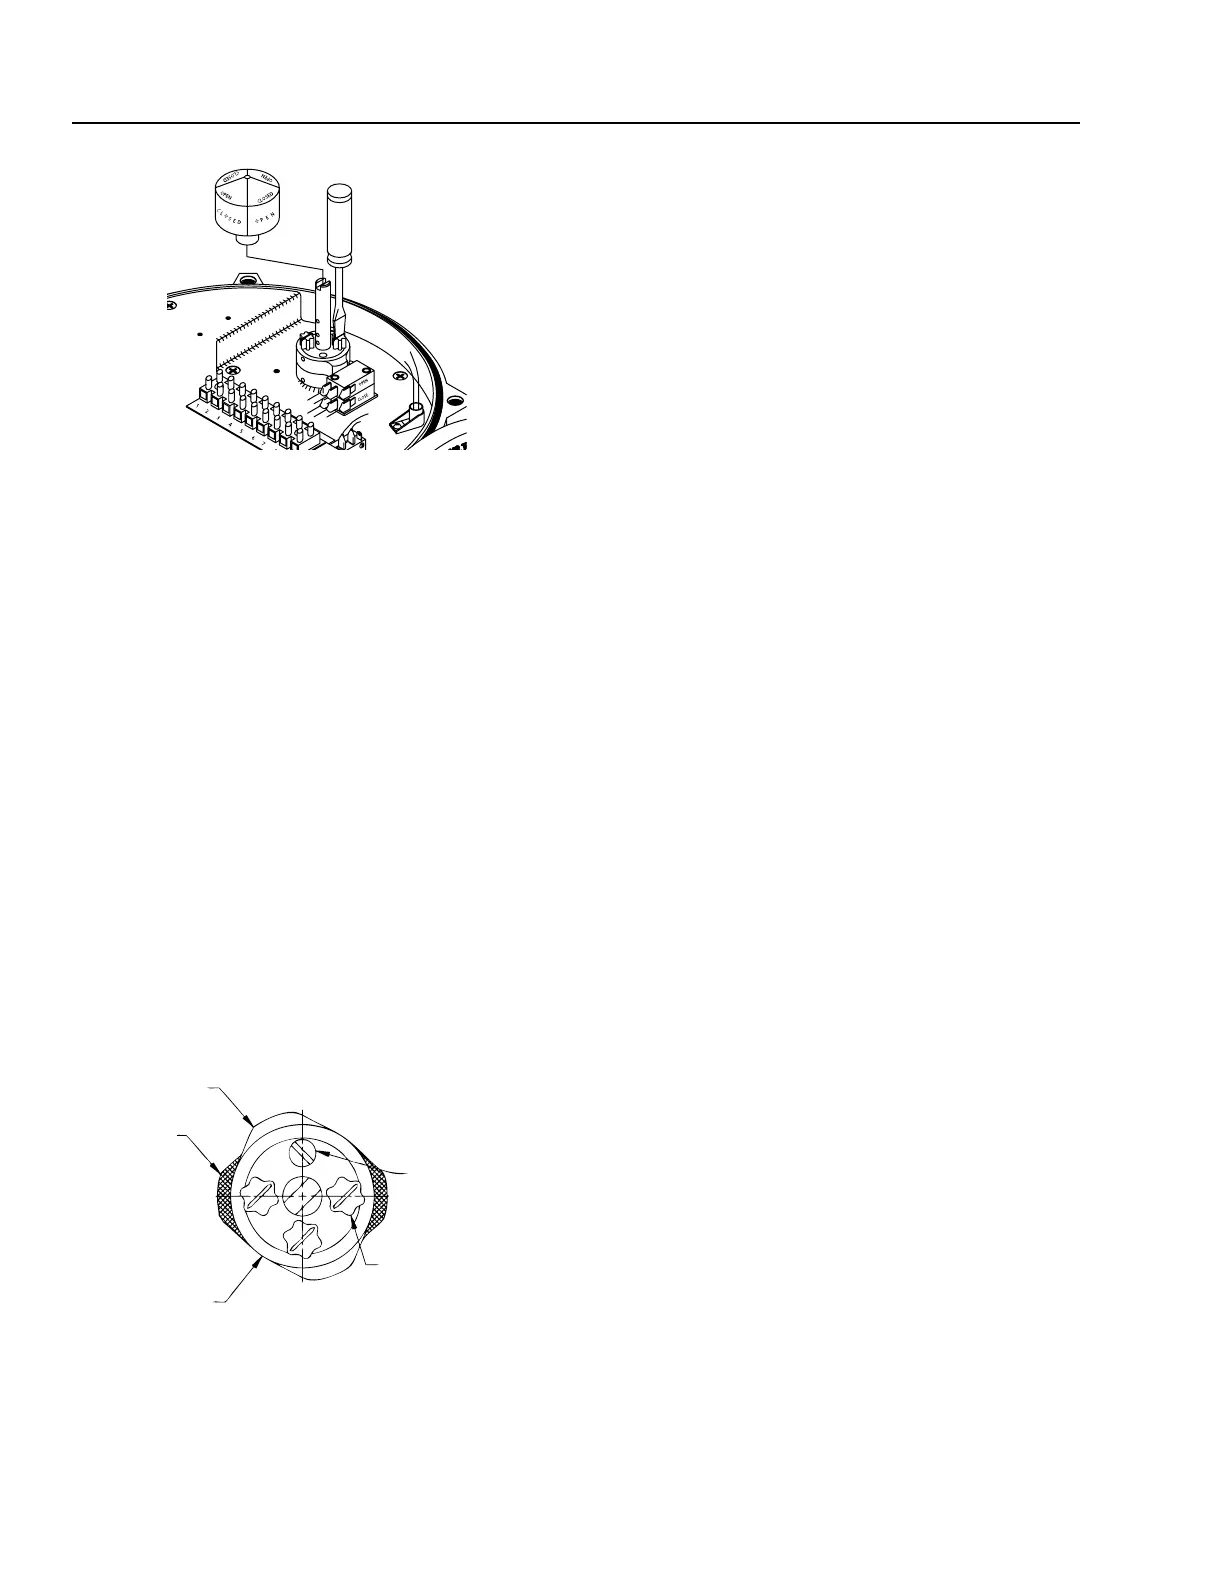
5. Rotate the red adjusting knob by hand or with a at head
screwdriver until the cam lobe just activates (depresses)
the switch from a clockwise direction.
NOTICE: All continuous duty actuators have a cam
locking screw. Cam locking screw must be slackened
before cam adjustments and re-tightened after cam
adjustments.
NOTE: It is possible that the rotation of one cam will
move the other cam. If this occurs, hold the other knobs
or cams during adjustment.
6. With the travel switch in the closed position, rotate the
handwheel clockwise ½ turn for Housing Size 6, 1 turn
for Housing Size 12, ½ turn for Housing Size 30, and
2 turns for Housing Size180. Adjust the closed travel
stop bolt until it bottoms against the output gear and
lock it in position with the locknut.
7. After all travel switch adjustments have been completed,
replace the indicator rotor and secure the actuator cover.
OPen traVel SWitch adjuStMent
1. Loosen the mechanical stop for the open position and
back it off, so that it does not interfere with actuator
travel. The open stop is located on the left, when viewed
from travel stop side of actuator.
2. Remove the indicator rotor by pulling it straight up away
from the indicator shaft. This will expose the machined
groove on the end of the cam shaft, which is the refer-
ence to the valve disc position.
NOTE: For Housing SIze180, ignore steps 2 and 6. The
valve position indicator plate on the lower gearbox is
the reference to the valve position.
3. Manually operate the actuator handwheel counterclock-
wise until the valve reaches the desired open position.
4. Rotate the green adjusting knob until the cam lobe just
activates (depresses) the switch from a counterclock-
wise direction.
NOTICE: All continuous duty actuators have a cam
locking screw. Cam locking screw must be slackened
before cam adjustments and re-rightened after cam
adjustments.
NOTE: It is possible that the rotation of one cam will
move the other cam. If this occurs, hold the other knobs
or cams during adjustment.
5. With the travel switch in the open position, rotate the
handwheel counterclockwise ½ turn for Housing Size
6, 1 turn for Housing Size 12, ½ turn for Housing Size
30, and 2 turn for Housing Size 180. Adjust the open
travel stop bolt until it bottoms against the output gear
and lock in position with the locknut.
6. After all travel stop adjustments have been completed,
replace indicator rotor and secure the actuator cover.
“OPEN” CAM
LOWER RED
“CLOSE” CAM
POT DRIVE GEAR
“BLACK” NOT SHOWN
FOR CLARITY REASONS
CAM ADJUSTMENT KNOB
(ONLY ADJUST IF LOCKING
SCREW IS SLACKENED)
CAM
LOCKING
SCREW

 Loading...


