5 6
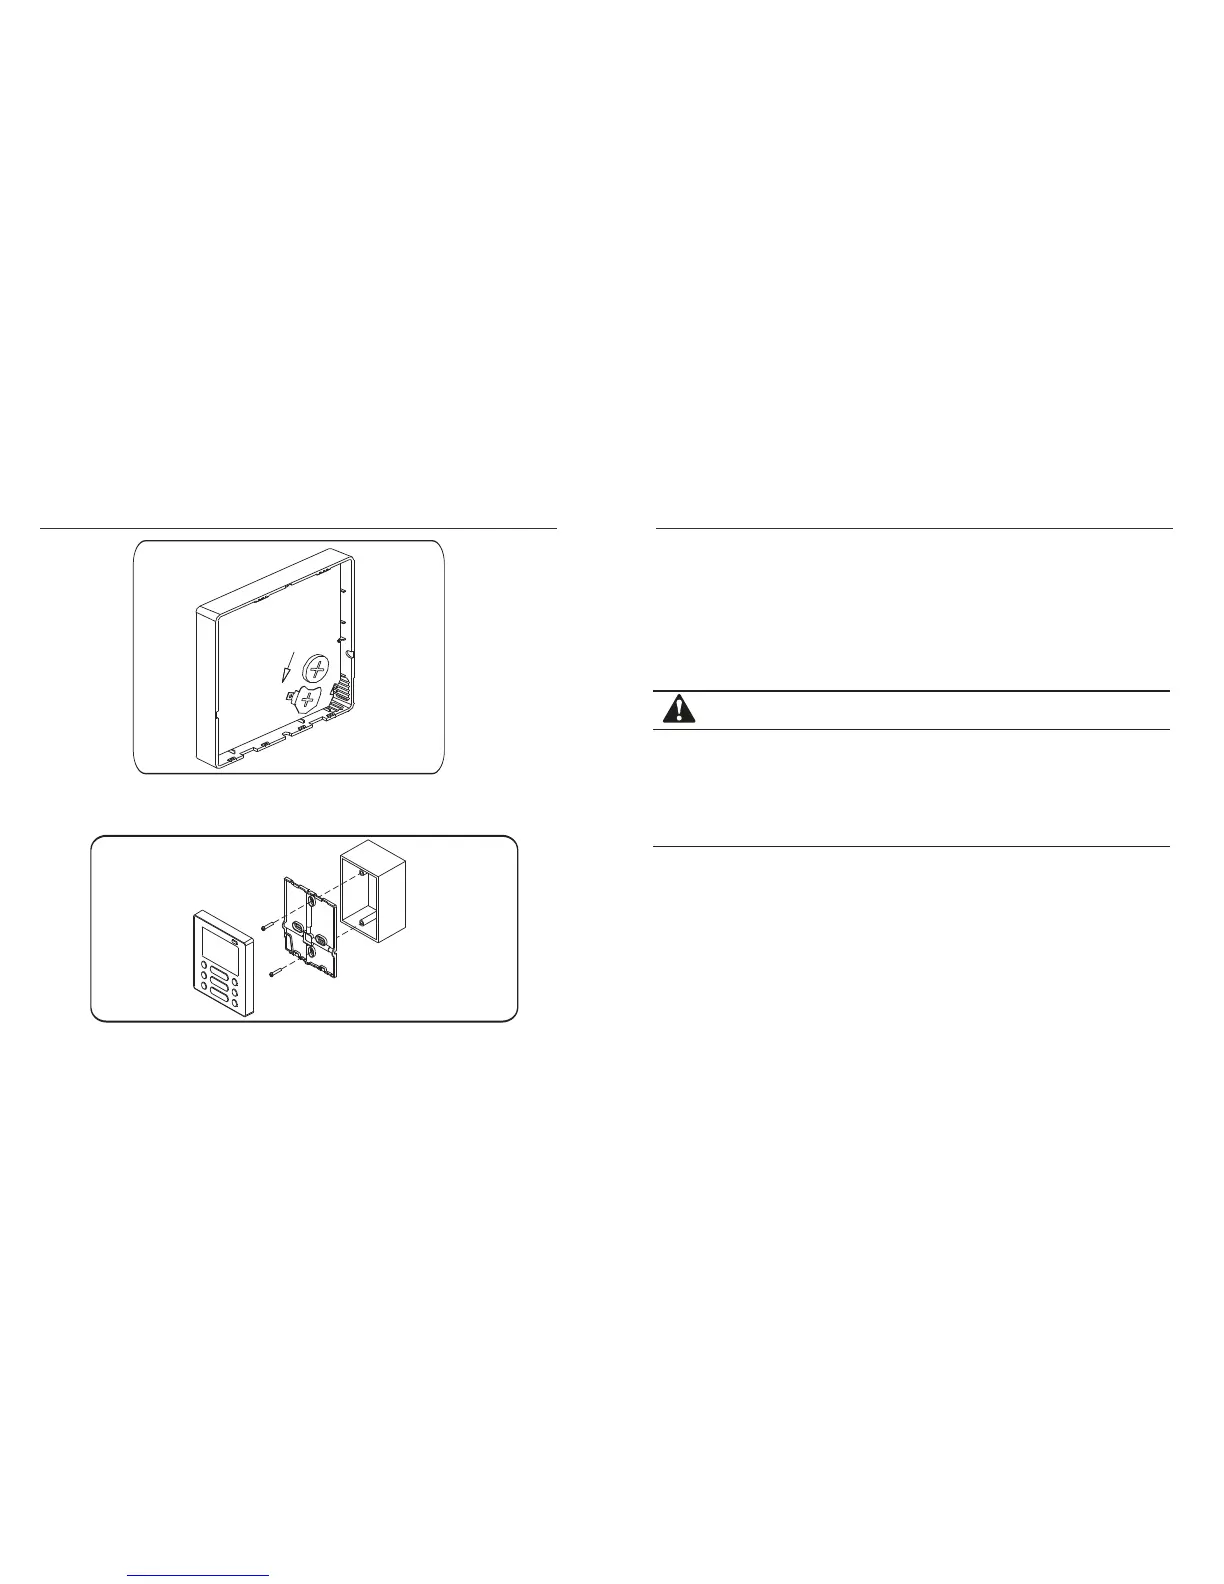
Install the battery in the rear of the control, make sure the positive side
of the battery is correctly aligned on the positive side of the battery
connection. (See Fig.3-3)
4.
Fig 3-3
3. INSTALLATION METHOD
Fig 3-4
NOTE
5. Fix the bottom cover to the electric cabinet with the slotted head screws.
Align the bottom cover so it is level on the wall surface, then reinstall the bottom
cover of the wall control. (See g 3-4)
Over tightening the mounting screws will damage the control and LCD screen.
When installing, please ensure that the screws and wired control are at the same
height without protruding and deforming the control LCD screen.
When installing, please ensure that there is a small loop of excess cable available
3. INSTALLATION METHOD
.
to facilitate removal of the control for maintenance service or repair.
Optional Control extension mounting box