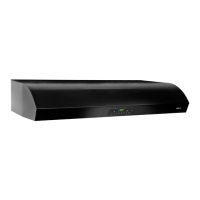
QP3 SERIES
Page 6
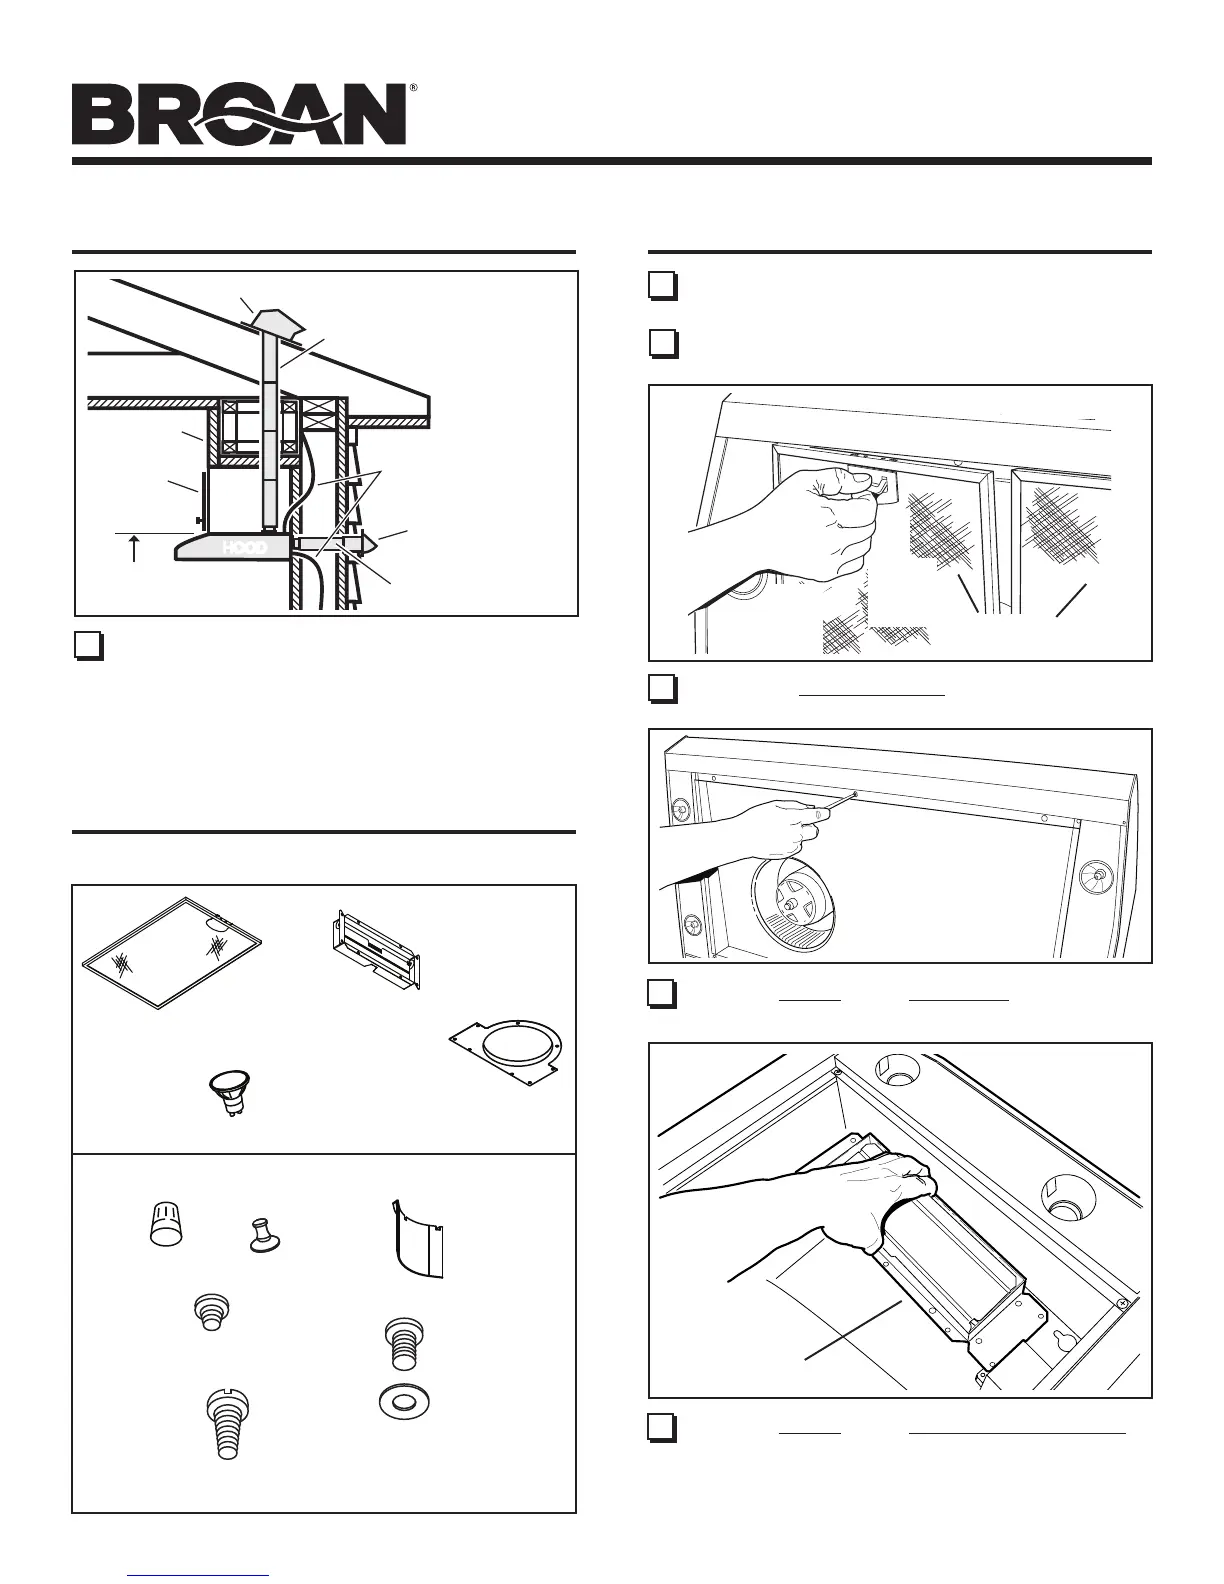
SOFFIT
24" - 30" ABOVE
COOKING SURFACE
CABINET
3¼" X 10" DUCT
(For horizontal discharge)
WALL CAP
3¼" X 10" or
7" ROUND DUCT
(For vertical
discharge)
HOUSE WIRING
(Top or Back of hood)
HOODHOOD
MEASURE THE INSTALLATION
6
The minimum hood distance above cooking surface MUST
NOT BE LESS than 24” (to top of hood).
A maximum of 30” (to top of hood) above cooking surface is
highly recommended for best capture of cooking impurities.
Distances over 30” are at the installer’s and user’s
discretion; providing that the cabinet height permits.
CONTENTS
GREASE
FILTERS
(2 - FOR 30” & 36” HOODS)
3 - FOR 42” HOODS)
(1) 3¼” X 10”
DAMPER / DUCT
CONNECTOR
(1) 7” ROUND
DUCT
CONNECTOR
(4)
HALOGEN
BULBS
(1)
BULB
SUCTION
CUP TOOL
(1) PARTS BAG CONTAINING:
(3)
WIRE
NUTS
(1)
NON-DUCT
DIVERTER
INCLUDED WITH THE HOOD:
(9)
#8 X 1/4”
DUCT
CONNECTOR
SCREWS
(5)
#10 X 5/8”
RD. HD.
MOUNTING
SCREWS
(2)
#8 X 5/16”
MACHINE
SCREWS
&
(2)
#8 WASHERS
FOR NON-DUCT
DIVERTER
11 Remove 2 Screws holding Damper / Duct Connector
to hood. Remove damper/duct connector from inside the
hood.
FOR DUCTED INSTALLATIONS - Skip to Step 16.
DAMPER /
DUCT CONNECTOR
10 Remove 6 Screws holding Bottom Pan to hood. Set bot-
tom pan and screws aside.
PREPARE THE HOOD
ALUMINUM
FILTERS
9 Remove the Aluminum Filters from the hood.
ç
8 Remove all protective polyfilm from the hood (stainless
steel hoods only).
7 Remove parts bag from inside the hardware box included
with the hood.
(1)
PULL
DOWN
(2)
LIFT
OUT
ç