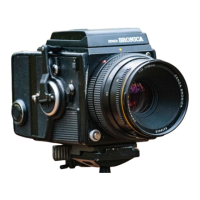
9
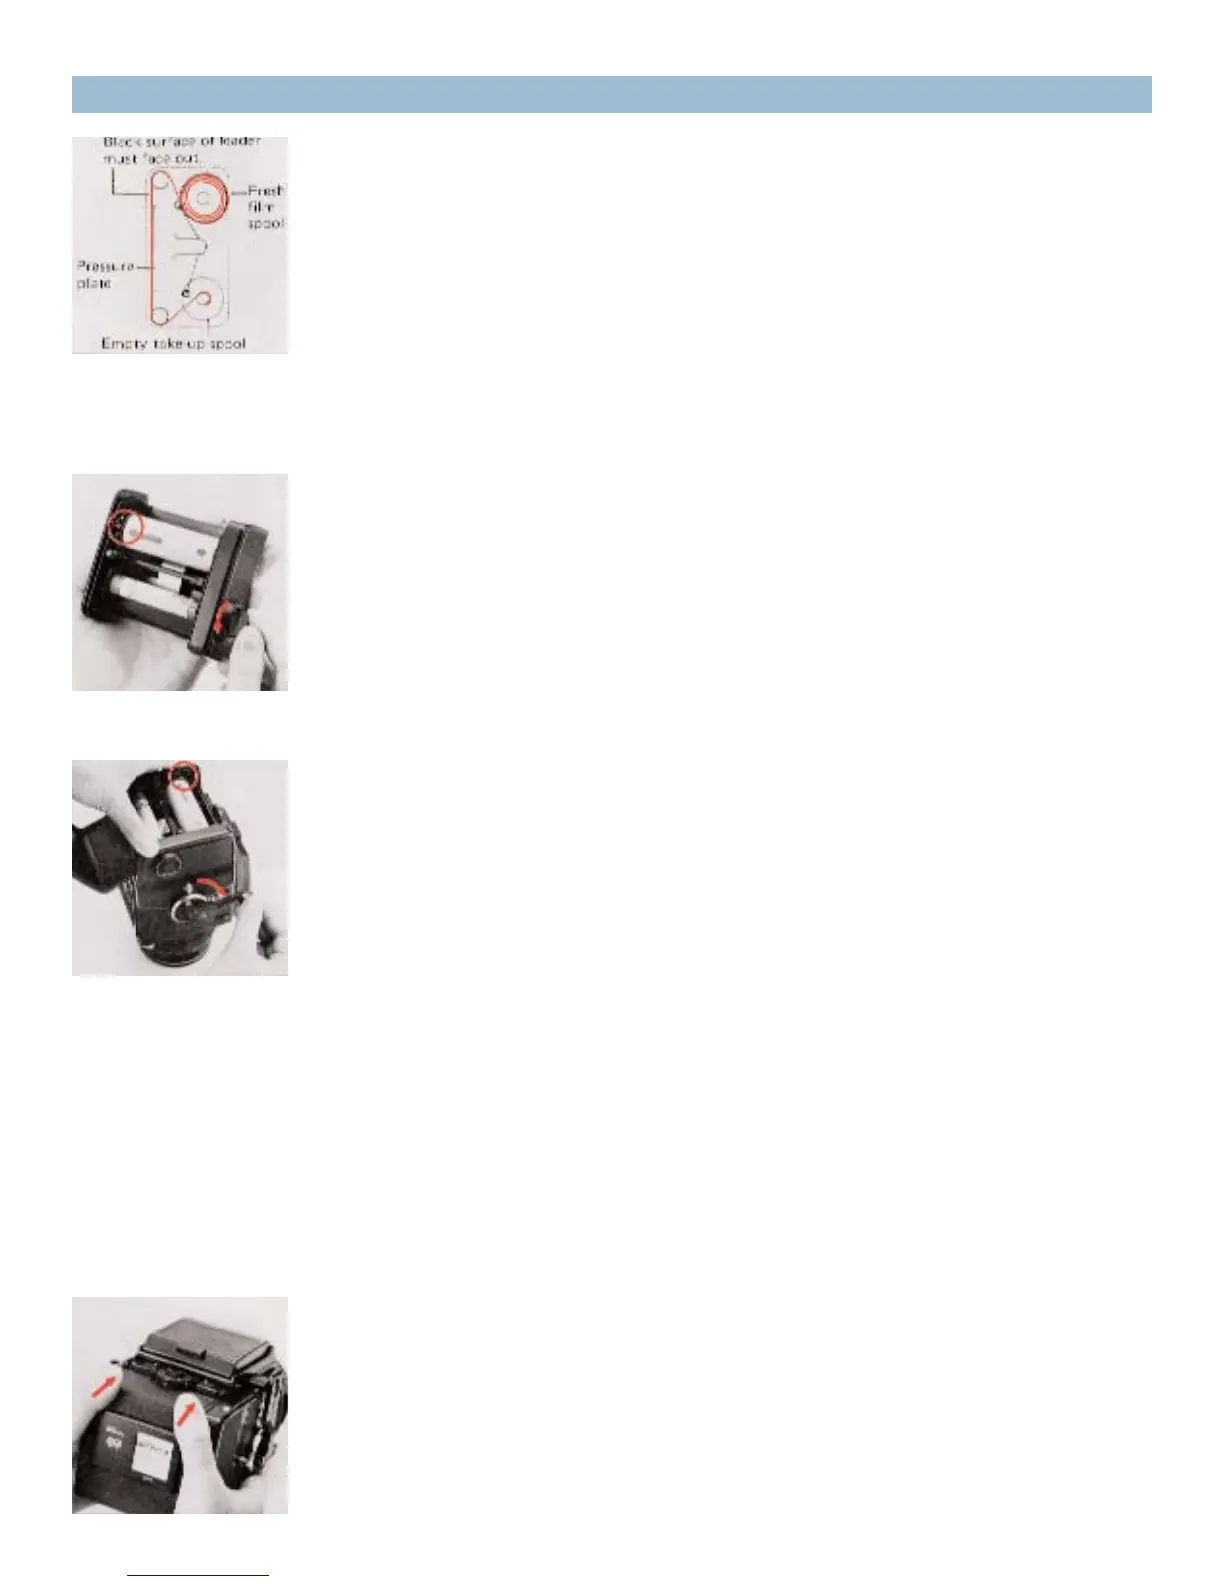
D. After loading the fresh film spool properly, draw out the leading
end of the film and turn it across the film pressure plate (as illustrat-
ed). Run it down and turn it over to the take-up spool. Insert the
leading end into the slit of the take-up spool and wind slightly until
securely engaged.
* The inside black surface of the leader must face out when running
across the pressure plate, in this case.
E. Lift up the hinged flap and rotate the manual film winder on the
right side of the film holder in the arrow-indicated direction. When
starting point, or arrow-mark, on the leader is aligned with the trian-
gular start-mark on the top left side of the film holder, stop rotation.
F. The starting point, or arrow mark, can also be aligned with the
start-mark, with the film holder loaded in the film back. Simply rotate
the film-winding crank on the main camera body, in this case. This
method is preferred since there will be coupling with the main cam-
era body mechanism, from the beginning.
* If the film is not advanced when the film-winding crank is rotated,
the film holder is not inserted properly and/or the main camera body
may be set for multiple exposures. In the latter case, return the multi-
ple exposure lever to an upright or vertical position. (See "22. Multiple
Exposures").
5. Film Loading (con’t)
G. Close the back cover by pressing it firmly against the base of the
film back, as illustrated. The back cover will automatically close and
lock. The same operation will close the back cover when the film
back is detached from the main body.
 Loading...