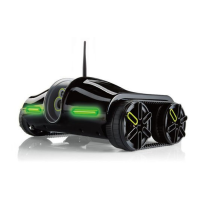
POWER UP AND CONNECT
1. Slide the Power switch on the bottom of the Rover 2.0 to on. The ORANGE
POWER LED will illuminate. Wait approximately 30 seconds and the GREEN
CONNECTION LED will start to blink slowly.
LED STATE CHART
2. On your device, go to Settings and turn Wi-Fi on. The SSID address of your Rover
2.0 (17 digits starting with ROVER) will appear as an available connection.
Note: Each Rover 2.0 has a unique SSID address (printed on the underside of the
unit). If there are multiple Rover 2.0’s being used, the individual SSID addresses will
appear as Wi-Fi connections on your device. Select your Rover 2.0’s SSID address.
3. Select the Rover 2.0 to confirm the connection. (No user name or password is
required.) Ensure the Wi-Fi connection logo appears at the top of your device’s
screen. There may or may not be a check mark to the left of the SSID address to
confirm the connection.
4. Exit out of Settings and open the Rover 2.0 App.
5. The Green CONNECTION LED will now revert from blinking to solid.
6. When your device’s screen shows the view from the Rover 2.0’s live-stream video
camera—you are ready to start exploring.
11
LE tate Represents
Orange Solid Power on
Blinking Searching for and acquiring Wi-Fi connection
Solid Rover app is open and Wi-Fi is connected
D
S
Green
Green