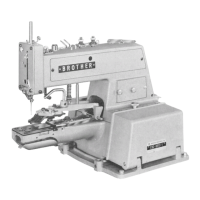
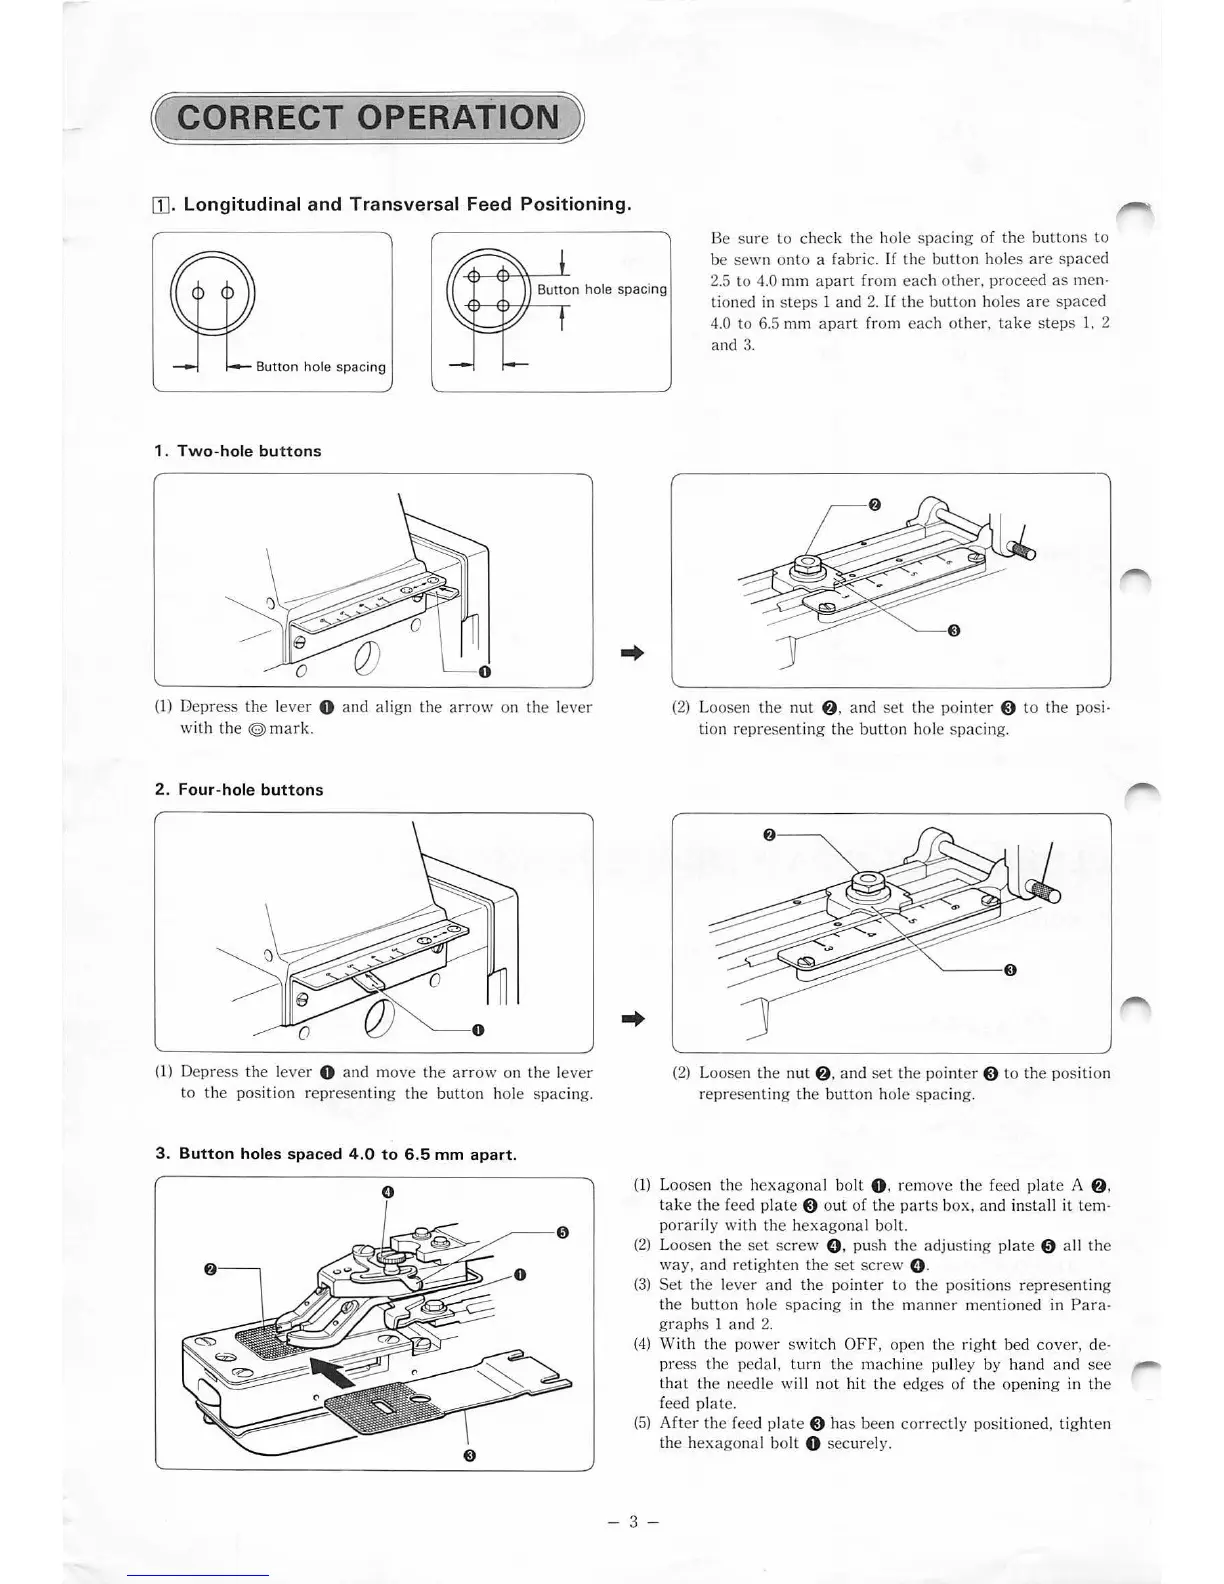
( CORRECT OPERATION)
[
[].
Longitudinal
and
Tr
ansversal
Feed
Positioning.
Button hole spacing
1 .
Two-hole
button
s
(1
) Depress the l
ever
0 and align the
arr
ow on the lever
with the
©
ma
ri
e
2 . Four-hole
buttons
(1) Depress the lever 0 and move
th
e a
rr
ow on the lever
to the position representing the bu
tt
on hole sp
ac
ing.
3.
Button
holes spaced 4 .0
to
6.5
mm
apart
.
..
Be sure to check the hole sp
ac
ing of the but
ton
s to
be sewn on
to
a fabric.
If
the bu
tto
n hol
es
are
s
pa
ce
d
2.5 to
4.0 mm a
part
from
eac
h other. p
ro
ceed as men·
tioned in steps 1 and 2. If the
butt
on holes
ar
e sp
ace
d
4.0 to
6.
5 mm a
par
t from
eac
h
ot
her.
ta
ke steps 1, 2
and 3.
(2) Loosen the nut
f)
, and
set
the pointer $ to the posi-
tion representing the bu
tto
n hole sp
ac
ing.
(2
) Loosen the
nut
f)
, and set the pointer 8 to the pos
it
ion
re
pr
esenting the button hole spacing.
(1) Loosen the he
xago
nal bolt 0 . remove the feed pl
at
e A
f)
,
tak
e the feed pl
ate
8 out of the pa
rt
s box,
and
install
it
tem·
pora
ri
ly with the he
xag
onal bolt.
(2
) Loosen the
se
t
sc
rew 0 . push the adjusting
pl
ate 0 a
ll
the
wa
y,
and retigh
te
n the set screw 0 .
(3
) Set the lever and the pointer to the positions rep
re
senting
the button hole sp
ac
ing in the manner mentioned in Para·
gra
phs 1 and 2.
(
4)
With the power swi tch
OFF
, open the
rig
ht
bed
cov
er, de·
p
re
ss the pedal,
turn
the machine pulley by hand and
see
that the needle wi
ll
not
hi
t the edges of the opening in the
feed
pl
ate.
(5
) Aft
er
the feed p
lat
e 8 h
as
been co
rr
ectly p
os
itioned, tighten
the h
exago
nal bo
lt
0 sec
ur
el
y.
- 3 -