11. Attach the parts taken off from step 9.
12. Start attaching the new tube starting with the print head side first, then proceeding
with the middle tube holders, and ending with the needle. Take note that the middle
tube holder and middle tube should be installed opening to opening.
13. Move the carriage by hand to make sure there are no “binds” or “kinks” in the tube.
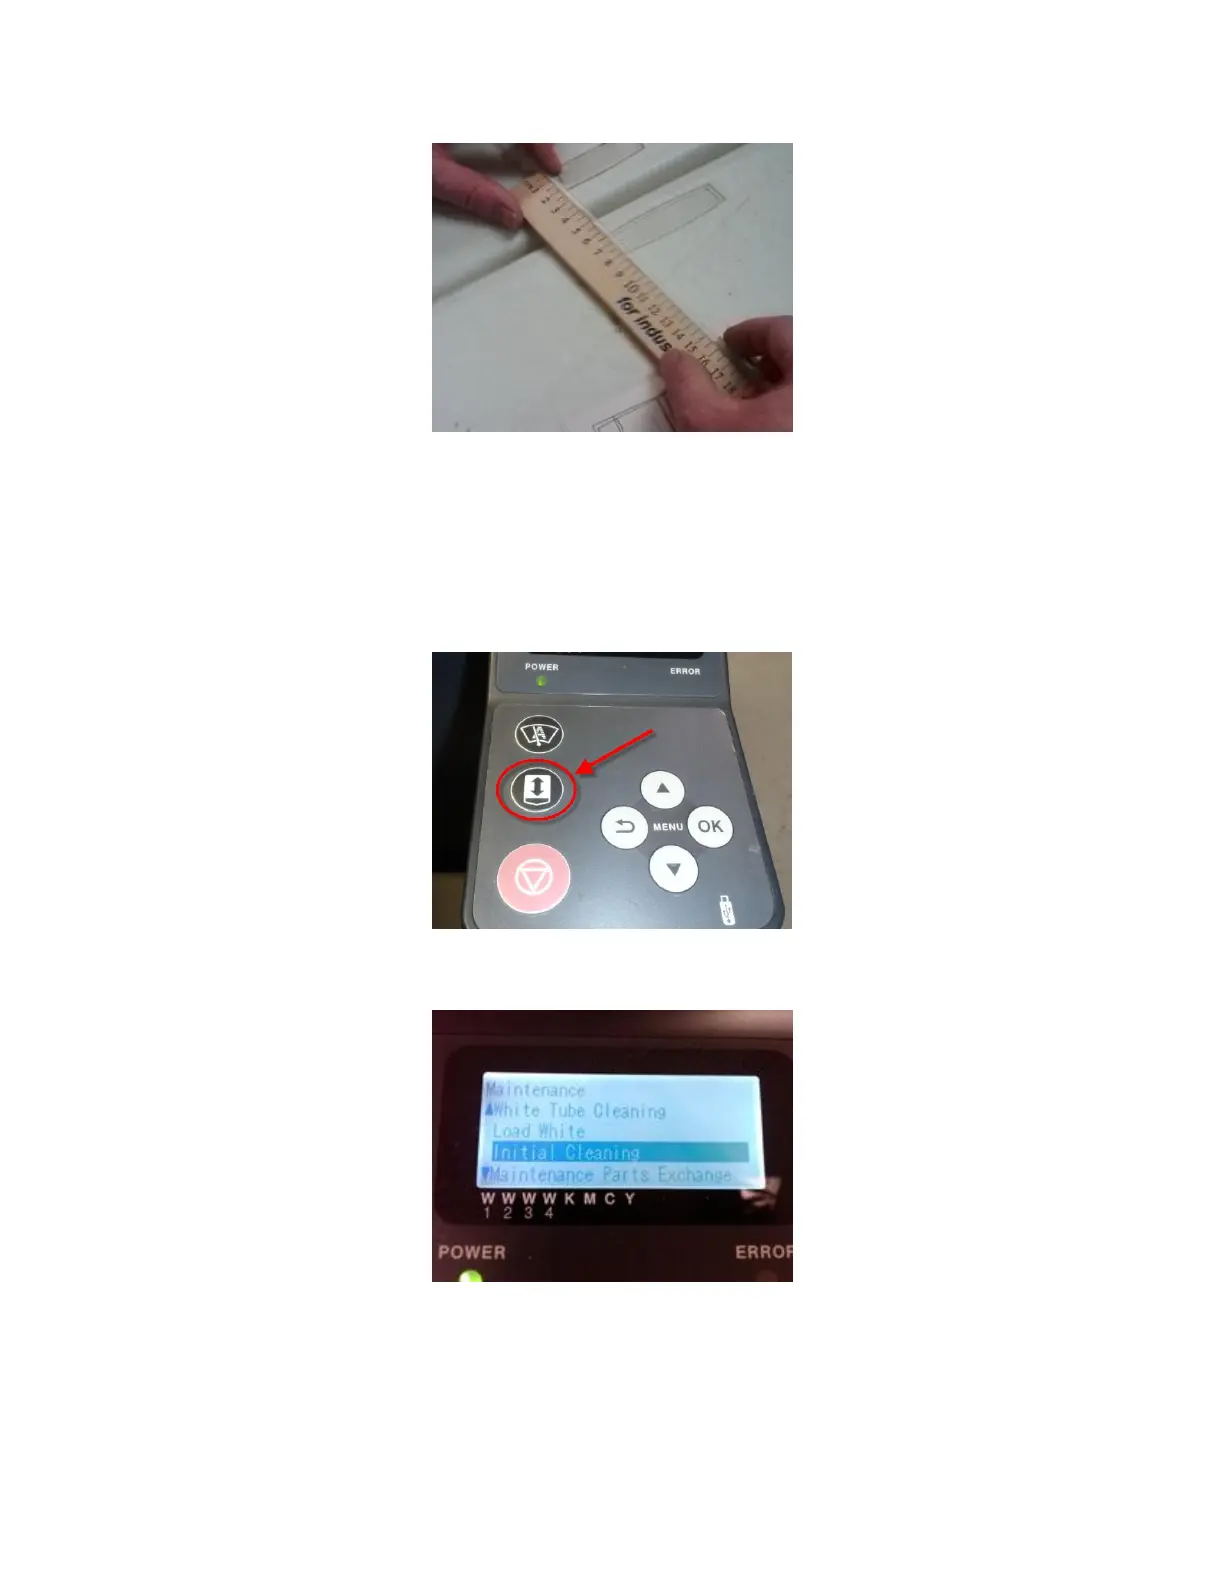
14. Press the platen button to eject the platen.
15. Press the Up/Down button to select “initial” cleaning mode, and then press the okay
button.
16. Press the Up/Down button to select the color you have replaced the tube, and then
press the okay button.
17. The initial cleaning process begins.
18. Press the cancellation button to return to the main menu.
19. Perform a nozzle check (from the test print menu) and do cleanings (normal or
powerful as needed.
20. Attach the covers from step 6.

 Loading...


