J
James SimonSep 8, 2025
What does 'Battery Empty!' mean on my Brother P-Touch PT-H200 Label Maker?
- RRyan BrandtSep 8, 2025
If your Brother Label Maker displays 'Battery Empty!', the installed batteries are running low and need to be replaced.
What does 'Battery Empty!' mean on my Brother P-Touch PT-H200 Label Maker?
If your Brother Label Maker displays 'Battery Empty!', the installed batteries are running low and need to be replaced.
What does 'Invalid!' mean on my Brother P-Touch PT-H200?
If your Brother Label Maker displays 'Invalid!', it could be due to several reasons: there was no text above the cursor when you selected [Numbering], you selected an invalid character for [Numbering], you selected an invalid number for [Label Length], or you entered an invalid value as the label length while using templates.
Why does my Brother P-Touch PT-H200 Label Maker say 'No Text!'?
If your Brother Label Maker displays 'No Text!', you may have tried to print a text file when there was no data stored in the memory, or you pressed certain buttons when no text was entered. Avoid pressing these buttons when no text is entered while using templates.
How to fix '2 Line Limit' error on Brother P-Touch PT-H200?
If your Brother Label Maker displays '2 Line Limit!/ 1 Line Limit!', make sure you do not exceed the maximum number of lines allowed (two). If you are trying to print or preview two lines of text while 3.5 or 6 mm tape is installed, install a larger tape size.
Why does my Brother P-Touch PT-H200 Label Maker say 'Cutter Pressed'?
If your Brother Label Maker displays 'Cutter Pressed', it means you pressed the tape cutter lever in the middle of the printing process.
What does 'No Frame OK?' mean on my Brother P-Touch PT-H200?
If your Brother Label Maker displays 'No Frame OK?', it means you are printing on 3.5 mm tape with an invalid Frame setting ON. Select to print with no Frame, to cancel.
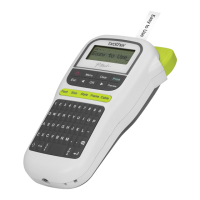
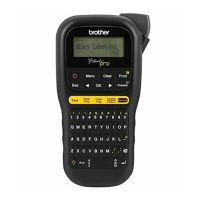
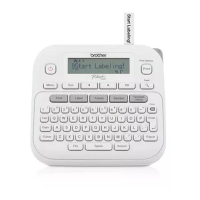
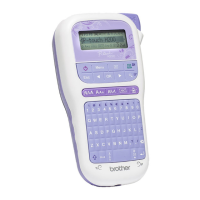
| Brand | Brother |
|---|---|
| Model | P-Touch PT-H200 |
| Category | Label Maker |
| Language | English |
Guide to setting the language and unit of measurement on the label maker.
Explanation of the function of each key on the label maker's keyboard.
Instructions for entering text, switching case, and using two-line printing.
Guidance on previewing, feeding, and printing labels and ribbons.
Instructions on how to save, print, and open stored label files.
Common error messages and their solutions for the label maker.
Procedure to reset the label maker to factory settings, clearing all data.