Do you have a question about the Brother PR-1000 and is the answer not in the manual?
Details parts for Kit 1 and Kit 2, including embroidery frame holders and clamp frames.
Loosen nuts, lift presser clamp, and pass item between clamp parts for hooping.
Firmly tighten nuts and check item alignment within the frame for proper embroidery.
Ensure screw tips are flush or protrude from nuts to avoid machine interference during embroidery.
Guidance for hooping shoes, ensuring correct heel placement and angle for optimal results.
Steps to attach the hooped clamp frame to the embroidery machine carriage.
Firmly tighten thumb screws to attach the frame hooped with the item to embroidery frame holder D.
Insert embroidery frame holder D pins into clamp frame holes to secure it.
Grasp frame, lift springs, and pull off the clamp frame from the embroidery machine.
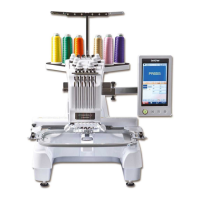
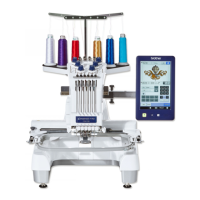
Ensure 10-needle machines have version 4.10+; otherwise, upgrade or frame won't be recognized.
Select the correct Frame Display setting. Differences between SR/SL are not shown.
Functions like cutwork, basting, appliqué are disabled; camera alignment unavailable; speed limited.
Attach the clamp frame and then select a stitch for embroidery.
Edit the pattern and display the embroidering settings screen.
Verify item is not pulled and frame is aligned before starting embroidery.
After checking the embroidering area, touch the SEWING button to begin.
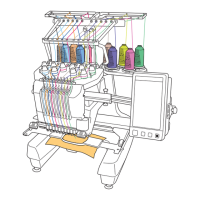
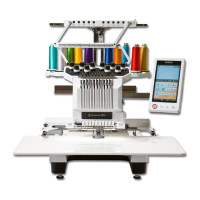
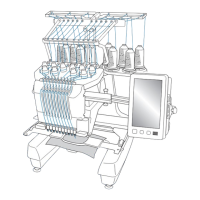
| Type | Embroidery Machine |
|---|---|
| Number of Needles | 10 |
| Embroidery Area | 10" x 6" |
| Display | LCD Touch Screen |
| USB Port | Yes |
| Thread Tension | Automatic |
| Connectivity | USB |
| LCD Screen | Yes |
| Threading | Automatic |
| Max Speed | 1, 000 stitches per minute |


 Loading...