9
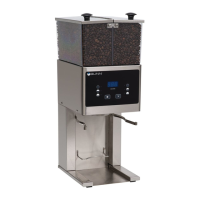
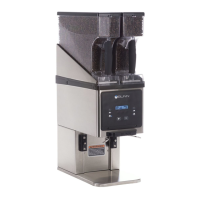
1. Visually inspect the selected hopper for an ample supply of whole bean coffee.
2. Place a paper filter into the brew funnel. The filter must not be folded-over or tilted to one side.
3. Insert the funnel into the funnel rails and push until it stops.
4. Choose the batch size and side of grinder to use.
5. Press GRIND. The grinding action will stop automatically after the preset amount of ground
coffee is dispensed into the funnel. Pressing the STOP button will terminate a grind.
COFFEE GRINDING
The grind can be set from very fine to very coarse. The amount may be adjusted for use in most
commercial coffee brewers. The following procedures should be used to make adjustments. A
change in the burr adjustment will also change the amount dispensed. Any adjustment of the burrs
should be followed by an adjustment of the timer.
Burr Adjustment
1. Remove the two screws from front control panel. Hang the panel under metal hooks at bottom
of opening.
2. Enter the Service Menu “TEST OUTPUTS” - “GRIND MOTOR” (See programming manual).
Turn grinder motor ON.
3. After all of the coffee in the grind chamber is used, slowly
turn the adjusting screw in a clockwise direction until a
metallic whine is heard due to the rubbing of the grinding
burrs. (reverse the adjusting screw until the whining sound
stops)
4. Turn plastic grind indicator until screw slot lines up with “O”
on the indicator.
5. The following settings approximately correspond to
the CBC recognized grinds. Turn the adjusting screw
counterclockwise to the desired setting as noted below.
FINE GRIND: Rotate the adjusting screw 7 hash marks in a counterclockwise direction.
DRIP GRIND: Rotate the adjusting screw 8 hash marks in a counterclockwise direction.
REGULAR (COARSE) GRIND: Rotate the adjusting screw 12 hash marks in a
counterclockwise direction.
ADJUSTMENTS
1
0
2
3
4
5
6
7
8
9
10
11
12
13
14
15
Adjusting
Screw
Hash
Marks
Modify Recipes (cont)
13. Use the plus (+) or minus (-) buttons under the display to increase or decrease the run time.
14. Select DONE to proceed with the changes.
15. The next screen will ask “3 BATCHES DONE?”. If so, select YES to save the changes.
Selecting NO will allow the operator to make more adjustments to the remaining batches for
that particular recipe.
16. Repeat steps to modify other recipes.
INITIAL SET-UP & PROGRAMMING (Continued)
050919
 Loading...