6
INITIAL SET-UP & PROGRAMMING (Continued)
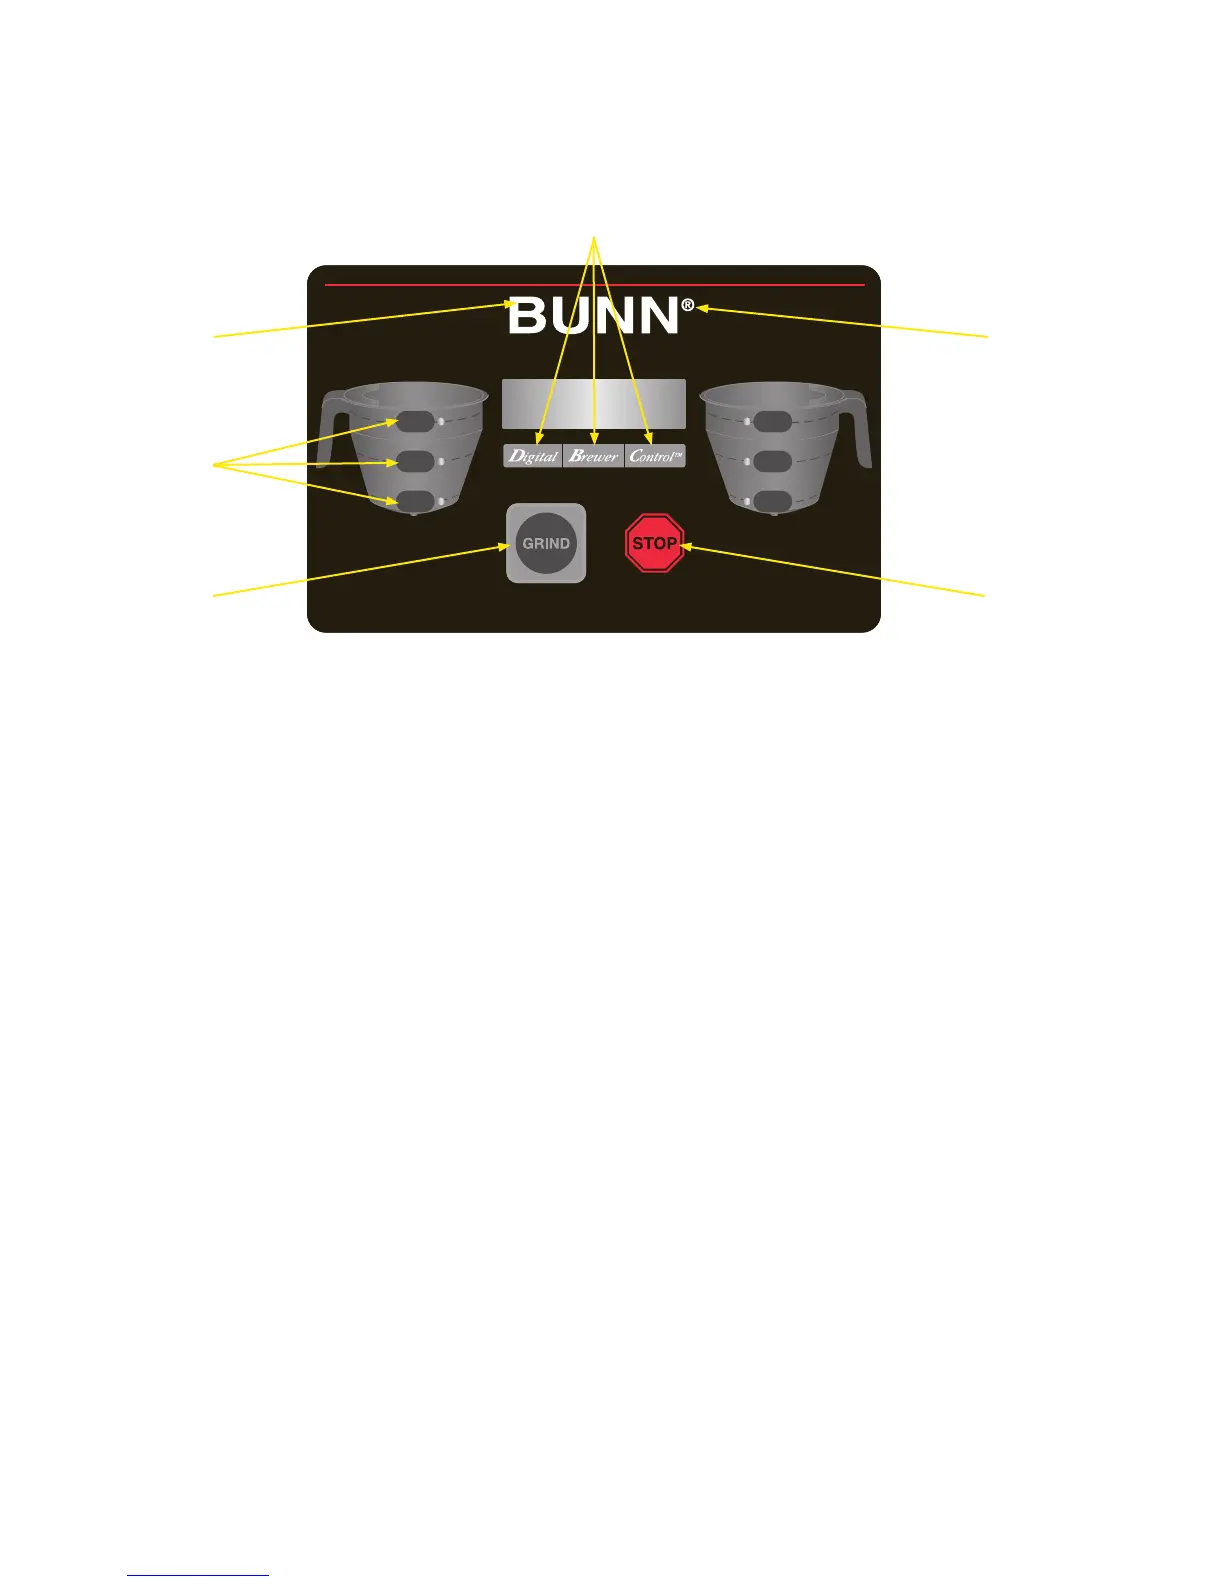
Grind Pad (a) – Pressing initiates a grind cycle.
Stop Pad (b) – Pressing ends the operation of the grinder.
® Pads (c) – “Hidden” buttons used to navigate setup and programming menus.
Pads (d) – “Hidden” buttons used to navigate setup and programming menus.
Hopper/Batch Selector Pads (e) – Press button to select small, medium or large batch size.
• These pads are located on the funnel depictions on each side of the grinder with a total
of 6 pads. Selecting one of these pads will select the amount of grind and the side from
which to grind.
Example: Selecting the lower pad (small batch) on the left side will grind enough beans from the
left hopper of the grinder to brew the amount programmed into grinder.
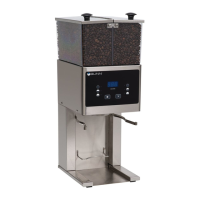
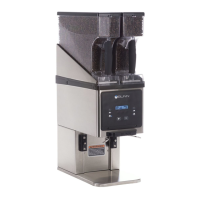
OPERATING CONTROLS (Early Models)
a b
d
c
(left)
c
(right)
e
Control Board
The control board determines the amount of beans that will leave the hopper in a grind cycle. The
timer portion can be adjusted to dispense a different amount from each hopper and each batch size.
The scale is from 0.4 to 99.9 seconds. Refer to the programming for timer setting chart.
050919
 Loading...