FOR INFORMATION TEL: 514.337.4415 FAX: 514.337.4029
INSTRUCTION STEPS
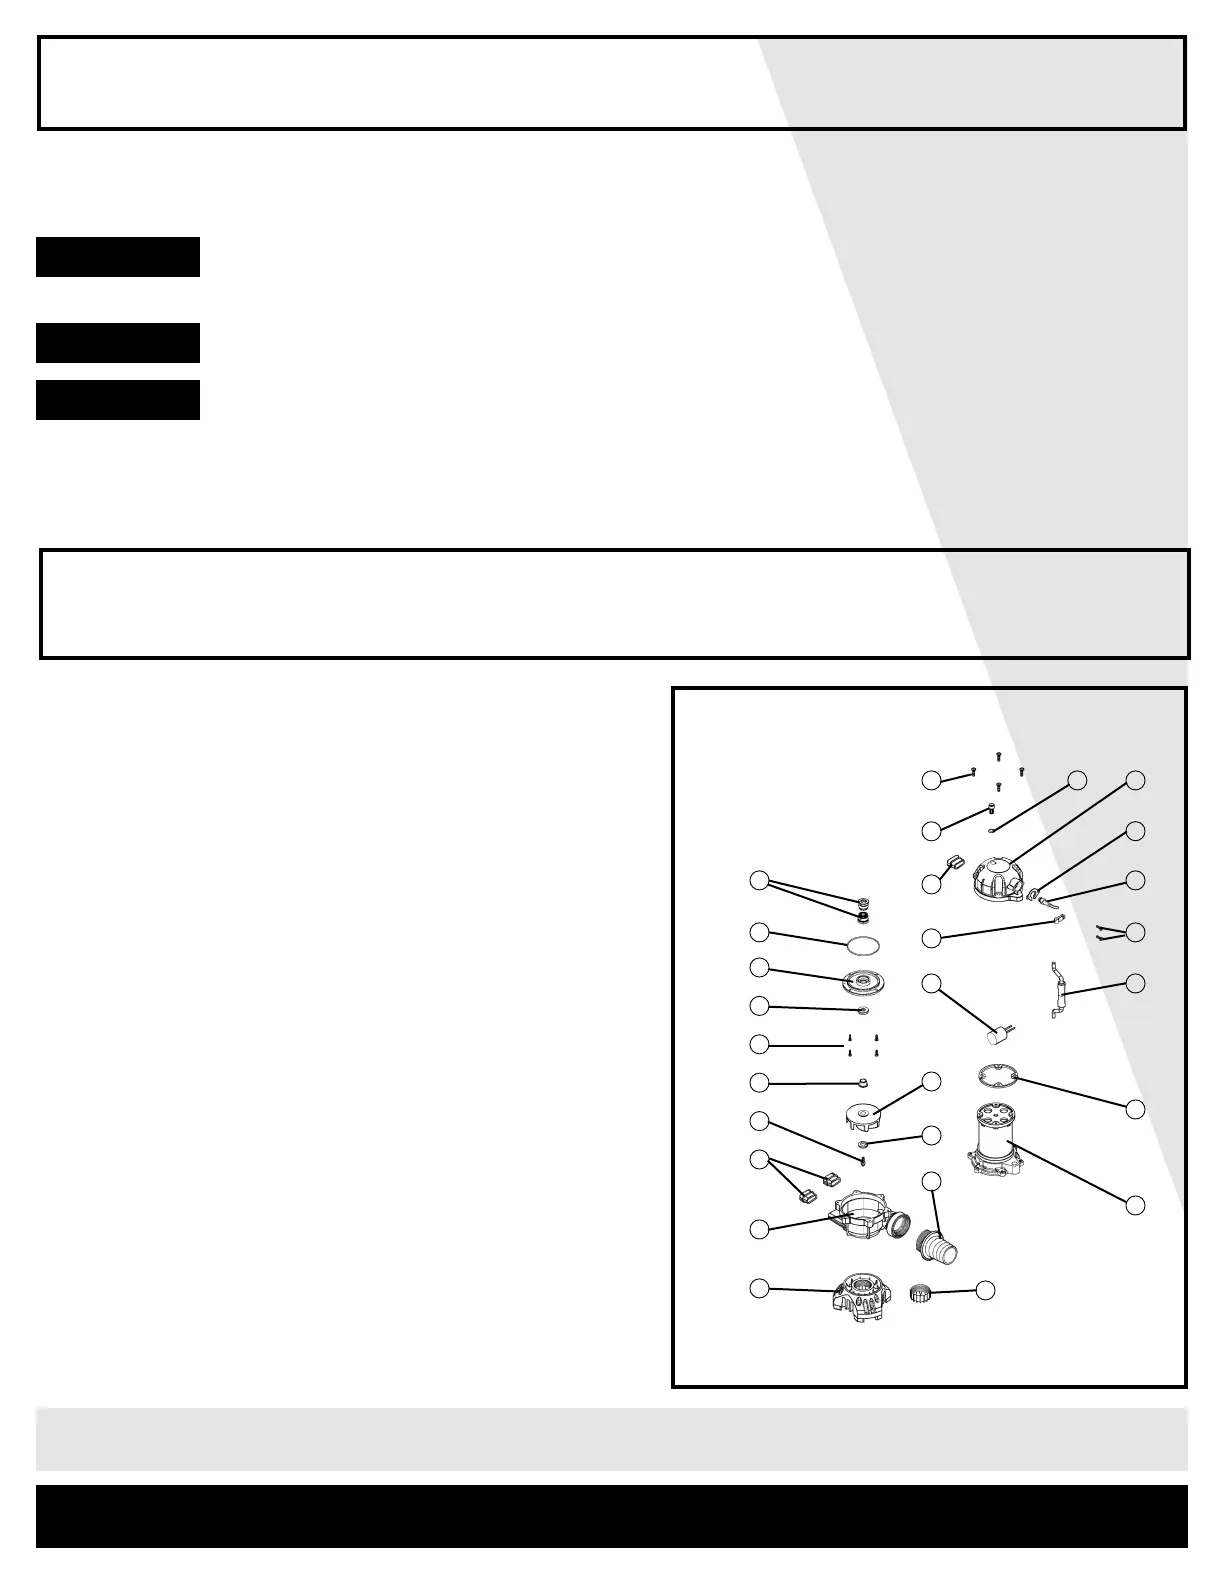
REPAIR PARTS
REF # DESCRIPTION
1 310111 Strainer / vertical support
2 310112 Stainer
3 310113 Discharge adaptor
4 310114 Pump casing
5 310115 Foot (3)
6 310116 Screws (top cover & Impeller) (4)
7 310117 Impeller washer
8 310118 Impeller
9 310119 Impeller sleeve
10 310120 seal plate screws (4)
11 310121 Oil seal
12 310122 Seal plate
13 310123 Seal plate o-ring
14 310124 Mechanical seal
15 310125 Complete motor
16 310126 Rubber gasket
17 310127 Capacitor
18 310128 Handle
19 310129 Cable screws (2)
20 310130 Cable tie
21 310131 Power cable
22 310132 Power cable plate
23 310133 Top cover
24 310134 O-Ring
25 310135 Cover set screw
Repair parts may be ordered from your authorized point of sale or from
BUR-CAM PUMPS
3
WARNING : NEVER RUN THE PUMP DRY
Install the pump at the appropriate place to transfer or at the source for waterfall and / or
fountain.
Run a 2” pipe to the desired discharge point.
Make sure that sand, rocks or any debris does not clog the suction screen.
STEP 1
STEP 2
STEP 3
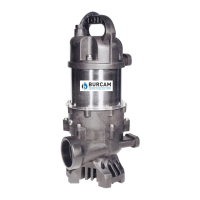
MODEL 300910
Fountain pump
13
14
12
11
10
9
6
5
20
5
25
6
17
8
7
3
2324
19
18
22
21
16
15
4
1
2