52
OPERATING THE GAS GRILL
WARNING: Never light the grill with the lid closed.
Before you use the gas grill for the first time, you should definitely first wipe the surface of the lid and
the outer parts of the combustion chamber with a damp cloth. This will prevent any residues from the
production process from burning in. Ensure that there is no debris caught in the head of the gas cylinder,
regulator, burner and burner ports.
WARNING: Check that all burners are correctly positioned in the respective nozzles and that all cables
below are accessible before using the gas grill. If this is not the case, loosen the safety splints, remove the
burners, and reposition them on the nozzles. Then retighten the safety splints.
Before grilling for the first time, allow it to burn for 40 minutes without food. Preservation residues are
removed in this way. You need not worry if it results in a slight odour. This is harmless. Make sure the grill
is adequately ventilated. Scrub the grids with a stainless steel brush afterwards.
The colour inside the gas grill can change slightly. This is a natural process.
USING THE MAIN BURNERS
1. Open the grill lid.
2. Turn all control knobs clockwise to the “OFF”
position.
3. Connect the pressure regulator to the gas
cylinder.
4. Open the gas cylinder valve and use a leak de-
tection spray or soapy water to check for leaks
between the gas pressure regulator and the gas
cylinder.
5. The grill has an automatic ignition system of
the main burners. Therefore you only need to
ignite the left burner as described in the follo-
wing steps. All other main burners can individu-
ally be lit and continuously adjusted by simply
turning the control knobs.
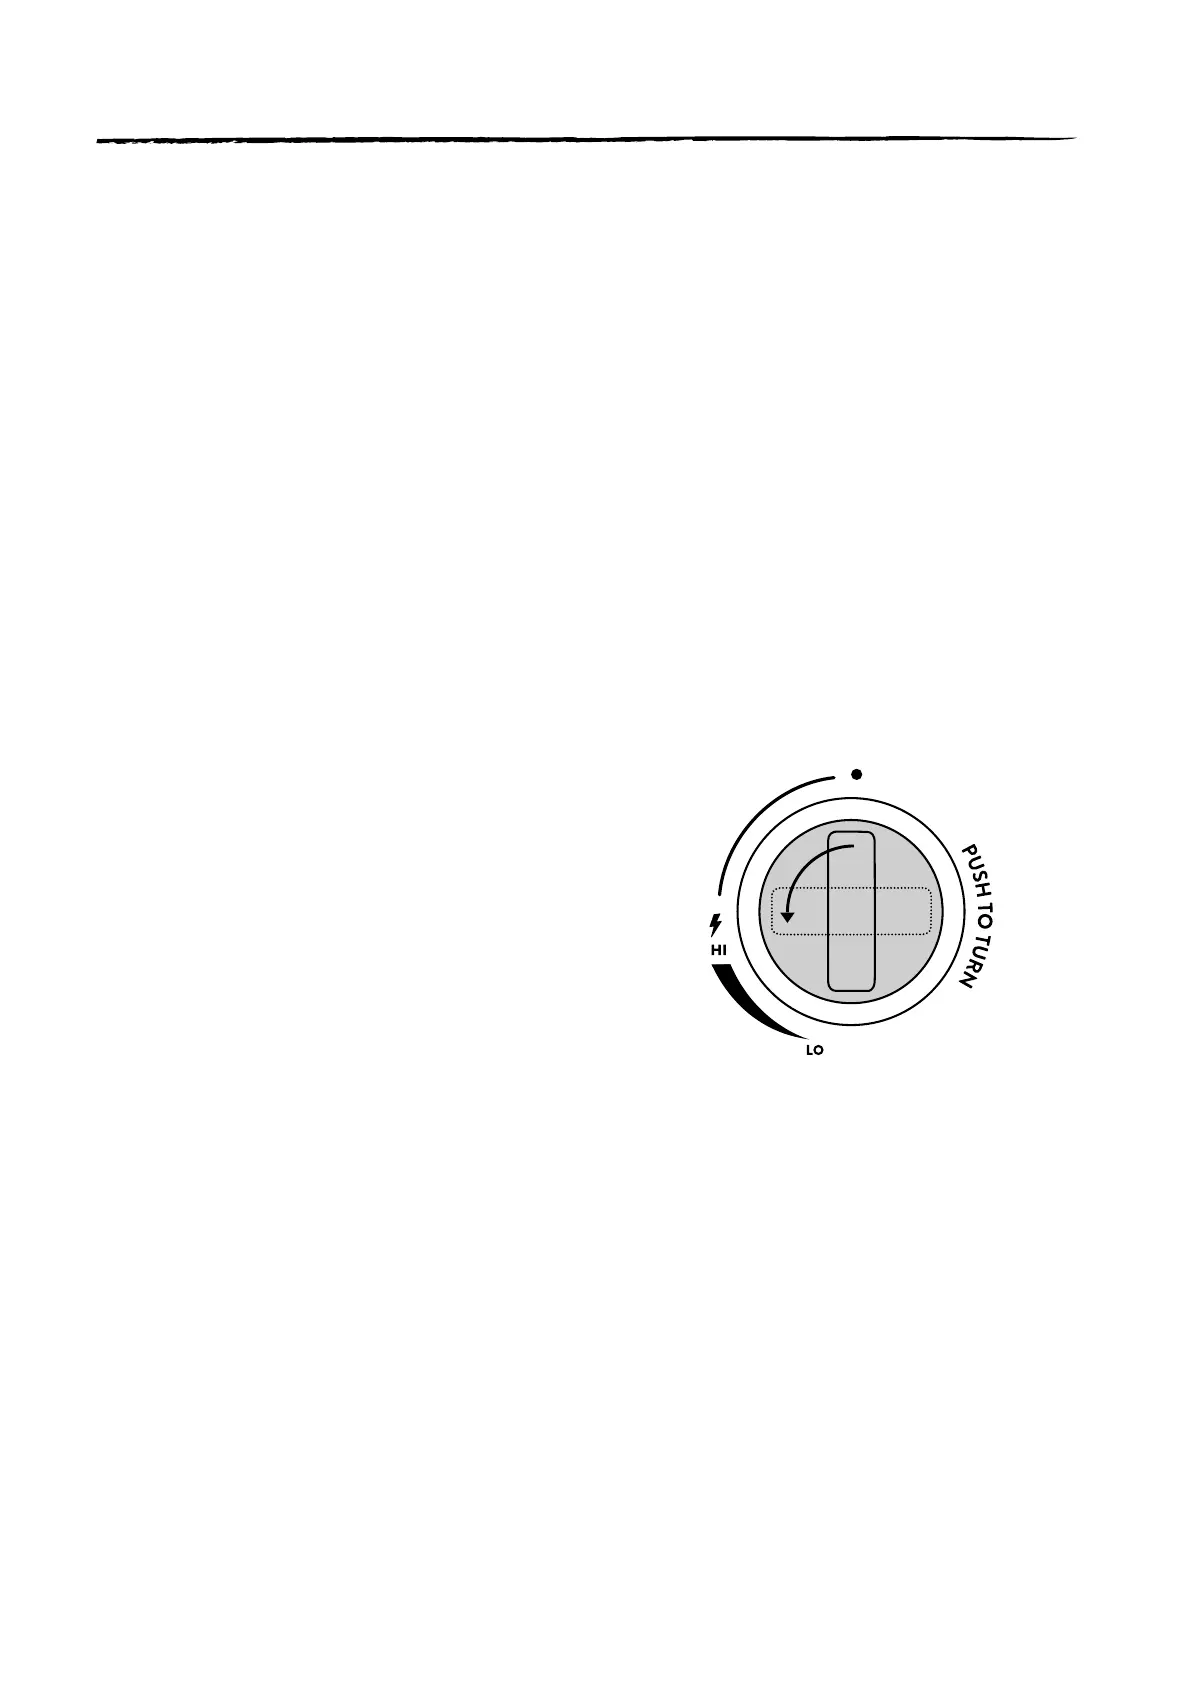
6. Press and hold down the left knob while turning
it anticlockwise to the “HI” position. You will
hear a “click” sound and the burner should ig-
nite. If it does not ignite right away, repeat this
step 3 to 4 times.
7. WARNING: If the burner does not ignite after
repeated attempts, turn the knob clockwise to
the “OFF” position and close the gas cylinder
valve. Wait 5 minutes and then start again from
step 4.
8. Adjust the heat by turning each knob to the
desired setting between the highest (“HI”) and
lowest (“LO”) levels.