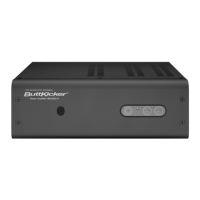
Amplifier Setup
RF Receiver / Transmitter Wireless Connection Setup
The RF Transmitter and RF Receiver link to each other using a randomly generated
address. Once the Amplifier, RF Transmitter and RF Receiver have been properly set
up per Steps 1 and 2, then do the following:
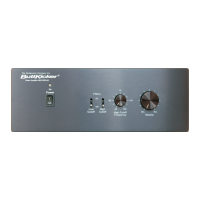
a) Press once the recessed button located next to the LED on the RF Receiver
(See Figure 3 - pg 10). The LED will start blinking quickly showing that the RF
Receiver is ready to connect to an RF Transmitter.
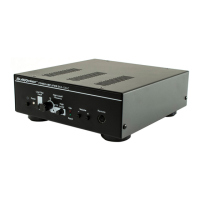
b) Press once the recessed button located on the bottom of the RF Transmitter
(See Figure 4 - pg 10). The LED will start flashing quickly. If connection has been
successfully established the LED on both RF Receiver and RF Transmitter will stop
blinking. If the RF units do not connect within 10 seconds, the RF Transmitter LED
will start blinking slowly and the RF Receiver will continue to blink quickly. To retry
the connection process, press the button of the RF Transmitter.
Note: If you already have one RF Transmitter and Receiver pair working and you are
installing a second set, press the button of the RF Transmitter twice. This will prevent
interference between the two systems.
Troubleshooting Note:
If the RF units do not connect within 10 seconds, the RF Transmitter LED will start
blinking slowly and the RF Receiver will continue to blink quickly. To retry the
connection process, press the button of the RF Transmitter.
Optional Base Stand Usage
The Amplifier can also be set in an upright, vertical position by placing it as shown in
the optional Base Stand (included). MAKE SURE THAT THE AMPLIFER’S SIDE VENTS
ARE EXPOSED AND ARE FACING UP ON THE TOP SIDE WHEN PLACING THE AMPLIFIER
IN THE BASE STAND.
OWNER’S MANUAL
09