1. :$51,1*
Verify that the electrical supply wires are the same
voltage as the heater.
,IUHSODFLQJDQH[LVWLQJKHDWHUFKHFNWKHODEHO
of the old heater.
$OOHOHFWULFDOZRUN DQGPDWHULDOV PXVWFRPSO\
ZLWKWKH1DWLRQDO(OHFWULF&RGH1(&WKH2FFX-
SDWLRQDO 6DIHW\ DQG +HDOWK$FW 26+$ DQG DOO
state and local codes.
4. If you need to install a new circuit or need addi-
WLRQDOZLULQJLQIRUPDWLRQFRQVXOWDTXDOL¿HGHOHF-
trician.
8VHFRSSHUFRQGXFWRUVRQO\
6. :$51,1*
Risk of Electrical Shock. DO NOT install the heat-
er directly above bathtub or sink. DO NOT install
in shower stall area. Manufacturer recommends a
minimum 2 foot (61 cm) clearance.
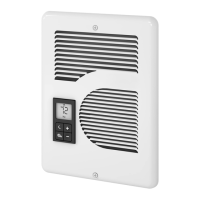
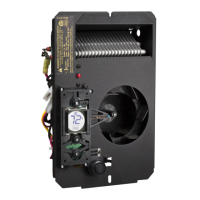
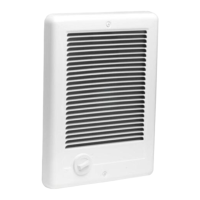
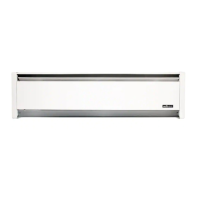
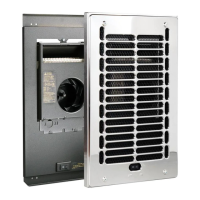
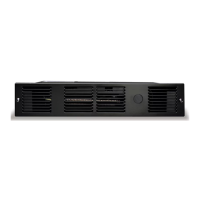
+HDWHUPXVWEHLQVWDOOHGLQDZDOOFDQ
Model EP Wall Can CC
:$51,1*
5LVNRI)LUH'2127LQVWDOOWKHKHDWHULQDÀRRU
LQWKHFHLOLQJEHORZDWRZHOEDU EHKLQGD GRRU
or anywhere the air discharge may be blocked in
any manner.
:$51,1*
Fire or Explosion May Occur. A heater has hot
and arcing or sparking parts inside. Do not use it
LQDUHDVZKHUHJDVROLQHSDLQWRUÀDPPDEOHYD-
pors or liquids are used or stored.
:$51,1*
Risk of Electrical Shock. Connect grounding lead
to grounding screw provided. Keep all foreign ob-
jects out of heater.
11.:$51,1*
Risk of Fire. This heater is hot when in use.
&DXWLRQ²+LJK 7HPSHUDWXUH 5LVN RI )LUH .HHS
HOHFWULFDO FRUGV GUDSHU\ IXUQLVKLQJV DQG RWKHU
FRPEXVWLEOHVDWOHDVWIHHWPIURPWKHIURQW
RIWKHKHDWHUDQGLQFKHVFPDERYHDQG
on both sides.
__________________________
3DUW2QH
__________________________
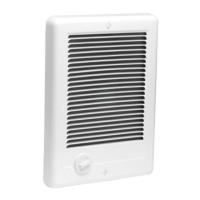
PLACEMENT: Install vertically. Heater is not approved for horizontal or ceiling mount applications.
CONTROLS: A built-in digital thermostat is included. May not be used with a wall thermostat.
5(48,5('0,1,080GLVWDQFHRIôLQFKHVFPIURP
DGMDFHQWVXUIDFHVVXFKDVZDOOVDQGòLQFKHVFPIURP
WKHÀRRU6HH)LJXUH+RZHYHU&DGHWUHFRPPHQGVLQFKHV
FPIURPDGMDFHQWVXUIDFHVDQGÀRRUIRUORQJHUDQGFOHDQHU
SHUIRUPDQFH+HDWHUVPXVWEHVSDFHGDWOHDVWIHHWP
apart.
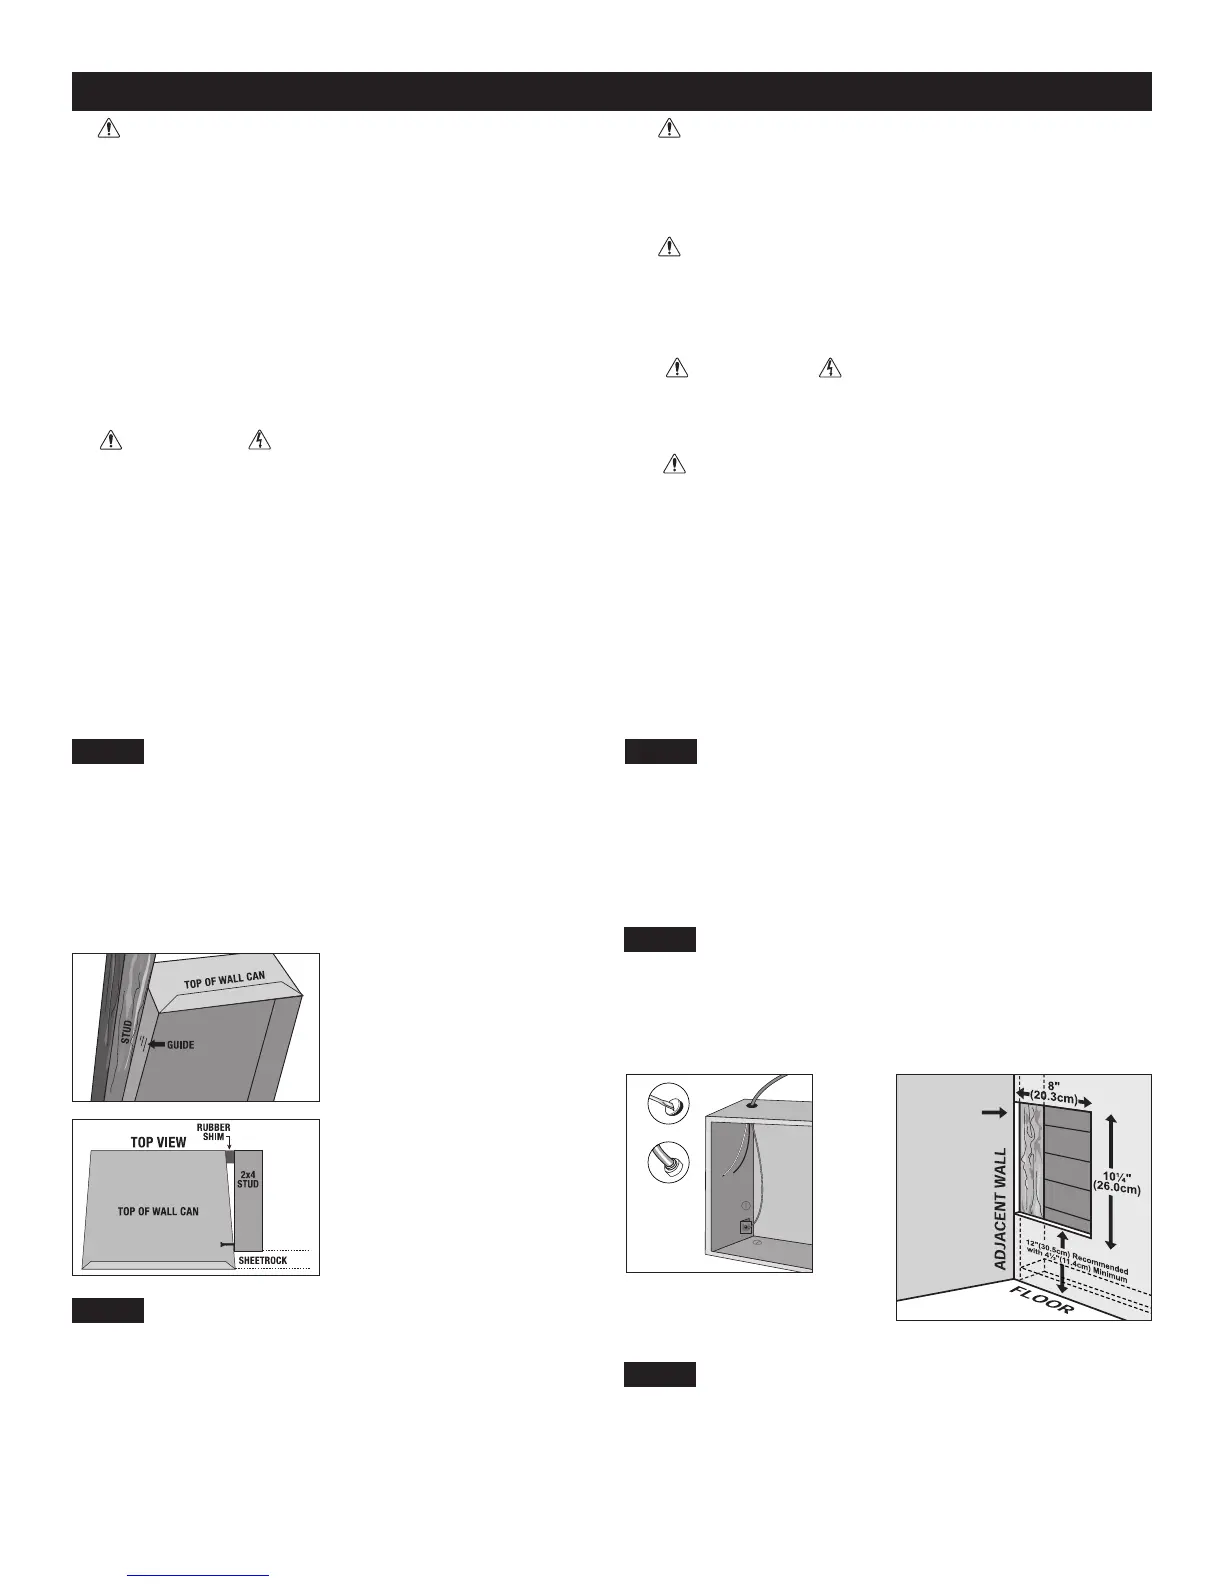
Secure the wall can to the stud with 2 screws (not included). (See
)LJXUHV$VDQRSWLRQWKHUXEEHUVKLPSURYLGHGPD\EH
attached to side of wall can to square the wall can to the stud.
How do I install for new construction?
STEP 1
0RXQW7KH:DOO&DQ
)LJXUH
)LJXUH
Face of wall can must extend
òLQFKFP
RUǫLQFK
cm) from face of stud to allow for
thickness of sheetrock.
Attach wall can to stud with screws
(not included) through holes provid-
ed in wall can. IMPORTANT: wall
FDQVKRXOGEHPRXQWHGÀXVKZLWK
outside of sheetrock.
STEP 2
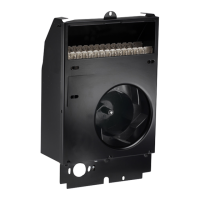
5RXWH6XSSO\:LUHV
Route supply wire from the circuit breaker to the heater. Remove
a knockout from the wall can and attach the supply wire with a
strain relief connector (not included) leaving a minimum of 6 inch-
HVFPZLUHOHDG&RQQHFWVXSSO\JURXQGZLUHWRJURXQGLQJ
VFUHZLQZDOOFDQ6HH)LJXUH
Proceed to Part Two.
How do I install in an existing wall?
STEP 1
&XW$+ROH,Q7KH:DOO
5(48,5('0,1,080GLVWDQFHRIôLQFKHVFPIURP
DGMDFHQWVXUIDFHVVXFKDVZDOOVDQGòLQFKHVFPIURP
WKHÀRRU6HH)LJXUH+RZHYHU&DGHWUHFRPPHQGVLQFKHV
FPIURPDGMDFHQWVXUIDFHVDQGÀRRUIRUORQJHUDQGFOHDQHU
SHUIRUPDQFH+HDWHUVPXVWEHVSDFHGDWOHDVWIHHWP
apart.
&XWDKROHLQFKHVFPZLGHE\óLQFKHVFP high
next to a wall stud.
STEP 2
67(3
5RXWH6XSSO\:LUHV
0RXQW7KH:DOO&DQ
,QVHUWZDOOFDQLQWRRSHQLQJNHHSLQJZDOOFDQÀXVKZLWKZDOOVXU-
face. Secure can to wall stud with 2 screws (not included) through
holes provided in can. IMPORTANT: wall can should be mounted
ÀXVKZLWKRXVLGHRIVKHHWURFN
Proceed to Part Two.
Route supply wire from the circuit breaker to the heater. Remove
a knockout from the wall can and attach the supply wire with a
strain relief connector (not included) leaving a minimum of 6 inch-
HVFPZLUHOHDG&RQQHFWVXSSO\JURXQGZLUHWRJURXQGLQJ
VFUHZLQZDOOFDQ6HH)LJXUH
)LJXUH
)LJXUH
Page 4
 Loading...