Signal system; PAL/NTSC
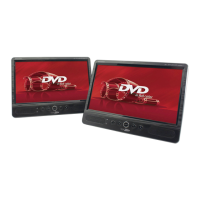
Monitor size: 10.1 inch TFT LED screen
Resolution: 1024(W) x 600(H)
Frequency response: 20Hz to 20kHz (1 dB)
Video output: 1 V p-p 75 Ohm unbalanced
Audio output: 1.2 Vrms / 1 KHz, 0 dB
Dynamic range: >85dB
Laser: Semiconductor laser, Wave length: 650nm
Compatible discs/files: CD / DVD / VCD / MP3 / MPEG4 / DivX / JPEG
Built-in connections: - Standard USB 2.0 reader
- Standard SD card reader
- 3.5mm Jack headphone socket
- 3.5mm AV-output
(jack to jack cable included • to connect other player / additional monitor)
- 3.5mm AV-input (jack to jack cable included • to function as additional monitor)
- DC input (12V charger (with cigarette lighter plug))
- DC output (does not apply)
Power supply: DC 9-12V 1.0A
Power consumption: <15W
Operating temperature: 0~35
o
C
Battery Type: 1200 mAh Li Polymer, output: 7.4V
Size player
(closed): 242(W) x 183(H) x 39(D) mm
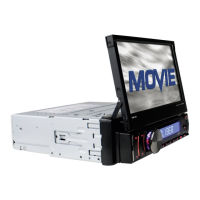
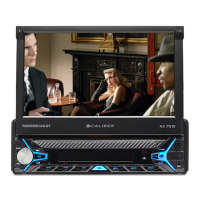
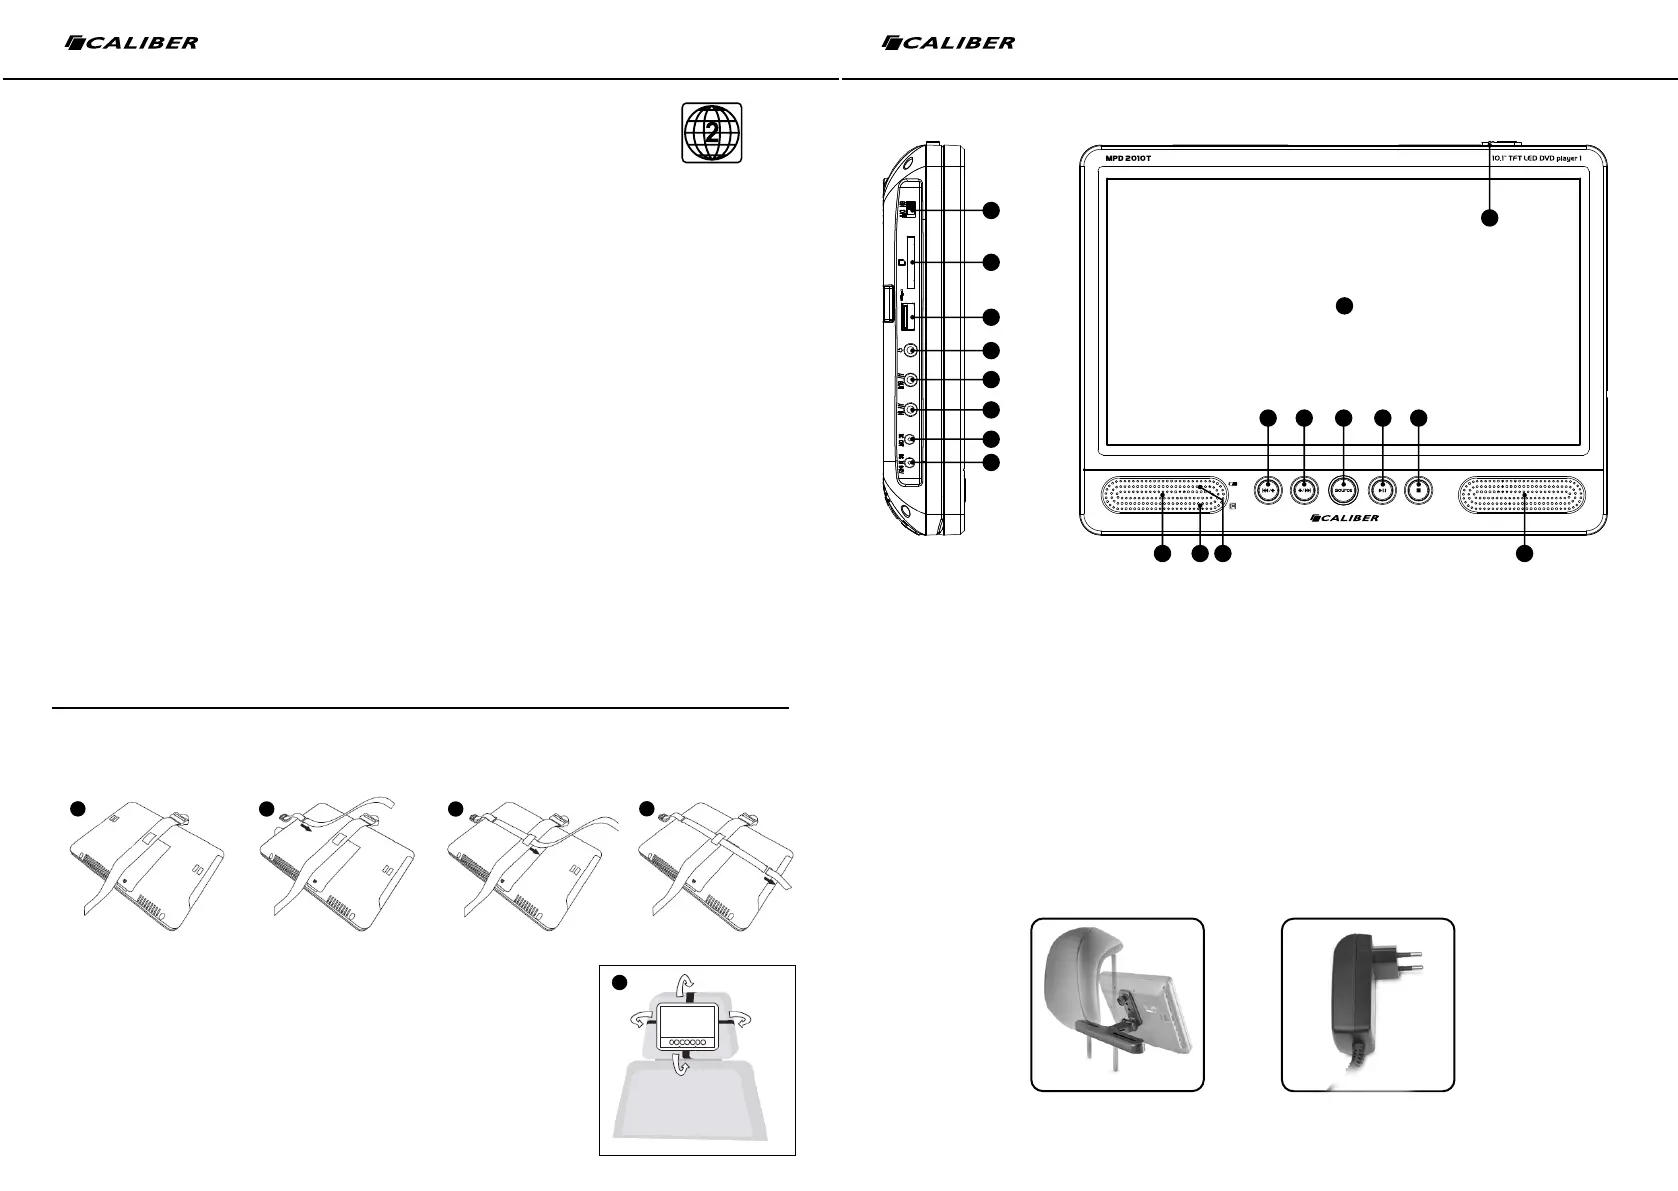
MPD 2010T Specifications MPD 2010T Connections and buttons
How to use the headrest mount
Close the desk stand on the back of the unit and lay the player face down on a soft surface so it will not be
damaged.
1. Lay the short strap which has the retainer on it across the back as shown.
2. Pass the longer strap through one of the fixing loops on the back panel.
3. Now thread the strap through the retainer on the center of the other strap.
4. Pass the strap through the other fixing loop.
5. The straps are now in place.
- Hold the player in position on the back of a front seat headrest.
- While holding the player securely in place, loop the straps
around the the headrest, securing the ends with the clips.
1. Display
2. Open slide-button
to open the player to insert a disc
3. W: to scroll through the menus.
7: previous track (music) or chapter (movie).
4. S: to scroll through the menus.
8: next track (music) or chapter (movie).
5. Source: to select DVD, USB, SD or AV-in source.
6. 12: play/pause playback (music/movie).
7. 3: stop playback (music/movie).
8. Built-in speakers
9. IR receiver:
receiver for remote.
10. LED indication:
Solid: Fully charged or switched ON
Charging: LED is blinking.
11. Power switch: power ON/OFF.
12. SD card reader: for standard SD card
13. USB port: for standard USB input.
14. Headphone socket: for 3.5 mm jack
headphone plug (headphones included).
15. AV output:
for 3.5 mm jack plug to connect to the other player (cable provided) or
connect to TV/screen (cable not included).
16. AV input:
for 3.5 mm jack plug to connect to the other player (cable provided) or
connect to another source (cable not included).
17. DC output:
no useable function
18. DC input:
to power the player or to recharge the battery.
- 12V car charger included (split wired • for the loading of both devices at
the same time)
- 230V wall charger sold separately (PS32).
8
1
2
8109
3 4 5 6 7
11
12
13
14
15
16
17
18
BOTH PLAYERS
1
2
3
4
5
DVD Bracket (sold separately)
NOT included!
Wall charger 230V
PS 32 (sold separately)
NOT included!
Product code: “DVD-Bracket”
EAN:
87.14505.04516.0
Product code: “PS32”
EAN:
87.14505.04171.1
We are continuously improving/updating our products and product information.
It’s therefore possible that there is a slight difference between the description in this manual to the operation of the product.
If something is different or not clear; always check our website for the most current version.
 Loading...