Proprietary Information: Not for use or disclosure except by written agreement with Calix.
.
Wall Mount Screw Requirements
.28 in
3.75 mm
.15 in
#2
Depth
2.6 mm
20 mm
.1 in
.79 in
8317
3. Drill holes in the wall and attach the bracket using two #8 screws.
4. Thread the GigaSpire on to the bracket using the captive M6 screw on the bracket.
5. Attach Ethernet cable(s) to the GigaSpire and route them to the upstream/downstream
devices.
6. Attach the power supply wiring to the GigaSpire and route to the power source.
7. Secure all wiring conforming to local code.
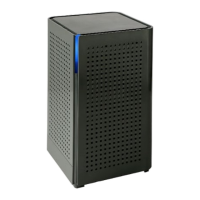
GigaSpire BLAST Connections
GigaSpire BLAST
u12, u12x, u6.2, u6.1, and u6.x
Power Supply Connections
Wi-Fi Protected Set-up (WPS)
POTS - RJ11 (x2) POTS
Gigabit LAN
Ethernet
Ethernet, RJ45 (x4)
Data
2.5G Gigabit WAN - RJ45 (u12x, u6.2)
1.0G Gigabit WAN - RJ45 (u12, u6.1)
To upstream router
SFP+ cage (u6.x)
(803G GigaPoint, others?)
8-pin Power Adapter
2-pin Power Plug (For
USB 2.0
with Alarm Telemetry
deployments without UPS)
for UPS deployments
8218
UPS
Signal/Power Wiring
(12 VDC)
6809
AC Power to UPS
110/220 VAC, 3 Prong

 Loading...