7
ADJUSTMENTS
DRIVE CHAIN TENSION
• To make the following setting adjustments, the
skin cover must be removed from the rear part
of the system.
CAUTION: Some bolts secured on the frame must
be loosened temporarily to adjust the drive chain
tensioner.
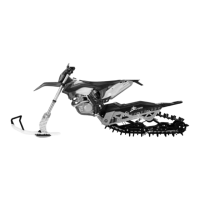
• Loosen assembly bolts (1), (2) and (3) on right
side panel to allow the Chain Tensioner (4) to
pivot on its axis. See
Figure 7.
Figure 7
NOTE: it is important that the following steps be
performed in the order prescribed to obtain the
optimal tension setting in the drive chains.
• Adjust the primary drive chain tension (1) by
turning adjustment nut (2) at the rear of the
tensioner (3) to eliminate play in the primary
chain. See Figure 8.
NOTE: Do not finalize the primary drive chain
adjustment at this point. Eliminate play in the
chain only.
Figure 8
• Adjust next the tension in the secondary drive
chain (1) by turning the vertical adjustment nut
(2) on the chain tensioner. See Figure 9.
Figure 9
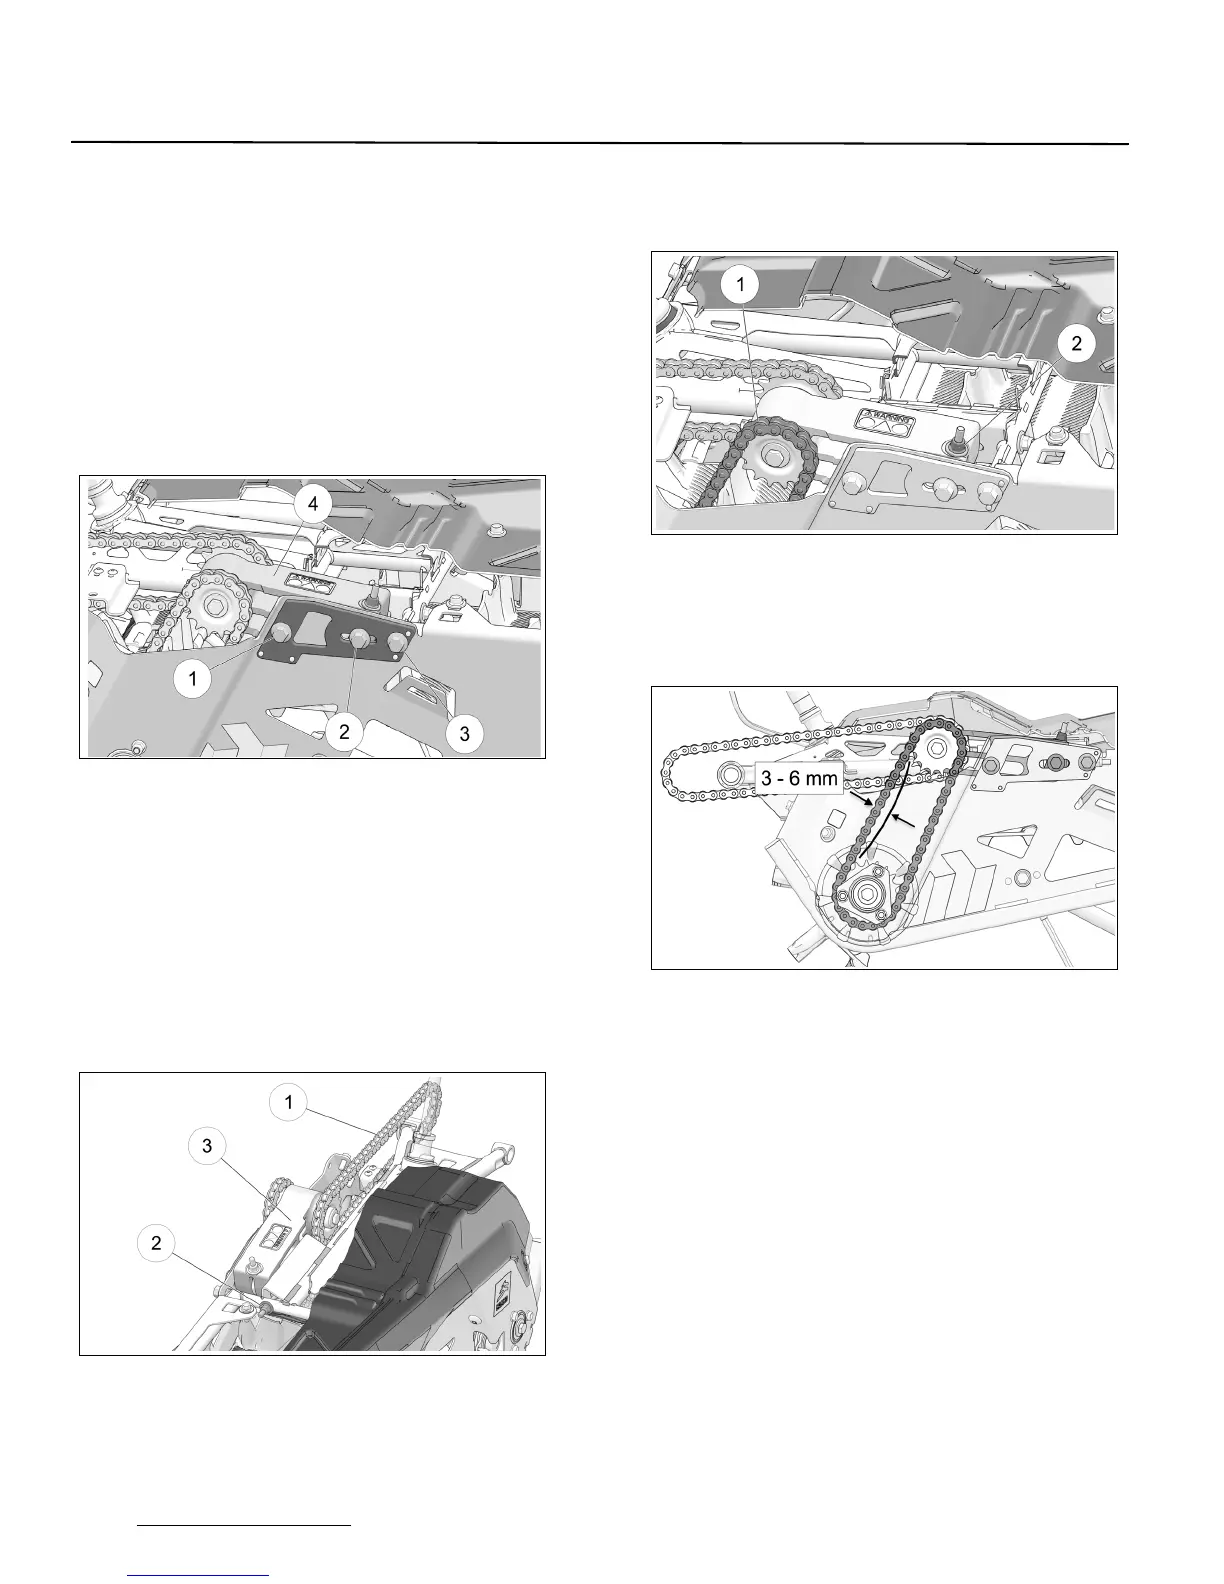
• Apply pressure at center of the two drive
sprockets. The chain should have 3-6 mm (1/8-
1/4 in.) of play. Re-adjust until the right amount
of play is obtained. See Figure 10.
Figure 10
NOTE: Secondary drive chain tension must be set
before finalizing primary drive chain tension
adjustment.