Do you have a question about the Candy FC9D405X and is the answer not in the manual?
This document provides user instructions for Candy ovens, covering safety, product description, usage, cleaning, maintenance, troubleshooting, and installation.
The oven is designed for cooking food. Any other use, such as a heat source, is considered improper and potentially dangerous. The manufacturer is not responsible for damage resulting from improper, incorrect, or unreasonable use.
During cooking, moisture may condense inside the oven cavity or on the door glass, which is normal. To reduce this, preheat the oven for 10-15 minutes before placing food inside. Condensation will disappear once the oven reaches cooking temperature. Cook vegetables in a lidded container instead of an open tray to minimize condensation. Avoid leaving food inside the oven for more than 15-20 minutes after cooking.
WARNING: The appliance and its accessible parts become hot during use. Exercise caution and avoid touching hot surfaces. Accessible parts can also become hot when the grill is in use; keep children at a safe distance. Ensure the appliance is switched off before replacing the bulb to prevent electric shocks. To avoid hazards from accidental resetting of the thermal interruption device, the appliance should not be powered by an external switching device (e.g., a timer) or connected to a circuit that is regularly switched on and off.
Children under 8 years old should be kept away from the appliance unless continuously supervised. Children should not play with the appliance. The appliance can be used by individuals aged 8 or older, and by those with limited physical, sensory, or mental capabilities, or lack of experience and knowledge, only if supervised or instructed on safe operation and aware of potential risks. Cleaning and maintenance should not be performed by unsupervised children.
Do not use rough or abrasive materials or sharp metal scrapers to clean the oven door glass, as these can scratch the surface and cause the glass to shatter. The oven must be switched off before removing removable parts. Reassemble them according to instructions after cleaning.
Only use the meat probe recommended for this oven. Do not use a steam cleaner for cleaning.
Electrical connections must be made by a qualified electrician in accordance with local laws. The manufacturer is not responsible for damage caused by failure to follow these instructions. The oven must be connected to an earthed wall outlet or a disconnector with multiple poles, protected by suitable fuses. Cables used must have a transverse section adequate for the oven's power supply.
The appliance should be connected via a suitable cable to a 220-240V AC power supply. Before connection, check the oven's maximum output on the rating plate and ensure a correctly rated circuit breaker/fuse. The grounding wire connected to the oven's earth terminal must be connected to the power supply's earth terminal.
WARNING: Before connecting, a qualified electrician should check the continuity of the power supply's earth terminal. The manufacturer is not responsible for accidents or problems caused by failure to connect to the earth terminal or by a defective earth connection.
It is advisable to keep another wall socket available for maintenance. The power cable should only be replaced by technical service staff or similarly qualified technicians.
After each use, a minimum of cleaning helps maintain the oven's cleanliness. Do not line oven walls with aluminum foil or single-use protection, as direct contact with hot enamel risks melting and deteriorating it. To prevent excessive dirt and strong smells, avoid using the oven at very high temperatures. Extending cooking time and lowering the temperature slightly is recommended. Use only dishes and baking molds resistant to very high temperatures.
Manufacturers are not obligated to carry out installation. Assistance for faults due to incorrect installation is not covered by warranty. Installation instructions for qualified personnel must be followed. Incorrect installation can cause harm to people, animals, or property, for which the manufacturer is not responsible.
The oven can be installed high in a column or under a worktop. Ensure good ventilation in the oven space for proper air circulation, which is needed for cooling and protecting internal parts. Make openings as specified on the last page according to the fitting type.
This appliance is labeled according to European Directive 2012/19/EU (WEEE). WEEE contains polluting substances and base elements that can be reused. Specific treatments are required to remove pollutants and recover materials. Individuals play a crucial role in preventing WEEE from becoming an environmental problem by following basic rules: WEEE should not be treated as domestic waste and should be taken to dedicated collection areas managed by local councils or registered companies. In many countries, domestic collections are available for large WEEE. When purchasing a new appliance, the old one can be returned to the vendor free of charge, provided it is of an equivalent type and has similar functions.
Where possible, avoid pre-heating the oven and try to fill it. Open the oven door as infrequently as possible, as heat disperses each time it is opened. For significant energy saving, switch off the oven 5-10 minutes before the planned end of cooking time and use residual heat. Keep seals clean to avoid heat dispersal. If you have an hourly tariff electric contract, the "delayed cooking" program simplifies energy saving by moving cooking to reduced tariff times.
By placing the CE mark, the manufacturer confirms compliance with all relevant European safety, health, and environmental requirements applicable to this product.
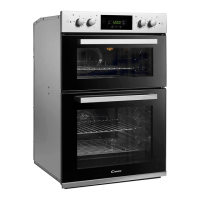
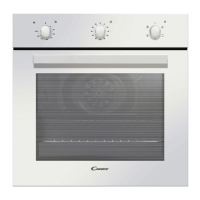
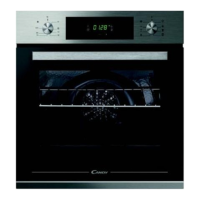
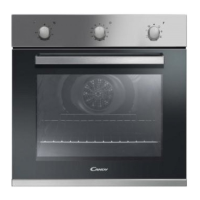
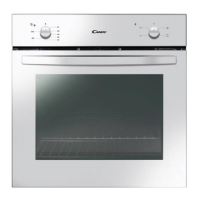
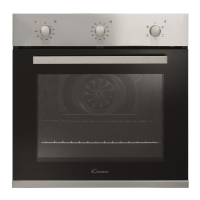
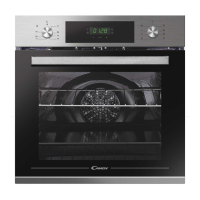
The oven features a control panel, shelf positions (with lateral wire grids if included), metal grill, drip pan, fan (behind a steel plate), and an oven door.
Accessories:
Preliminary Cleaning: Clean the oven before first use. Wipe external surfaces with a damp soft cloth. Wash all accessories and wipe inside the oven with a solution of hot water and washing-up liquid. Set the empty oven to maximum temperature and leave it on for about 1 hour to remove any lingering smells of newness.
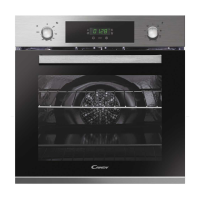
Display Description: The display includes a timer, cooking time indicator, end of cooking indicator, timer display, LCD display adjustment controls, thermostat knob (upper and lower cavity), function selector knob (upper and lower cavity), and signal lamps for both cavities.
WARNING: The first operation after installation or power interruption (indicated by a pulsating display showing 12:00) is setting the correct time. This is done by pushing the central button 4 times, setting the time with "-" "+" buttons, and then releasing all buttons. The oven will only operate if the clock is set.
Functions:
Cooking Modes (Depends on oven model):
General Notes on Cleaning: Regular cleaning extends the appliance's lifecycle. Wait for the oven to cool before manual cleaning. Never use abrasive detergents, steel wool, or sharp objects, as they can damage enamelled parts. Use only water, soap, or bleach-based detergents (ammonia).
Maintenance:
FAQ:
Oven Fitted Under Worktop: Ventilation requirements must be as specified in the drawing. Always remove the rear panel of the housing unit.
Oven Fitted Between Furnitures: Specific dimensions and ventilation requirements are provided for installation between furniture units.
| Type | Electric |
|---|---|
| Oven type | Multifunction |
| Oven Capacity | 70 L |
| Energy Class | A |
| Number of Functions | 9 |
| Control Type | Mechanical |
| Color | Stainless Steel |
| Number of ovens | 1 |
| Built-in | Yes |
| Timer | Yes |
| Timer type | Mechanical |
| Capacity | 70 L |
| Number of Cooking Levels | 5 |
| Thermostat Range | 50-250 °C |
| Voltage | 220-240 V |
| Frequency | 50/60 Hz |
| Dimensions (H x W x D) | 595 x 595 x 568 mm |
| Power | 2.1 kW |