EasyManua.ls Logo

Canon Inner Finisher-D1 - User Manual

Canon Inner Finisher-D1
20 pages
Print Icon
To Next Page IconTo Next Page
Loading...
ENGLISH
日本語
ENGLISH
日本語
Finisher-D1 with Inner 2/3 Hole Puncher-A1 Installation
Procedure
Follow the instructions herein when installing the equipment to its host machine.
PRINTED IN CHINA PUB No. FT1-0627-000

Other manuals for Canon Inner Finisher-D1

Question and Answer IconNeed help?

Do you have a question about the Canon Inner Finisher-D1 and is the answer not in the manual?

Summary

How to Utilize This Installation Procedure

Understanding Symbols and Package Contents

Explains symbols used in illustrations and identifies package contents.

Confrmation of the Footprint

Footprint Requirements for Installation

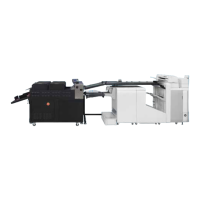
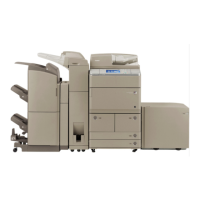
Details the footprint conditions for installing the Inner Finisher-D1 and Inner 2H Puncher-A1.

Notes Before Installation

Installation Order and Power Off Procedure

Advises on installation order for units and safe power-off procedures.

Checking the Contents

Included Items List

Comprehensive list and illustration of all included parts for the finisher and puncher.

Preparation at the Host Machine

Initial Host Machine Preparation Steps

Opening covers, guides, and removing support covers from the host machine.

Preparation at the Host Machine

Further Host Machine Preparation

Opening more covers, removing internal covers, delivery parts, and guides.

Preparation at the Host Machine

Sensor Flag and Holder Removal

Procedures for removing sensor flags and the sensor flag holder.

Installing the Punch Unit

Punch Unit Handling and Component Installation

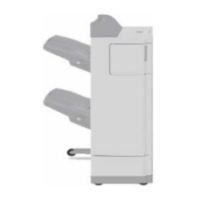
Steps for unpacking, preparing, and installing the punch unit and its covers.

Installing the Punch Unit

Positioning and Securing the Punch Unit

Safely positioning, securing the punch unit, and managing its harness.

Installing the Inner Finisher

Rail Unit and Harness Management

Attaching edge saddle, managing harness, and fixing the rail unit.

Installing the Inner Finisher

Finisher Component Installation

Installing tray cover, reusing screws, fixing rail support, and positioning mount.

Installing the Inner Finisher

Finisher Handling and Preparation

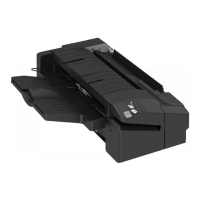
How to hold and remove the inner finisher from its carton with preparation tips.

Installing the Inner Finisher

Setting the Finisher and Removing Fixtures

Removing packaging, fixtures, and precisely setting the finisher on the rail unit.

Installing the Inner Finisher

Finisher Front Fixing and Path Guide

Fixing the finisher front, installing the path guide, and optional tray cover.

Installing the Inner Finisher

Connecting Punch Unit Components

Attaching punch unit joint arm, connecting cables, and fixing cable cover.

Installing the Inner Finisher

Harness Routing and Final Connections

Routing harnesses, attaching covers, connecting relay harnesses, and installing staple.

Installing the Inner Finisher

Restoring Covers and Reader Unit Access

Restoring support cover, accessing reader unit, and closing machine covers.

Installing the Inner Finisher

Final Cover Reassembly and Labeling

Reattaching reader front cover, operation sub cover, and final machine closing.

Check After Installation

Operation Verification Steps

Steps to perform after installation to verify correct operation and output.

Support Guide Information

Optional Support Guide Usage

Details on when and how to attach the optional support guide.

Support Guide Information

Support Guide Installation Methods and Cautions

Describes methods for installing the support guide and potential paper jam cautions.

Canon Inner Finisher-D1 Specifications

General IconGeneral
BrandCanon
ModelInner Finisher-D1
CategoryPrinter Accessories
LanguageEnglish

Related product manuals