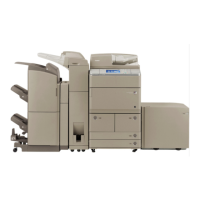
Do you have a question about the Canon ae1 and is the answer not in the manual?
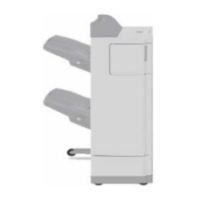
Lists components included with the Finisher-AE1 and Saddle Finisher-AE2.
Steps for unpacking the finisher unit before installation, including removing packing materials.
Preparing the host machine before connecting the finisher, including detaching blanking covers.
Detailed steps for adjusting the height and tilt of the finisher for optimal performance.
Instructions for attaching tray, settings, and bookmaking labels to the unit.
Verify paper feed and stapler operation after installing the finisher.
Resetting the parts counter via the service mode after verifying normal operation.
Preparing the host machine for installing both finisher and puncher unit simultaneously.
Steps for connecting the finisher to the puncher unit.
Adjusting the height and tilt of the puncher unit for proper function.
Attaching labels to the finisher unit, including tray and settings labels.
Check paper feed and stapler operation after puncher installation.
Resetting the parts counter for the puncher unit via service mode.
Unpacking the puncher unit before installation, including removing tape and materials.
Detaching the finisher from the host machine as a prerequisite for puncher installation.
Adjusting the height and tilt of the puncher unit after installation.
Attaching the Jam Removal label to the puncher unit.
| Brand | Canon |
|---|---|
| Model | ae1 |
| Category | Printer Accessories |
| Language | English |