<Test procedure>
Set the paper thickness lever to the left (normal position) and print images on the PR paper, then confirm
that print result has no problem and that the print head does not contact paper.
If print quality deterioration or print head contact is found, adjust the head-to-paper distance with the
following procedures.
<Adjustment of head-to-paper distance>
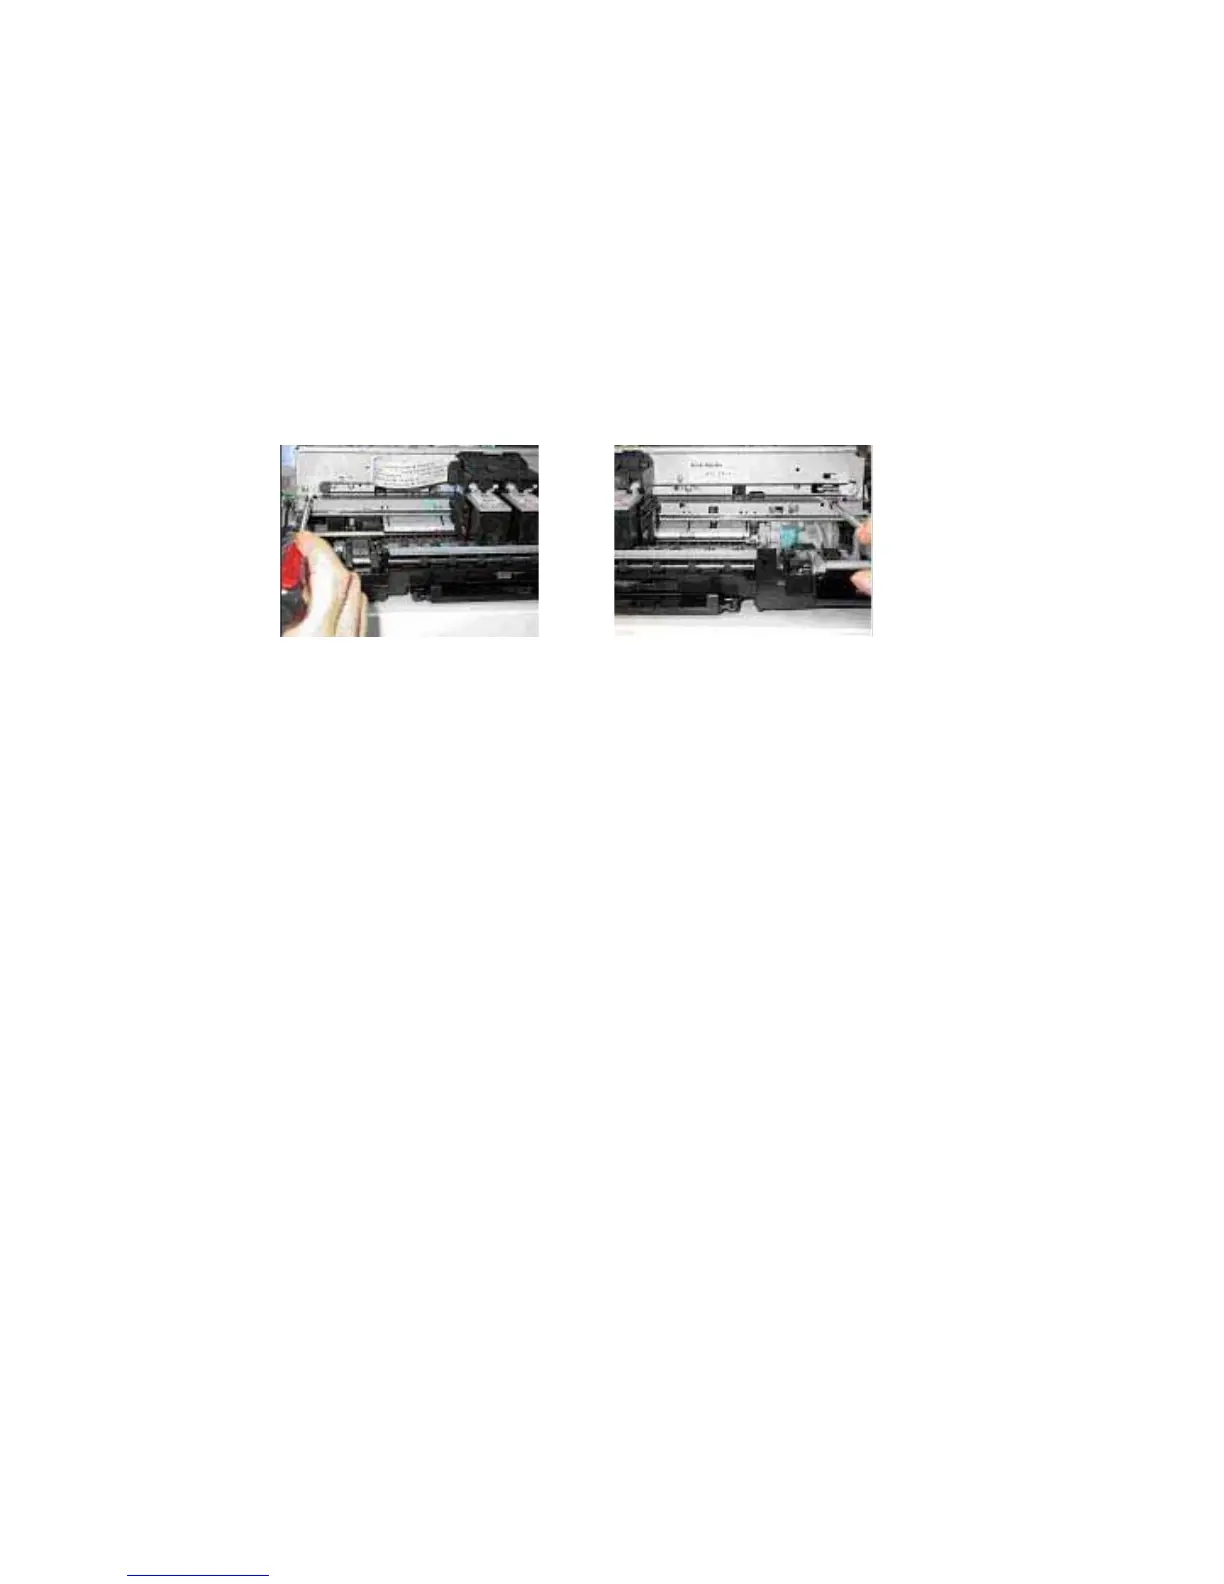
1) Mark the current positions of the screws located on both sides of the chassis.
See [Carriage rail attachment], 1).
2) Loosen the screws to adjust the head-to-paper distance.
When the print head contacts paper: Raise the chassis rail from the current position.
When print quality deteriorates: Lower the chassis rail from the current position.
3) Document Pressure Sheet attachment position adjustment
When attaching the document pressure sheet, the following adjustment will be needed.
1) Position the upper left corner of the document pressure plate sheet at the scanning reference point
(back left) on the platen glass and peel off the cover sheet from the double-sided adhesive tape of
the document pressure sheet.
2) Slowly close the ADF unit and attach the document pressure sheet to the plate.
(23/32)