Do you have a question about the Carel HeaterSteam 4 UR010 and is the answer not in the manual?
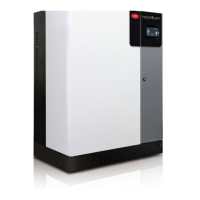
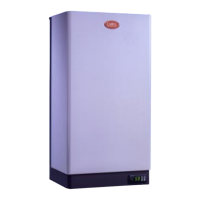
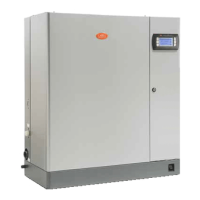
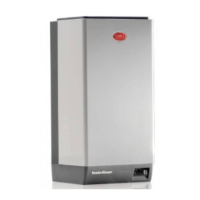
Detailed instructions and diagrams for mounting the humidifier on a wall.
Instructions for connecting water supply and drain, including Watermark requirements and filter installation.
Details of the control board, its connections, and terminal functions.
Instructions for connecting the power cable, including safety precautions.
Explanation of how the isothermal steam humidifier works, steam generation, and properties.
How steam production is controlled based on humidity readings from probes.
Control using humidity probes with an additional limit probe for safety.
Modulating control with an external signal, remote contact, and a limit probe.
Control using a single room humidity probe.
Control with a main probe and a limit probe for enhanced safety.
Control using two humidity probes with weighted average calculation.
Control based on a single active temperature probe.
Temperature control with a main probe and a limit probe.
Control using a passive NTC temperature probe.
Control using two passive NTC temperature probes with weighted average.
Verification steps for correct electrical connections before operation.
Essential checks before starting the humidifier, including connections and water supply.
Description of the activation sequence: initial phase, autotest, and operation.
How to set the set point, proportional band, and maximum production.
Details the initial setup wizard steps for language and parameter configuration.
Automatic procedure to check operation of level sensor and the appliance.
How to set time bands for humidifier activation and scheduling.
How production request and probe values are displayed for different control types.
Configuration settings for control types, probes, and parameters.
Settings for configuring the Master/Slave system network.
Setting the type of control: humidity, temperature, external signal, etc.
Settings for supervisor network addresses and communication protocols.
Configuring a second probe as a limit probe for humidity control.
How active alarms are displayed and managed on the unit.
Configuring the main probe type, limits, and alarms.
Enabling and setting high conductivity alarm thresholds and delay.
Configuring the limit probe type, limits, and alarms.
Setting warning and alarm thresholds for high conductivity.
Configuring network settings for connecting units in a Master/Slave system.
Overview of connecting multiple humidifiers in a Master/Slave system for increased steam production.
Step-by-step guide to configure the Master/Slave system, including IP addresses.
Overview of the integrated web server for PC-based configuration and monitoring.
Configuring supervision on BMS or Ethernet ports using various protocols.
ModBus holding registers for configuring humidifier parameters like control mode and alarms.
Connecting the humidifier to the Carel tERA service for remote monitoring and logging.
Details for the Autotest failed alarm, including cause and solution.
Information about high conductivity warning, its causes and solutions.
High feedwater conductivity alarm details, including causes and solutions.
Level sensor malfunction alarm, its probable causes and solutions.
Alarm for excess temperature in heaters, potentially due to Klixon activation.
Alarm indicating no feedwater and potential issues with supply pipes or fill valve.
Alarm indicating low or no steam production, possibly due to power issues or float blockage.
Alarm for a disconnected or damaged main probe.
Alarm for a disconnected or damaged limit probe.
Alarm for a disconnected or damaged pre-heating probe.
Alarm indicating the supervisor is offline.
Alarm for high boiler temperature, possibly due to no water or sensor issues.
Procedure for accessing and cleaning the cylinder-boiler, including heater replacement.
Electrical wiring diagram for UR002-UR004 single-phase units (208/230V, version U).
Electrical wiring diagram for UR002-UR004 single-phase units (230V, version 0).
Electrical wiring diagram for UR006 single-phase units (208/230V, version U).
Electrical wiring diagram for UR006 single-phase units (230V, version 0).
Wiring diagram for UR006-UR010-UR013 three-phase units (various voltages, version U).
Wiring diagram for UR006-UR010-UR013 three-phase units (230-460V, version 0).
Wiring diagram for UR020 three-phase units (400-575V, version U).
Wiring diagram for UR020-UR027 three-phase units (230-690V, version 0).
Wiring diagram for UR020/UR027 three-phase units (208-230V, version U).
Wiring diagram for UR040 three-phase units (400-575V, version U).
Wiring diagram for UR040-UR053 three-phase units (400-690V, version 0).
Wiring diagram for UR053 three-phase units (400-460V, version U).
Wiring diagram for UR060 three-phase units (575V, version U).
Wiring diagram for UR060 three-phase units (400-460V, version U).
Wiring diagram for UR060-UR080 three-phase units (400-690V, version 0).
Wiring diagram for UR080 three-phase units (400-575V, version U).
Wiring diagram for UR027 three-phase units (400-575V, version U).
Wiring diagram for UR053 three-phase units (575V, version U).
Diagrams showing electrical connections for boiler heaters in various configurations.
Diagrams showing electrical connections for boiler heaters in various configurations.
| Model | HeaterSteam 4 UR010 |
|---|---|
| Category | Humidifier |
| Type | Steam humidifier |
| Protection rating | IP20 |
| Operating temperature range | 5 to 40 °C |
| Steam output | 4 kg/h |
| Power Supply | 50/60Hz |
| Maximum current absorption | 11 A |
| Storage temperature range | -20°C to 60°C |