4
Recommended Control and Signal Wire Sizes
— The rec-
ommended minimum size wire to connect I/O signals to the
control terminal blocks is 18 AWG (American Wire Gage).
Recommended terminal tightening torque is 7 to 9 in.-lb
(0.79 to 1.02 N-m).
Recommended Airflow Clearances
— Be sure there is ade-
quate clearance for air circulation around the enclosure.
A 6-in. (152.4 mm) minimum clearance is required wherever
vents are located in the control enclosures.
Service Clearances
— Verify that there are adequate service
clearances as identified in Fig. 4.
Verify Adequate Power Supply
— It is important to verify
that the building power will meet the input power requirements
of the Machine Electrical Data nameplate input power rating.
Be sure the input power to the chiller corresponds to the
chiller’s nameplate voltage, current, and frequency.
PROVIDE MACHINE PROTECTION — Store machine
and starter indoors, protected from construction dirt and
moisture. Inspect under shipping tarps, bags, or crates to
be sure that water has not collected during transit. Keep
protective shipping covers in place until machine is ready
for installation.
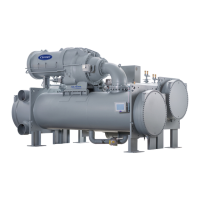
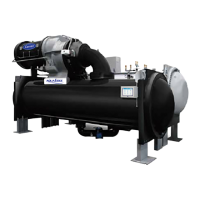
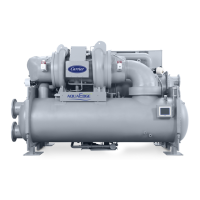
It is important to properly plan before installing a 19XR unit
to ensure that the environmental and operating conditions are
satisfactory and the machine is protected. The installation must
comply with all requirements in the certified prints.
Operating Environment
— Chiller should be installed in an
indoor environment where the ambient temperature is between
40 and 104 F (4 and 40 C) with a relative humidity of 95% or
less, non-condensing. To ensure that electrical components op-
erate properly, do not locate the chiller in an area exposed to
dust, dirt, corrosive fumes, or excessive heat and humidity.
NOTE: NEMA Type 1 enclosures are constructed for indoor
use to provide a degree of protection to personnel against
incidental contact with the enclosed equipment and to pro-
vide a degree of protection against falling dirt. This type of
enclosure does not protect against water, dust, moisture or
airborne contaminants.
Step 2 — Rig the Machine — The 19XR machine
can be rigged as an entire assembly. It also has flanged connec-
tions that allow the compressor, cooler, and condenser sections
to be separated and rigged individually.
RIG MACHINE ASSEMBLY — See rigging instructions on
label attached to machine. Refer to rigging guide (Fig. 5 and 6),
dimensions in Fig. 4, and physical data in Tables 1-26. Lift ma-
chine only from the points indicated in rigging guide. Each lift-
ing cable or chain must be capable of supporting the entire
weight of the machine.
Contractors are not authorized to disassemble any part of
the chiller without Carrier’s supervision. Any request other-
wise must be approved in writing by the Carrier Technical Ser-
vice Manager.
NOTE: Carrier suggests that a structural engineer be consulted
if transmission of vibrations from mechanical equipment is of
concern.
CAUTION
Freezing water can damage equipment. If machine can be
or possibly has been exposed to freezing temperatures after
water circuits have been installed, open waterbox drains
and remove all water from cooler and condenser. Leave
drains open until system is filled.
WARNING
Lifting chiller or components from points other than those
specified may result in serious damage to the machine or
personal injury. Rigging equipment and procedures must
be adequate for maximum chiller weight. See Fig. 5 and 6
for maximum chiller and component weights.

 Loading...


