ON timer procedure
9 2 3 4 5 7 10 P
Program the start-up time and the desired operating parameters of the
unit.
The unit can be either off or in operation. If the unit is ON, the only
possible selection is the start-up time. The unit will operate with the
selections shown on the display.
After 10 seconds without pressing any button, the procedure will stop
and the remote control disply resume its original state.
1
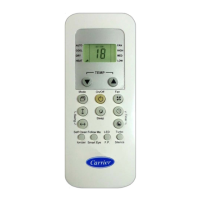
Press button [9].
On the display the icon [N] and the hour value start flashing.
2
Time selection.
Set the hours with buttons [2] and [3]. Confirm by pressing [9],
the minutes value start flashing.
Set the minutes with [2] and [3]. Confirm the desired time by
pressing [9]. Mode icon [A] start flashing.
3
Operating mode selection.
Choose the unit operating mode with button [4] (refer to
Operating mode section).
Confirm the desired mode by pressing [9]. Temperature
displayed [C] start flashing.
1
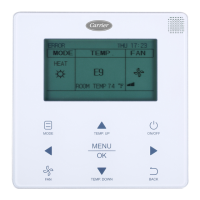
Press button [6] and hold it pressed for 5 seconds.
On the display the icon [N] start flashing.
2
Operating mode selection.
Choose the unit operating mode with button [4] (refer to
Operating mode section).
Confirm the desired mode by pressing [6]. Temperature
displayed [C] start flashing.
3
Temperature selection.
Set the desired temperature with the UP [2] and DOWN [3]
buttons.
Confirm the temperature by pressing [6]. Fan speed [M] start
flashing.
4
Fan speed selection.
Choose the fan speed with button [5] (refer to Fan speed
section).
Confirm by pressing [6]. Air flow direction [L] start flashing.
5
Air flow selection.
Choose the air flow direction with button [7] (refer to Air flow
section).
Confirm by pressing [6]. Personalisation icon [N] will stop
flashing.
6
Press button [6] to activate the personalisation function.
Icon [E] displayed signal the daily timer activation.
Note
To change the parameter repat the procedure from step 1.
To deactivate the personalisation press one of the following
buttons: [2],[3],[4],[5],[13].
 Loading...