12
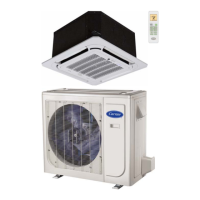
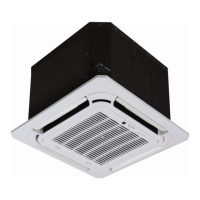
INSTALLATION OF THE DECORATION PANEL
Detach the intake grill
1. Slide the two grille hooks toward the middle of the
decoration panel.
1 Intake grille
2 Grille hook
1
2
Fig. 20 - Intake Grille
2. Open the intake grille and remove.
Fig. 21 - Open Intake Grille
Fig. 22 - Removal of Covers (Sizes 24−48)
Install the decoration panel
1. Align the indication marks “ ” on the decoration panel to
the indication marks “
” on the unit.
2. Attach the decoration panel to the unit with the supplied
screws (see Fig. 24).
3. After installing the decoration panel, ensure there is no space
between the unit body and the decoration panel. Otherwise air
may leak through the gap and cause dewdrops (see Fig. 23).
Fig. 23 - Eliminate Space
4. Mount the intake grille. Ensure the buckles at the back of
the grille are properly seated in the panel’s groove.
1 Decoration panel
2 Screws (M5)(supplied with the panel)
1
2
Fig. 24 - Attach the Decoration Panel
Fig. 25 - Mount the Intake Grille
5. Connect the decoration panel’s two wires to the unit’s
mainboard (see Fig. 29).
10-core wire5-core wire
Fig. 26 - Connect the two wires
 Loading...