4. OPERATION
4.2 OPERATION
7
GB-9
Press MODE and select ;
NOTE:
In this setting the system will automatically change modes and fan speed to the set temperature.
In spring and autumn, closer temperature control may require COOL/HEAT mode changes.
Fan speed and temperature can not be adjusted under AUTO mode.
The louver can only be adjusted when the unit is switched on.
Press SWING to initiate auto-swing. Press SWING again to stop the louver from swinging.
AUTO Mode
SWING FUNCTION
Basic Operation Modes:COOL / DRY / HEAT / FAN / AUTO
1) Press MODE and select ;
2) Press +/- on the unit or TEMP on the remote control to select the temperature.
3) Press FAN on the unit or remote control to select the fan speed.
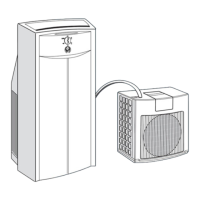
COOL Mode
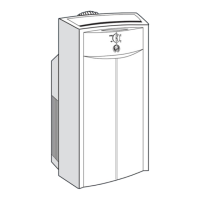
1) Connect the drain hose as figure shown.
2) Press MODE and select ;
NOTE:
Please remove the exhaust hose before DRY operation.
Fan speed and temperature can not be adjusted under DRY mode.
When stop the DRY operation, make sure all water is drained before removing
the drain tube and inserting the drain outlet plug onto the back of unit.
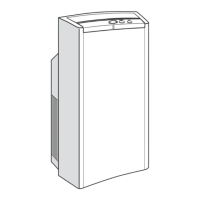
DRY Mode
Under DRY Operation
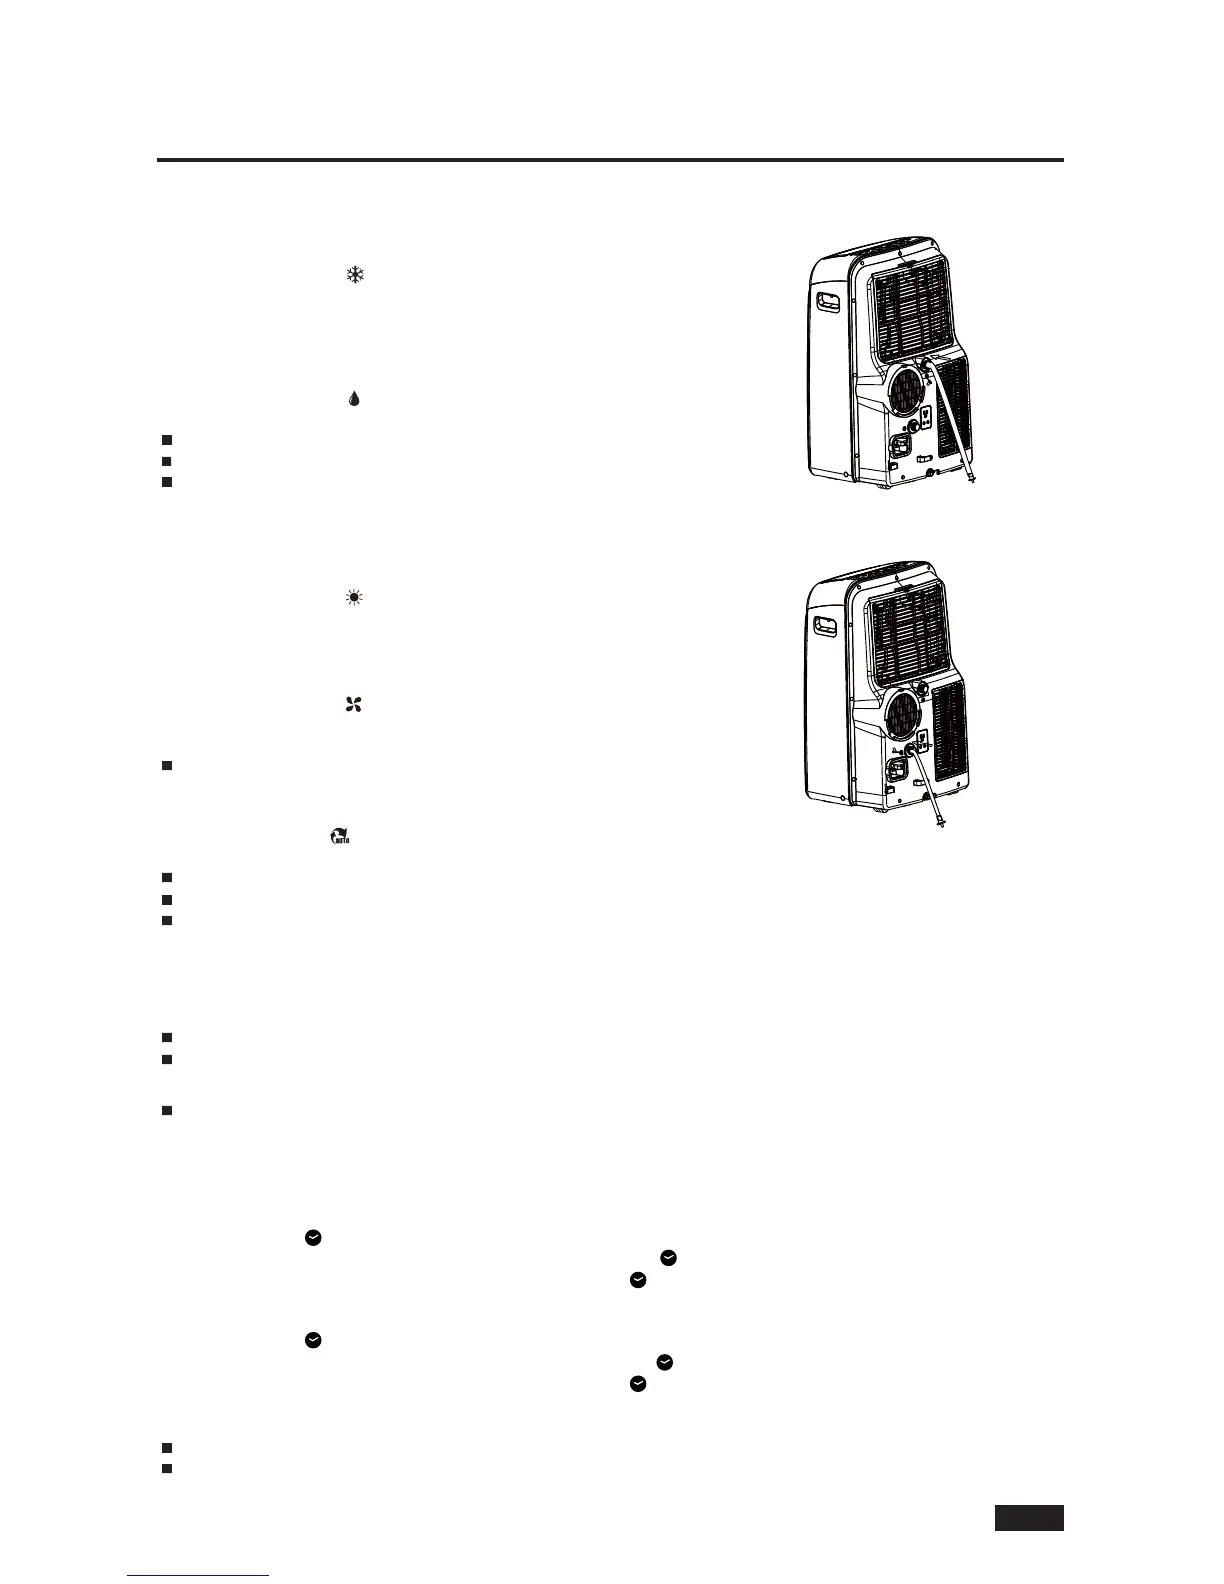
1) Connect the drain hose as figure shown (different drain port from that of DRY mode).
2) Press MODE and select ;
3) Press +/- on the unit or TEMP on the remote control to select the temperature.
4) Press FAN on the unit or remote control to select the fan speed.
HEAT Mode
1) Press MODE and select ;
2) Press FAN on the unit or remort control to select the fan speed.
NOTE:
Temperature can not be adjusted under FAN mode.
FAN Mode
Under HEAT Operation
Special Functions
NOTE:
Do not adjuct the louver manually.
Auto ON/OFF time can be set by control panel or remote controller.
On control panel:
When the unit is switched on:
1) Press TIMER. The OFF will be illuminated.
2) Set the auto off time by pressing +/-. Press TIMER to confirm. Then the ON will be illuminated.
3) Set the auto on time by pressing +/-. Press TIMER to confirm. Both ON/OFF will be illuminated. The unit is now programmed
to auto on/off.
When the unit is switched off:
1) Press TIMER. The ON will be illuminated.
2) Set the auto on time by pressing +/-. Press TIMER to confirm. Then the OFF will be illuminated.
3) Set the auto off time by pressing +/-. Press TIMER to confirm. Both ON/OFF will be illuminated. The unit is now programmed
to auto on/off.
NOTE:
To set the TIMER function with remote controller, please refer to instruction in remoter controller manual.
To cancel the auto on/off time setting, press the ON/OFF button, or set the timer to 0,0.
TIMER FUNCTION

 Loading...