Manufacturer reserves the right to discontinue, or change at any time, specifications or designs without notice and without incurring obligations.
PC 111 Catalog No. 533-352 Printed in U.S.A. Form 33CS-35SI Pg 1 105 9-00 Replaces: New
Book 1 4
Tab 1 1 a 1 3 a
Installation, Start-Up and
Operating Instructions
Part Numbers 33CS250-FS
and 33CS220-FS
CONTENTS
Page
SAFETY CONSIDERATIONS ...................... 1
GENERAL ........................................ 1
INSTALLATION ................................. 2-7
Select Thermostat Location ......................2
Install Thermostat (With Junction Box)...........2
Install Thermostat (Without Junction Box) .......3
Set Clock......................................... 4
Configure Advanced Setup....................... 4
Install Accessories ............................... 5
Program Thermostat Schedules..................6
Factory Defaults ................................. 7
Calibrate Sensor .................................7
Check Thermostat Operation..................... 7
Final Checklist ...................................7
OPERATION.................................... 7-9
Auto-Changeover ................................7
Two-Stage Operation.............................7
Clock Backup ....................................7
Fan Operation....................................8
Emergency Heat ................................. 8
Electric Heat ..................................... 8
Holiday Mode ....................................8
Remote Temperature Sensor .....................8
Keypad Lock .....................................8
Dry Contact Switch/External Control .............8
10-Watt Resistor .................................9
Outside Temperature Sensor (Optional) ..........9
TROUBLESHOOTING............................10
SAFETY CONSIDERATIONS
Read and follow manufacturer instructions carefully. Fol-
low all local electrical codes during installation. All wiring
must conform to local and national electrical codes. Improper
wiring or installation may damage thermostat.
Recognize safety information. This is the safety alert sym-
bol . When the safety alert symbol is present on equipment
or in the instruction manual, be alert to the potential for person-
al injury.
Understand the signal words DANGER, WARNING, and
CAUTION. These words are used with the safety alert symbol.
DANGER identifies the most serious hazards which will result
in severe personal injury or death. WARNING signifies a haz-
ard which could result in personal injury or death. CAUTION
is used to identify unsafe practices which would result in minor
personal injury or property damage.
GENERAL
The commercial, 7-day, programmable thermostats are
wall-mounted, low-voltage thermostats which maintain room
temperature by controlling the operation of an HVAC (Heating,
Ventilation, and Air Conditioning) system. Separate heating
and cooling set points and auto-changeover capability allow 4
different programming time periods for energy savings.
All thermostats allow up to 4 time/temperature settings to
be programmed per 24-hour period. Each thermostat stores
programs for 7 independent days. Batteries are not required.
During power interruption the internal NEVER-LOST™
memory stores programmed schedules for an unlimited
amount of time while the clock continues to run for at least
48 hours.
The thermostat can be configured to accept several different
equipment configurations, including heat pump operation.
NOTE: The thermostat is not factory-configured for use in heat
pump applications. The advanced setup must be performed to
configure the thermostat for use with heat pump units.
NOTE: The 33CS250-FS thermostats have wiring connections
for a remote room sensor and dry contacts. The 33CS220-FS
thermostats do not have these connections.
PACKAGE CONTENTS
IMPORTANT: Read entire instructions before starting
the installation.
ITEM QUANTITY
Thermostat 1
Cutout Template 1
1-in. Screws (Junction Box Installation) 2
1
1
/
2
-in. Self-Tapping Screws
(Non-Junction Box Installation)
2
Plastic Tabs 2
Power Resistor (270 ohm, 10 Watt) 1
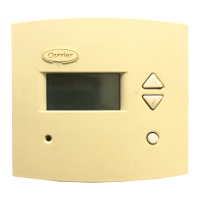
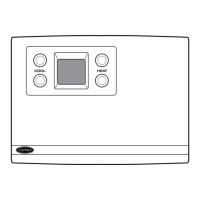
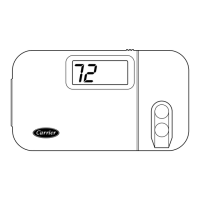
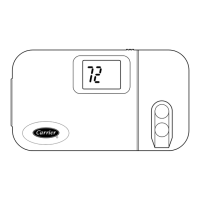
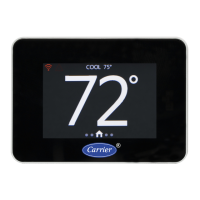
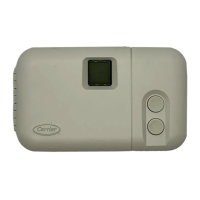
Debonair®
33CS
Flush-Mounted FlatStat
Commercial Programmable Thermostat
→