STEP #3
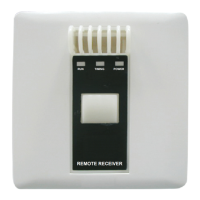
MOUNT WALL PLATE AND WIRE
Page 4
If the terminal designations on your old
thermostat do not match those on the
new thermostat, refer to the chart below,
or the wiring diagrams that follow.
70
70
12:00
Set
Cool
Fan Auto
MODE
FAN
70
70
12:00
Set
Cool
Fan Auto
MODE
FAN
* C may not be used on all systems.
** O/B is used if your system is a Heat Pump.
Mount the wall plate with the 2 screws supplied.
Use the supplied wall anchors if mounting on
drywall. A 3/16" hole will have to be drilled for
the wall anchors.
Wire from the
old thermostat
terminal marked
Function
Install on the
new receiver
terminal marked
G or F Fan G
Y1, Y or C
Cooling Y1
W1, W or H
Heating
W1,O,B
W1,O,B**
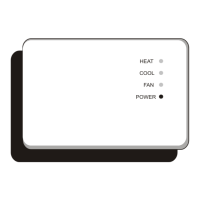
PowerRh, R, M, Vr, A R
C
O/B
C *
Common
Rev. Valve
Y2
Y2
W2
W2
2nd Stage Cool
2nd Stage Heat
RS+5
Remote Sensor +5vdc
RS
Remote Sensor Signal
RS G
Remote Sensor Ground
CK1
CK2
Dry Contact Switch
Dry Contact Switch