- 4 -
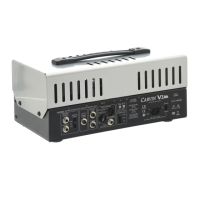
STEP 6
A) Lower the volume down on All channels.
B) Unplug your guitar cord from the input of the amp.
NOTE: If you have signal going through
the amp, it will not be the true reading,
when you set the bias.
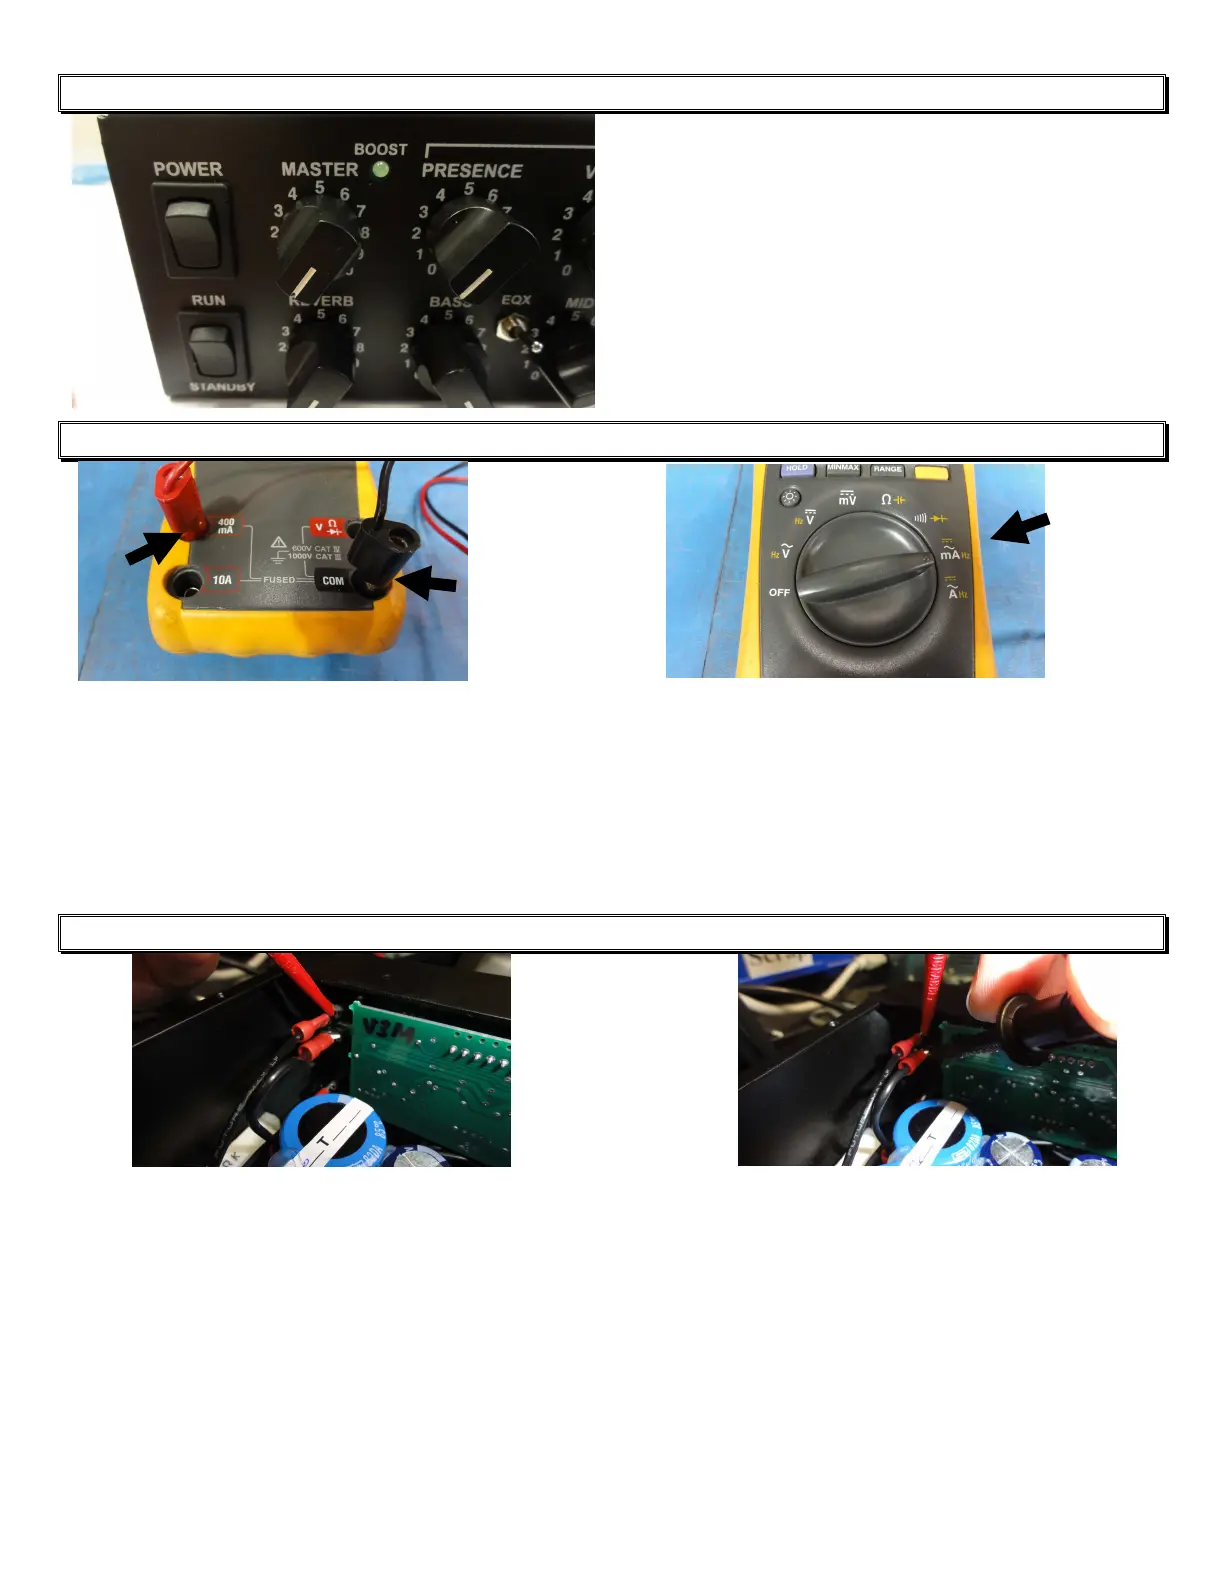
STEP 7
A) Connect the leads to the meter. B) Set your meter to the milliamp (mA) position.
Make sure the fuse inside is good. Set meter to DC Current, not AC current.
NOTE: If the Fuse inside your meter is open, the meter will never work. It will
always read 0mA. In the meter above, mA and COM is selected, you have the
option to plug in the lead on (A) but because the setting will be set to 80mA it’s
best to use mA.
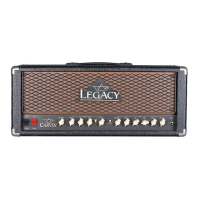
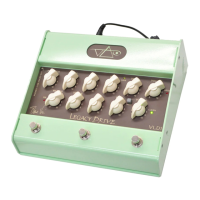
STEP 8
1. 2.
Connect clips from meter to Standby Switch. It’s easier to clip the leads to the
wires that go from the standby switch to the main circuit, see picture above.
IMPORTANT: Never power the amp ON before connecting the leads, you will
get a big spark, you may blow the fuse of the Meter and or damage the amp.