— 16 —
1
2
a
7 pin
4 pin
1
22
8 pin
3 pin
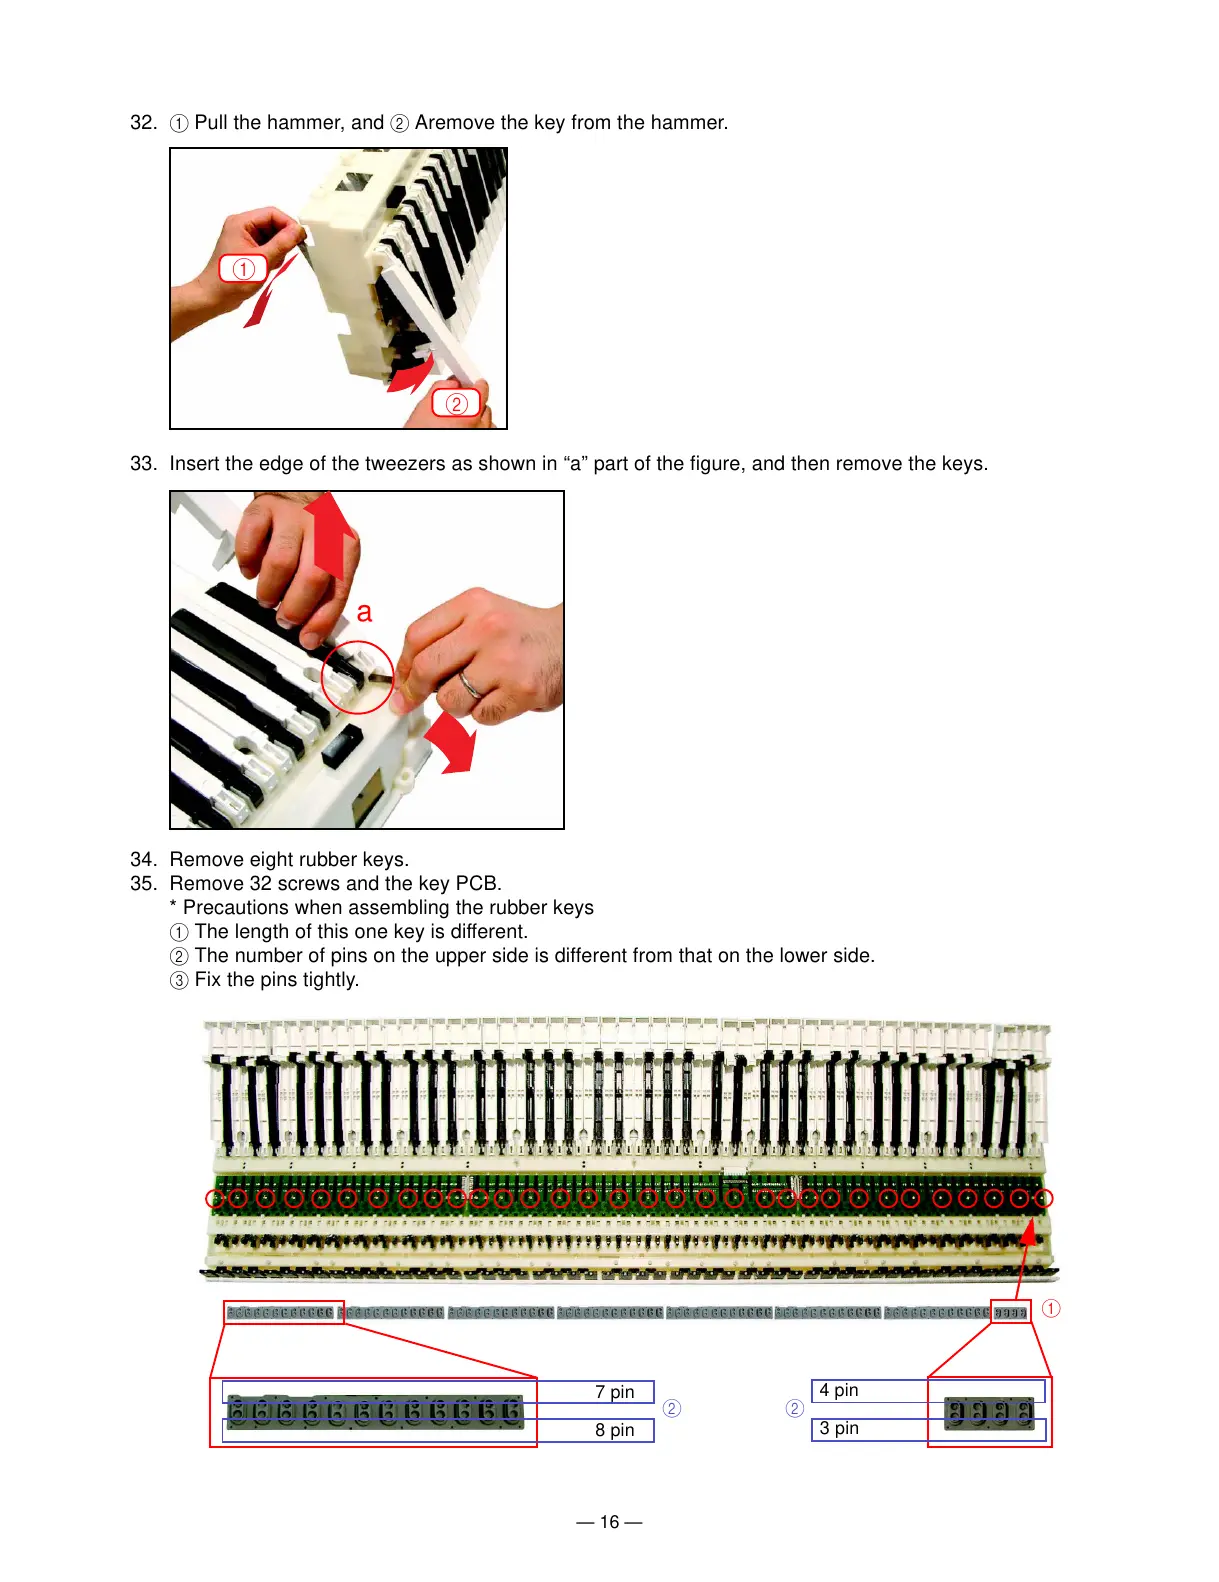
34. Remove eight rubber keys.
35. Remove 32 screws and the key PCB.
* Precautions when assembling the rubber keys
1 The length of this one key is different.
2 The number of pins on the upper side is different from that on the lower side.
3 Fix the pins tightly.
32. 1 Pull the hammer, and 2 Aremove the key from the hammer.
33. Insert the edge of the tweezers as shown in “a” part of the figure, and then remove the keys.