– 9 –
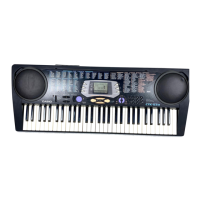
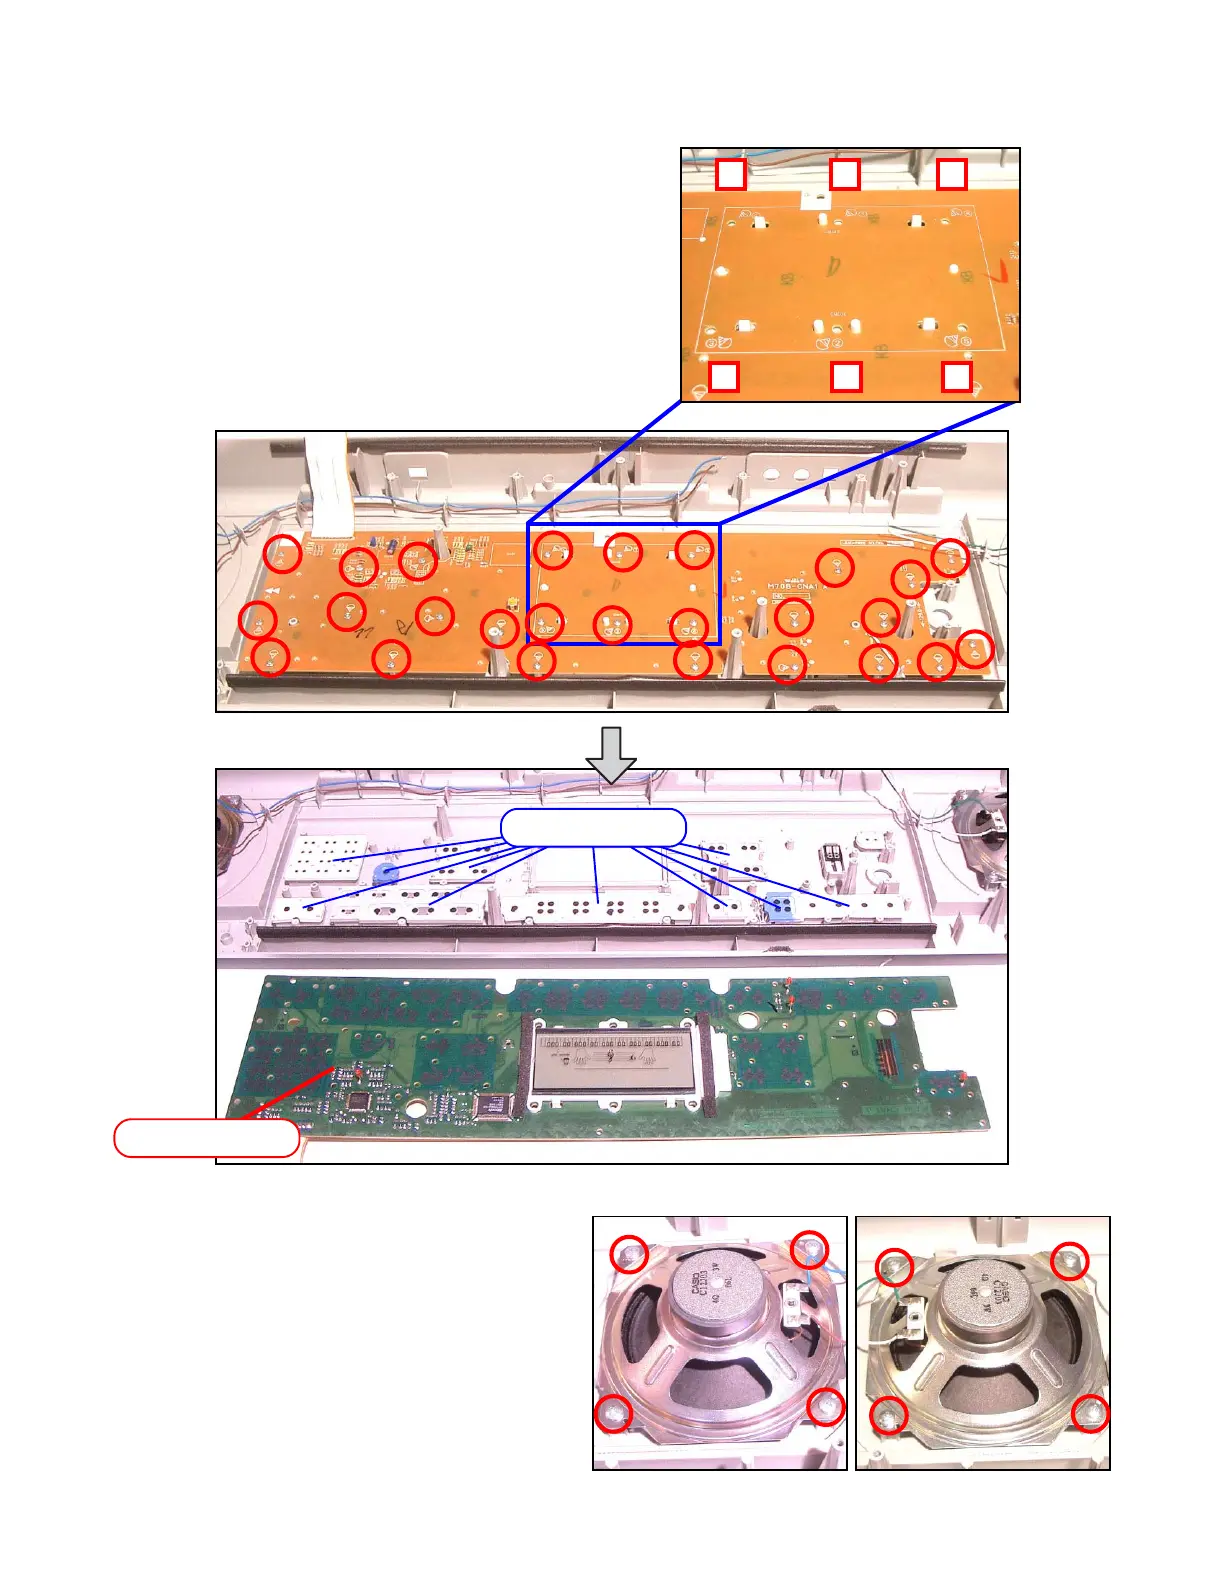
15. Remove 37 screws and then the PCB (M708-CNA1).
Caution while assembling:
6 screws fixating the LCD unit must be screwed on in a
designated order.
When assembling, be sure to tighten the screws in the
order from 1 - 6 shown in the photo.
Failing to do so may cause display malfunctions.
■ To remove the speakers.
17. Remove 8 screws and then two speakers.
16. Remove the rubber keys.
14
3 2 6
5
M708-CNA1 PCB
Rubber keys
 Loading...