– 30 –
DT-X200/DT-X8
6. KEY-2
No. Operation Display Test Details
1
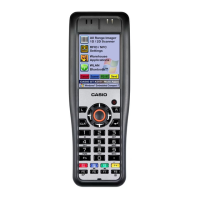
Select
“
[5].Key-2” from All Test
MENU-1 screen.
The key statuses are displayed.
The pressed key appears inverted
on the screen. Press all keys in
any order. When all key have
been successfully pressed, the
test result is judged as OK and the
screen returns to the Menu screen.
Pressing the “Enter” key twice
in the middle stops the test and
returns you to the Menu screen. In
this case, test result is judged as
Failure.
7. Battery Cover SW (Standard)
No. Operation Display Test Details
1
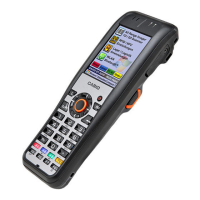
Select
“
[6].Battery Cover SW
(Standard)” from All Test MENU-
1 screen.
Be sure that the screen on the
right appears, and then remove
the battery cover.
Next, press the “Enter” key.
Note:
In this case, be sure that the
battery pack does not come off
the battery contacts.
DT-X200/DT-X8 detects the
removal of battery cover, and then
the next screen appears.
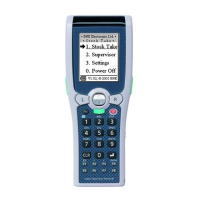
2
Be sure that the screen on the
right appears, and then install
the battery cover.
Next, press the “Enter” key.
DT-X200/DT-X8 detects the
installation of battery cover.
Since DT-X200/DT-X8 is
automatically turned OFF, turn it
ON by pressing the “Power” key.
If OK:
The screen returns to the Menu
screen.
If any problem:
An error indication is displayed.
->
Pressing the “Enter” key
returns you to the Menu
screen.
 Loading...